Welcome to today’s post.
In today’s post I will show how to configure a Docker Repository for Automated GitHub builds.
In one of my previous posts, I showed how to connect your DockerHub account for GitHub source integration.
The purpose we have for integrating with GitHub is to integrate build source change triggers into triggering a re-build of a Docker image within our Docker repository.
Integrating a source code build to generate a Docker Image is part of the process of building a DevOps pipeline that is used to eventually deploy the resulting application to an environment that can be used as part of a test environment that reproduces what we see in higher environments without the same costs and risks associated with deploying application artifacts into physical server environments that take consume resources including costs and human expertise.
Architectural Overview of a Docker Build from Git Source Control
The architectural diagram below summarizes what we want to achieve:

In the above diagram, we go through the following process:
- Make changes to our source code in the local Git repository.
- Commit and push changes to the source to the remote GitHub repository.
- A GitHub trigger runs following the GitHub source code push.
- A Docker image of the application deployment is built with the application artifacts.
In the next section I will show how we configure GitHub triggers to action the Docker image build.
Configuring a Docker Repository for Automated GitHub Builds
Before we setup the automated build for the Docker Repository, we will first locate our Docker image.
First, you can find the Docker repository by logging into docker hub (http://hub.docker.com). Then from the main landing page click on repositories.
The following page displays:

Then, click on the build tabbed menu.
You will see the available source control providers. If you have authorised GitHub to access your DockerHub account then you will see it showing as connected:
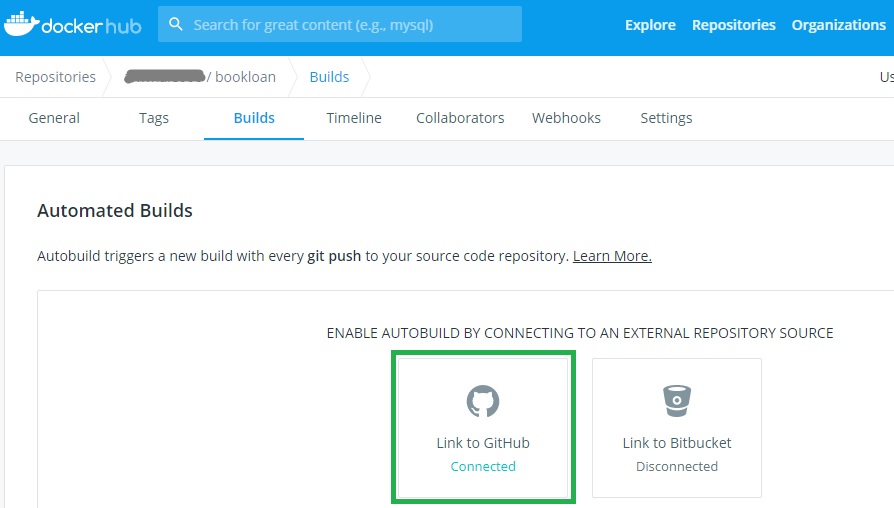
Click on the Link to GitHub option.
You will then be taken to the following screen:

From here you select the organization (your GitHub account) and repository. Additional build options will show after selecting the repository:
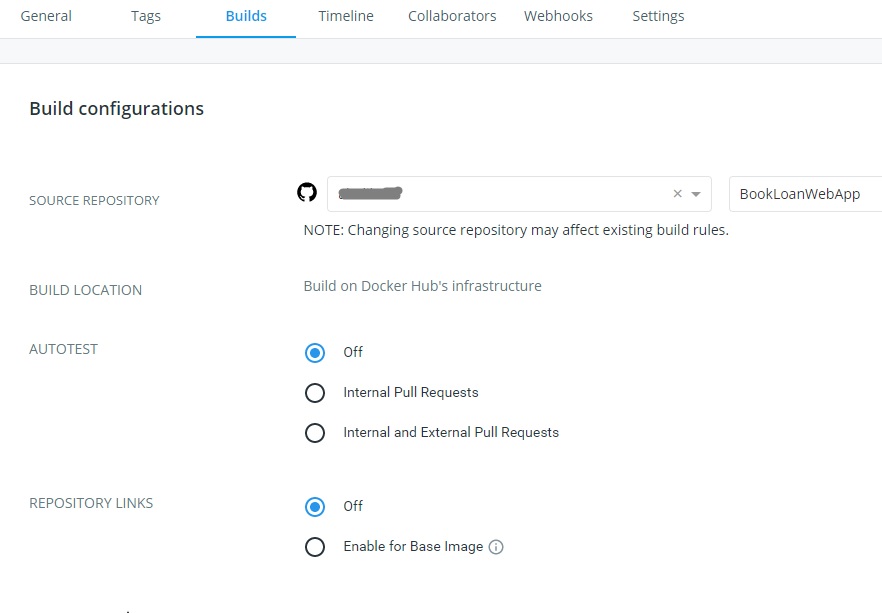
Scroll down until the following Build Rules options show:

Click save.

Select Configure Automated Builds.

In the build screen, you will see no builds.
Click on Trigger to trigger a build.
A progress screen shows:

Click on the left most link “Build in …” and the following detailed progress shows:

In the next section, I will show how to resolve errors during the automated Docker build.
Resolving Errors During Automated Docker Builds
It is possible you may get the following red cross display on your build status (in the general screen or build progress screen):

In the event of a build failure, we can diagnose the issue.
To diagnose, go to the Build screen and view the Build Logs:

The last command run is shown near the green arrow and the error is shown near the red arrow.
In this case the error is from the DockerFile script.
Click on the DockerFile tab to view the contents and inspect the script line causing the issue:

We can go back to our source control and make a change to fix the problem.
Open your source control.
Make the change to the DockerFile.

Save change.
Through Team Explorer, commit and push to the GitHub repository.

Return back to DockerHub.
View the status of the build.
The build has triggered and is pending:

Builds that are red are previously failed builds and those in amber are currently progressing builds.
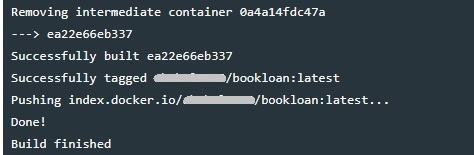
Below is a successful build notification:

In the build log you will see the following confirmation of success:
The timeline will show the last successful build:

Inspecting the tags shows the image, OS and size:

The digest image details will show the image history:

All done and completed a successful docker build from GitHub!
How cool is that!
I hope you found this blog informative and useful.
Andrew Halil is a blogger, author and software developer with expertise of many areas in the information technology industry including full-stack web and native cloud based development, test driven development and Devops.