
Welcome to today’s post.
In today’s post I will be showing you how to create audio data for usage in testing custom speech models that are created using either the Azure Speech Studio or from the Speech Services SDK.
In addition to using audio files in custom speech model testing, you can use audio files when creating audio files for applications that use speech to text such as with speech recognition or with intent recognition.
Supported Audio Formats
In this section I will explain what formats are required for audio file inputs used in the Azure Speech SDK and Azure Speech Services.
There are many commonly used audio formats, such as MP3, M4A and WAV that are available, however the only format we can use for input within Azure Speech Services and the Speech SDK are audio files that are in the WAV format.
In a previous post I mentioned that the Voice Recorder application that is available in Windows 10 outputs recorded audio sound into the M4A format. The problem with this is that M4A format is not in a raw sound format and is not in the WAV format, which is the default audio format used with the Speech SDK. To use compressed audio formats like MP3 will require another third-party library to convert compressed audio into an uncompressed audio stream.
To convert the audio file from the M4A format to the WAV format I suggested using an online converter. With an online converter, the time-consuming task of uploading the source audio, converting it, then downloading the converted audio file can be quite time-consuming if you have dozens of audio files to convert. The other concern with online converters is privacy of your vocal sound samples, so ensuring the online converter allows you to be able to delete the source audio after conversion is important. The supported audio formats and sample rates are listed in the following table:
| Format | 8 kHz sample rate | 16 kHz sample rate | 24 kHz sample rate | 48 kHz sample rate |
| wav | riff-8khz-16bit-mono-pcm | riff-16khz-16bit-mono-pcm | riff-24khz-16bit-mono-pcm | riff-48khz-16bit-mono-pcm |
In the next section I will show how to use a well-known freeware tool to convert from unfamiliar audio formats to the WAV format.
A Utility that Converts Audio from M4A Format into WAV Format
In this section I will show how to install the Audacity application (https://www.audacityteam.org/), which is a freeware audio conversion tool that allows you to convert from a variety of compressed formats into other popular and standard formats including WAV and MP3.
After you have downloaded Audacity, install it.
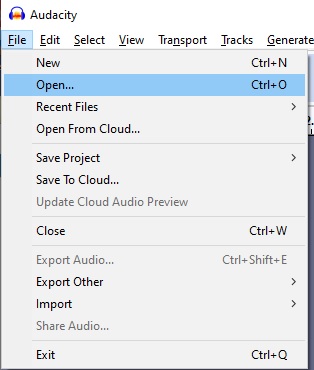
After launching Audacity, you will see a menu that allows you to open audio files, modify the audio file, then export (convert) the audio to a variety of different audio formats.
If you have audio recordings in M4A format, you can try some sample conversions to WAV format to get an idea of the size of the resulting exported audio files. First, you will need to load an existing audio file from the File menu shown below:
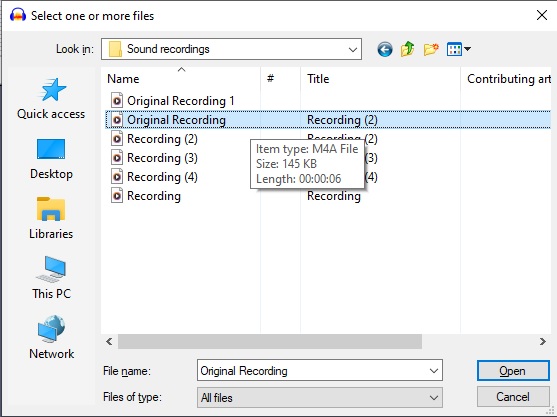
Next, select the compressed M4A audio file from a local folder:
If the M4A file opens without errors, then you will see the audio file and its profile loaded into Audacity editor as shown below:
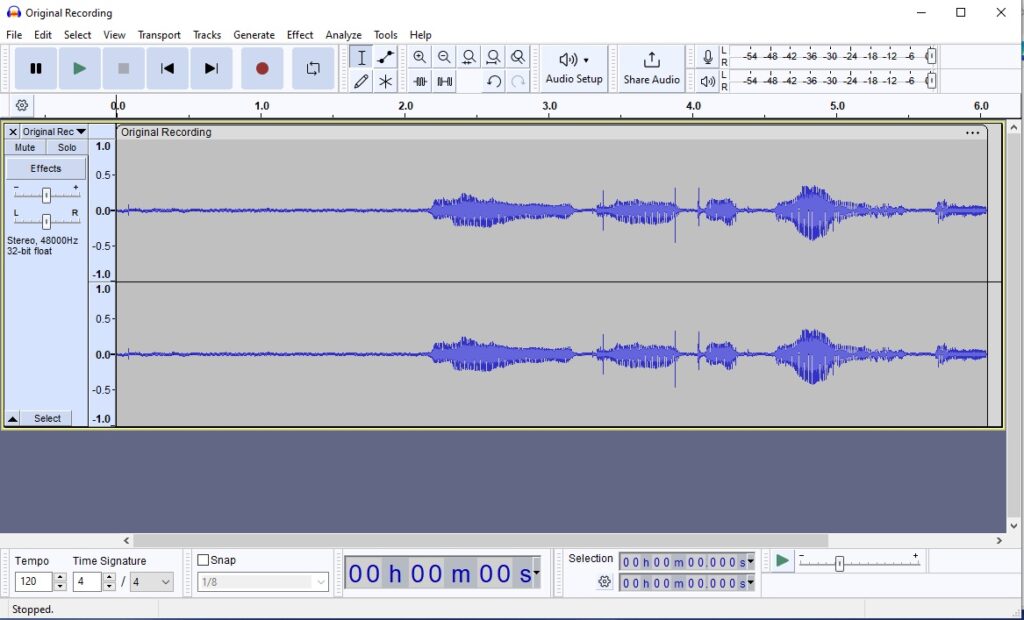
In the next section I will show how to resolve a common error that occurs when opening M4A audio format files in Audacity. If you don’t have any errors, then skip to the section where I show how to export the loaded audio file to a file in the WAV format.
Using the FFmeg Library to Convert Mpeg Audio Formats into WAV Format
If you get the following error when opening the M4A file:
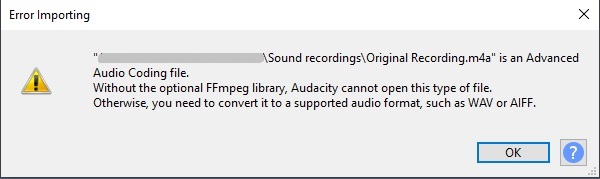
What the above error message means is that the M4A audio file is in a compressed audio format, which requires you to have an the FFmpeg third-party library installed, which allows compressed audio files to be converted to the uncompressed WAV file format.
Even though the WAV format is a Microsoft owned audio format, the FFmpeg library cannot be in a Windows default installation as the patent is not owned by Microsoft. To get around this problem, we will need to go to another site to retrieve this library. The link for the FFmpeg library installer is specified in the Audacity support page for the FFmpeg installation. If using Windows 10, download and install the 64-bit installer.
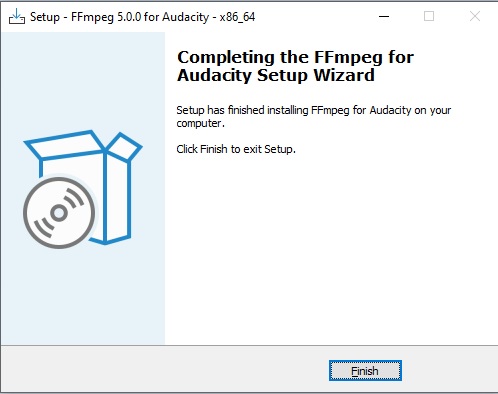
Following installation, you should be able to open any M4A audio file and load it successfully into Audacity.
In the next section I will show how to export loaded M4A audio files into audio files in the WAV format.
Exporting and Converting M4A Audio Files to WAV Audio Files
In this section I will show how to convert the M4A files into WAV format files.
With the FFmpeg library now installed for Audacity, you can now export M4A audio files into WAV files. In the File menu, the option Export Audio… allows us to export the loaded audio file into the WAV format.

The converted output audio can be stored and shared in the cloud or on your local machine.
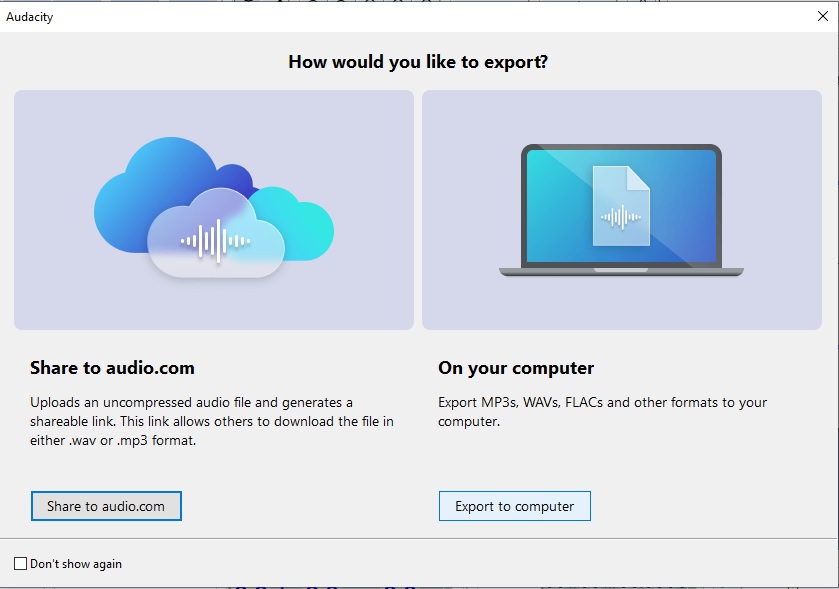
When the local option (Export to computer) is chosen, you will be presented with a dialog with export options:
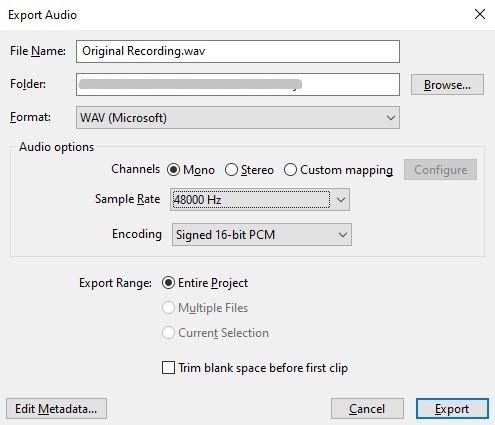
In the above dialog, I have selected the highest audio sampling rate of 48kHz with a Mono channel, and 16-bit PCM. When the file is exported, for a 6-second audio sample, the size of the WAV file is over 500kb.

Below is the Export dialog for a smaller sampling rate:
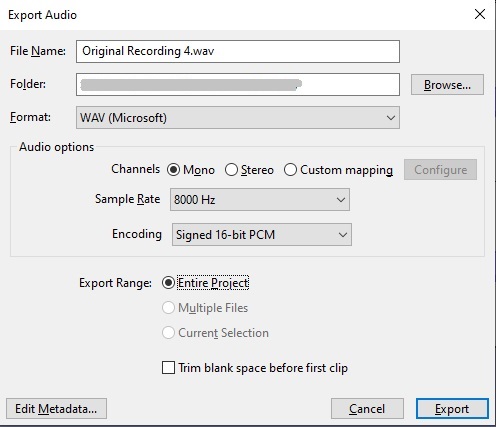
For an export with the lowest audio sampling rate of 8kHz with a Mono channel, and 16-bit PCM. When the file is exported, for a 6-second audio sample, the size of the WAV file is under 100kb:

We have seen how to prepare compatible audio files for use in Azure Speech Services using a useful audio conversion utility. In other posts I will show how to use the audio files for testing custom Speech Models and in speech to text Speech Recognition applications.
That is all for today’s post.
I hope that you have found this post useful and informative.
Andrew Halil is a blogger, author and software developer with expertise of many areas in the information technology industry including full-stack web and native cloud based development, test driven development and Devops.

