
Welcome to today’s post.
In today’s post, I will show how to create a basic web chat bot using the Bot Framework Composer tool.
I will first define what a chat bot is and how a natural language processing is used by bots to usefully determine what a user wants when they are in a conversation with a bot.
You will be aware of some common chat bots that are used in some very useful scenarios. These include usage in customer support, insurance support, technical support troubleshooting, menu ordering system.
What is a Chat Bot?
In all the above scenarios, a bot on its own does not understand any inputs and their meaning. A bot that is not programmed to understand inputs will not understand what the greeting, hello means, or the sentiment I am upset means.
A bot is basically a system that attempts to output realistic responses back to a user who supplies input sentences to the bot in a chat window. The realism of the responses is determined by how well the input is processed to handle the different intents of the user.
To be able to respond back to user inputs with a coherent conversation, a bot runs a natural language process (NLP), which takes the user input, which is a sentence, answer, or command, parses the input, determines the meaning of the input, then returns a sensible response to the user based on the meaning of the input.
What is Natural Language Processing?
Without using natural language processing, a bot is dumb, without any idea of the meaning of received inputs. Inputs like hello or goodbye are meaningless unless they are interpreted with an intention.
Natural language processing is applied to conversational inputs to determine the following:
- Receive and parse input text.
- Produce responses.
- Determine the intent (meaning) of the input text.
- Determine entities within the sentence.
- Route to a process based on user intent.
For example, with the sentence:
I want to order food.
the parser determines that the intent is order and entity is food.
The bot will then route the user to a specialist food ordering bot, which starts with a response that asks what type of food:
What food would you like to order?
Then the conversation continues from there. The response may also be a menu with choices to guide the user.
We can see that the processing of each input requires some language understanding then uses some logic to determine a response or route to another bot or perform an action.
Prerequisites for using the Bot Framework Composer
Before we can use the Bot Framework Composer, you will need the following libraries to be installed within your environment:
.NET Core SDK 3.1
Node.js v14+
If you have already used Visual Studio versions 2017, 2019 or 2022 then you will already have the .NET Core libraries, otherwise you can go to the Microsoft site and download the earlier version of .NET Core 3.1, which the Bot Composer uses. This would still work even though you would likely have the latest version of .NET Core, the Bot Composer will need version 3.1.
The Node.js environment can be downloaded from the Node site.
I am using the Windows environment, so the main tool I will use is the Bot Framework Composer for Windows. The installer can be found in the following link from the GitHub site for Bot Framework Composer.
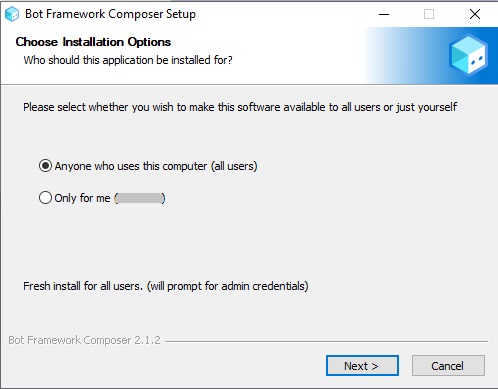
After downloading the installer, the installation is straightforward.
In the next section, I will show how to create a basic web chat bot using the Bot Composer Framework IDE.
Creating a Basic Chat Bot
In this section I will show how to create a new chat bot project using the Bot Framework Composer, which is an open-source IDE that allows developers to create chat bots and code the language parsing and decision-making processes, and determine responses and routing of the bot.
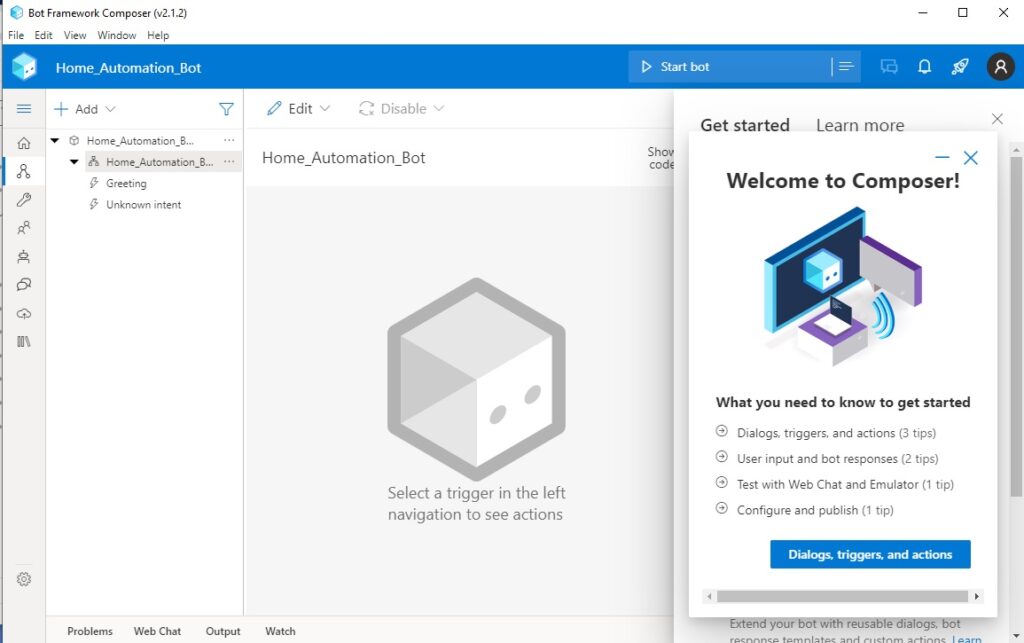
Following completion of the installation, you can open the Bot Composer application, where you will be taken to the landing page:
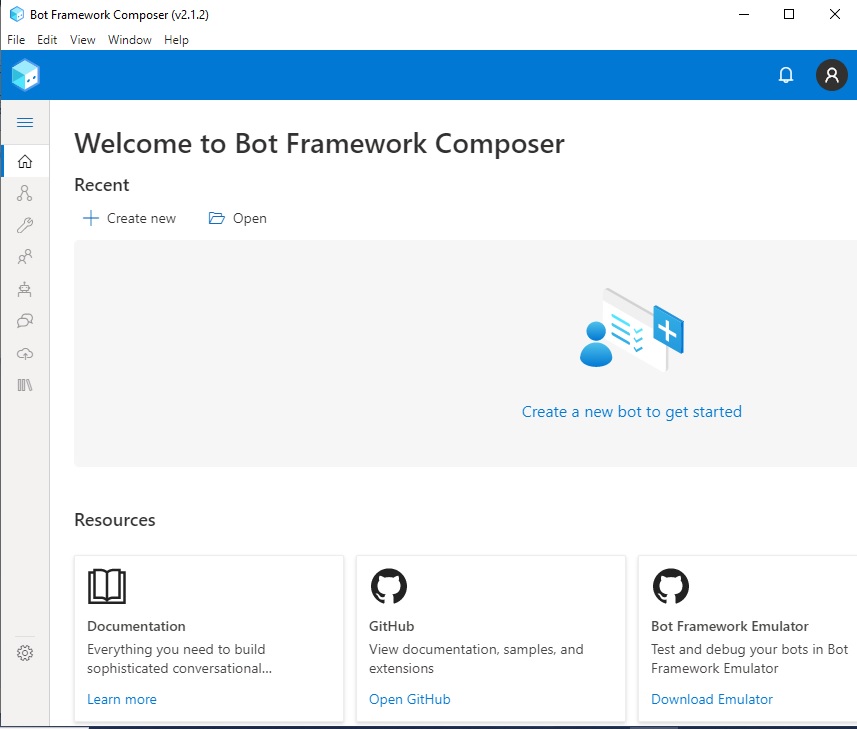
You will see two menu options, one to create a new project and another to open an existing project.
To create a new project, clicking on the Create new menu item displays the following dialog with ready to use bot templates …
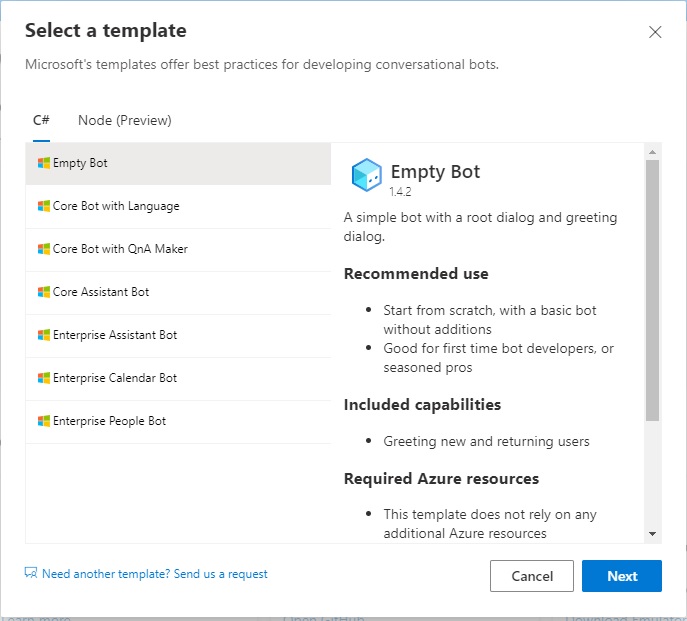
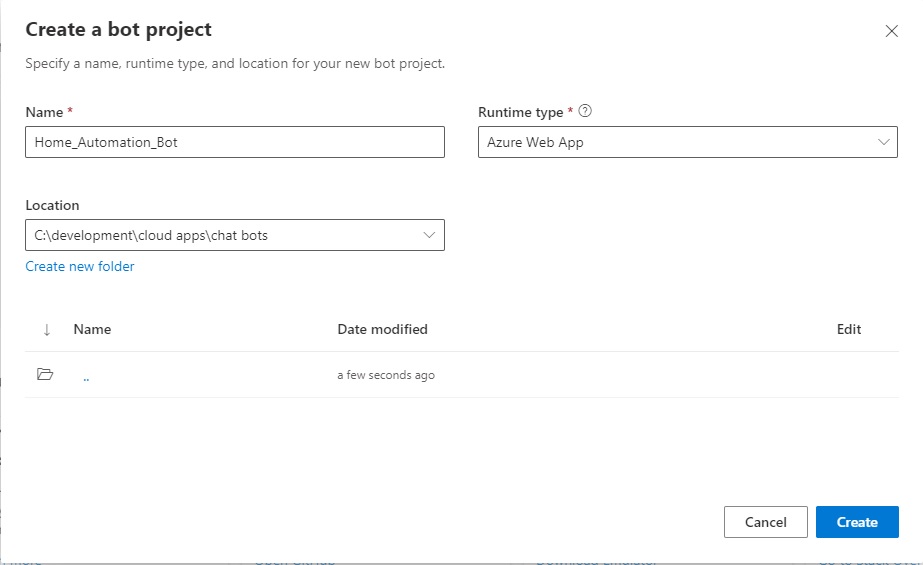
For our first chat bot, we will start with the Empty Bot template. Selecting this will download and setup the template. You will then be asked to provide the Name of the project, Location for the project and the Runtime type, which is either an Azure Web App or an Azure Function App.
After creating the project, after the folders, libraries and source for the project are created, you will be taken to a blank canvas, from where you can start your Chat Bot development journey:
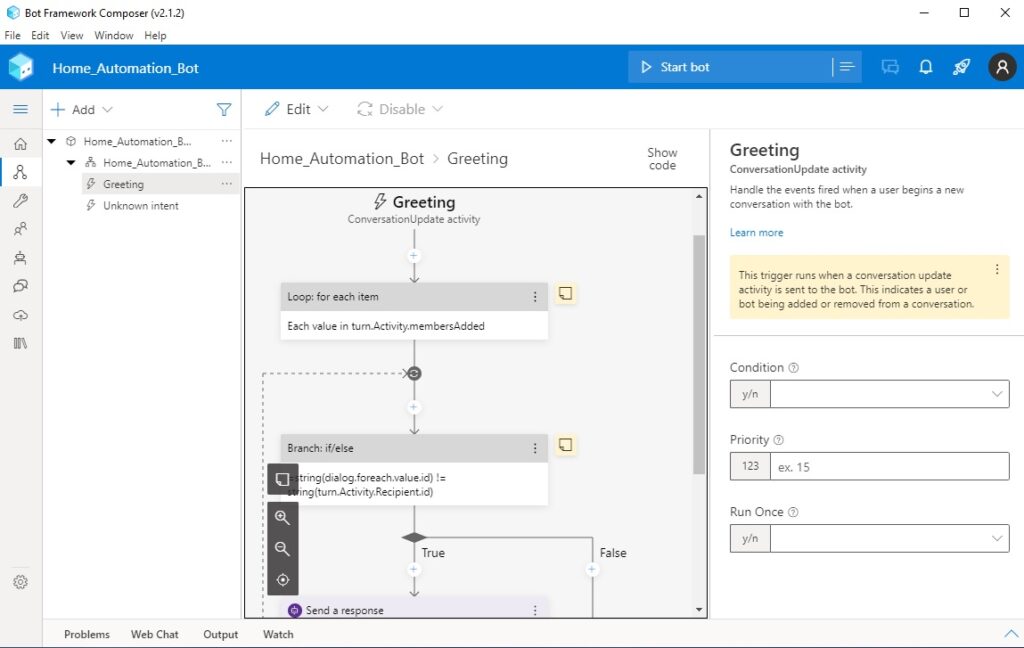
If we click on the Greeting trigger item on the right menu pane, we will see the visual representation of the chat flow including looping and branching activities. To the right pane of the screen, you will see the properties pane for the Greeting trigger:
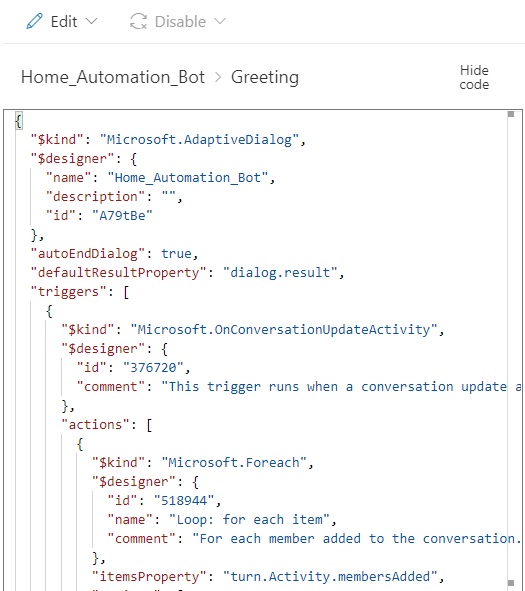
You can also inspect the generated code for the project by toggling the Show code action above the canvas:
The next steps for us are as follows:
- Add a dialog.
- Define bot responses.
- Add a trigger.
- Test the chat bot.
In the next section, I will show how to add a conversation dialog to the Chat Bot.
Adding a Conversation Dialog to the Chat Bot
A dialog is an object within the Bot framework that performs actions such as sending a response, asking a question, running a loop, creating a condition, or actioning another conversation dialog.
To create a dialog, we open the options from the ellipsis on the project level:

After selection, you will be asked to provide the name and description of the dialog:
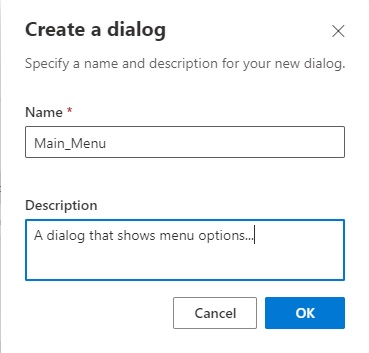
After the dialog is created, I am taken to the canvas for the dialog, which I have named Main_Menu:
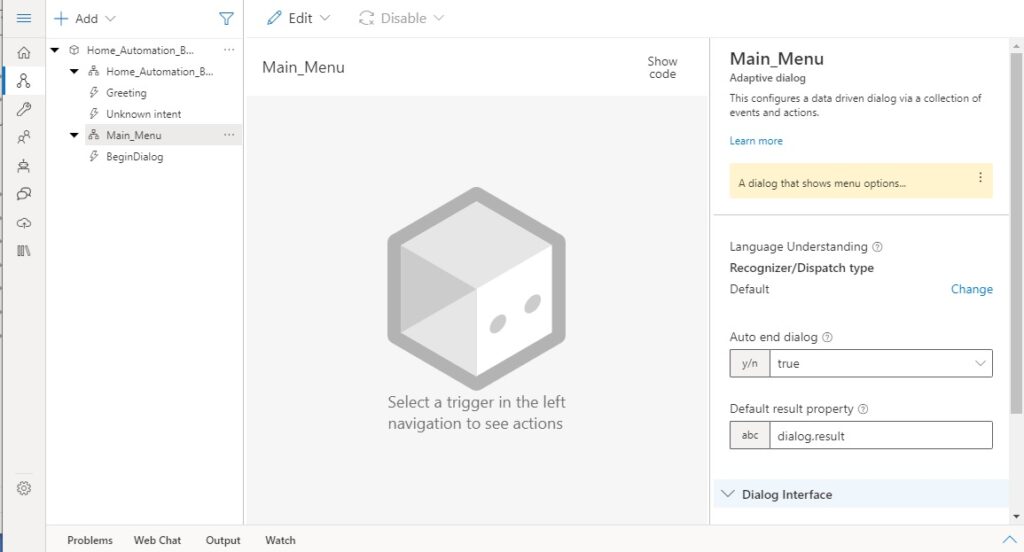
You will notice that there are properties on the right pane which can be overridden to determine the automatic ending of the dialog or the dialog result.
From the menu on the right, there is a trigger, BeginDialog, which we will need to use to define the initial bot response.
Selecting trigger BeginDialog takes us to the next canvas trigger screen:
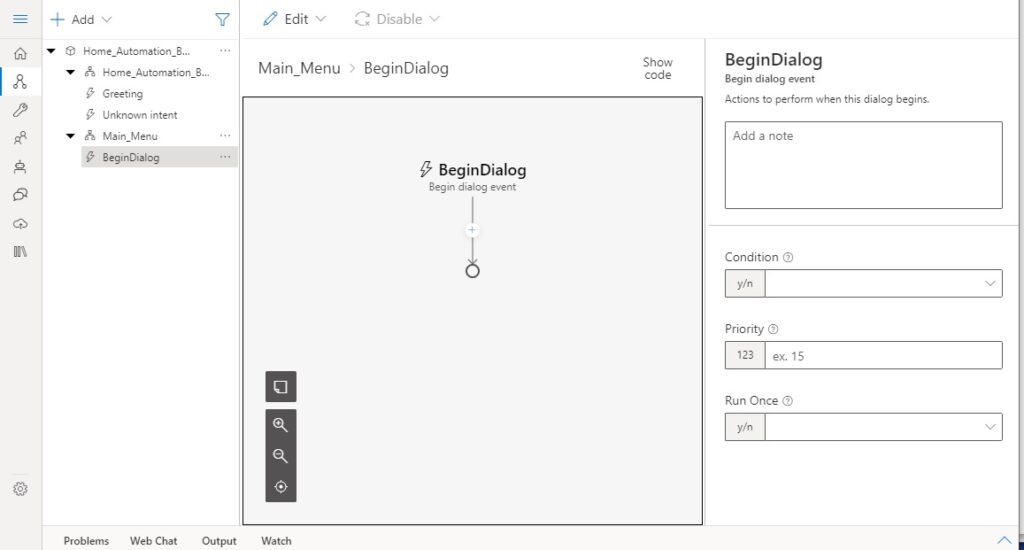
Like the other objects, there is a properties pane, which contains a Condition, Priority and Run Once properties.
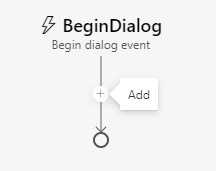
To add a response to the trigger, we will need to add a response event. We do this by clicking on the plus sign on the canvas:
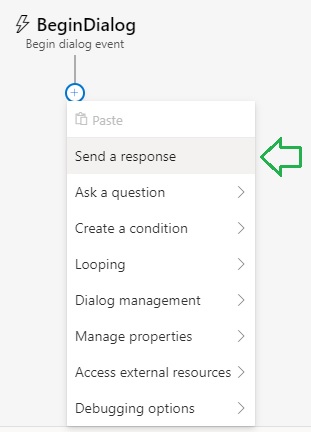
A list of event types is shown, where we select Send a response:
When the Send a response event, the properties pane shows allowing you to enter a note and the Bot text responses, where I have entered the menu text:
Automation options
- Lights
- Blinds
- Temperature
- Entertainment
The responses are then displayed in the event defined within canvas as shown:

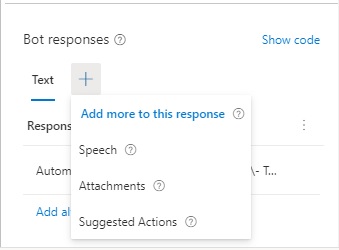
With the Bot responses, we can also select other types of responses that include Speech, Attachments, or Suggested actions:
In the next section, I will show how to connect the above menu dialog to the intent from an instruction entered by the user from the greeting dialog.
Connecting Dialogs with an Intent Recognition Trigger
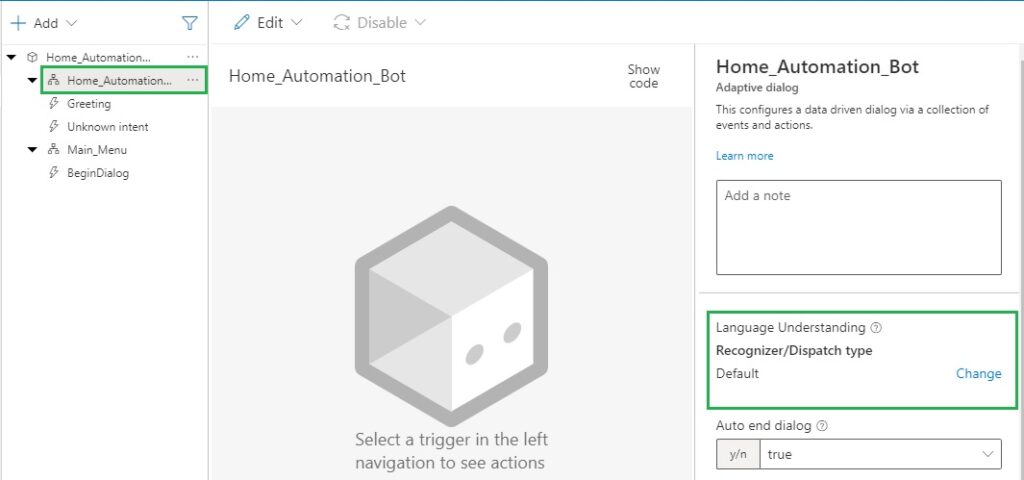
Next, I will connect a language recognition trigger that will recognize the intent of the input text. We do this my selecting the Home_Automation_Bot dialog, and to the right properties pane, under the Language Understanding property, click on the Change link:
In the dialog you will be presented with choices for a recognizer type:
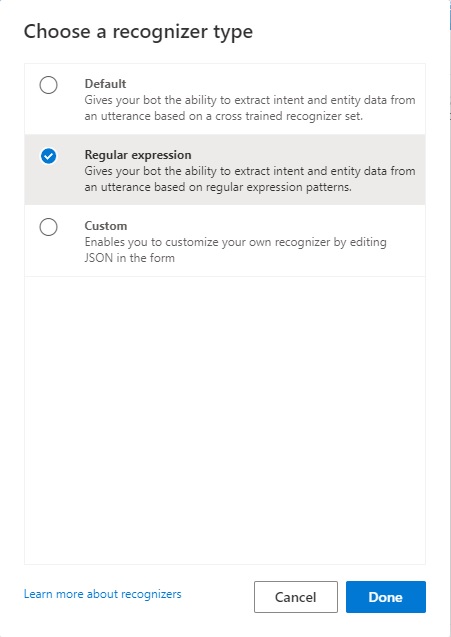
Select and accept the Regular expression option.
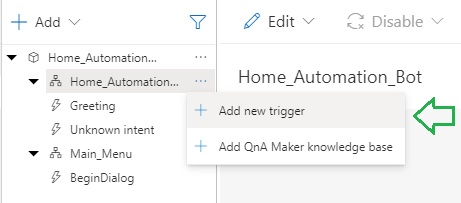
To add an intent recognition trigger, we select the Home_Automation_Bot dialog, and expand the context menu from the ellipsis as shown:
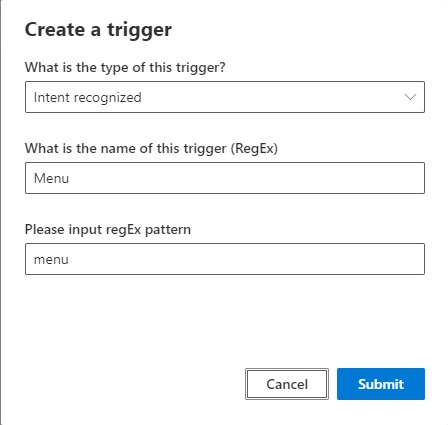
In the create trigger dialog that opens, select the Intent recognized option, name the trigger, and enter the input regular expression. In this case I will give the text menu:
To be able to trigger the response of the main menu dialog we defined earlier, click on the plus sign in the Home_automation_Bot dialog:

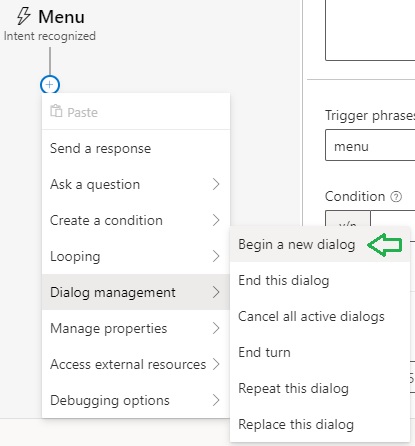
You will then be presented with a selection of events. Instead of sending a response, we will start a new dialog. We do this by selecting the event (Dialog management –> Begin a new dialog) as shown below:
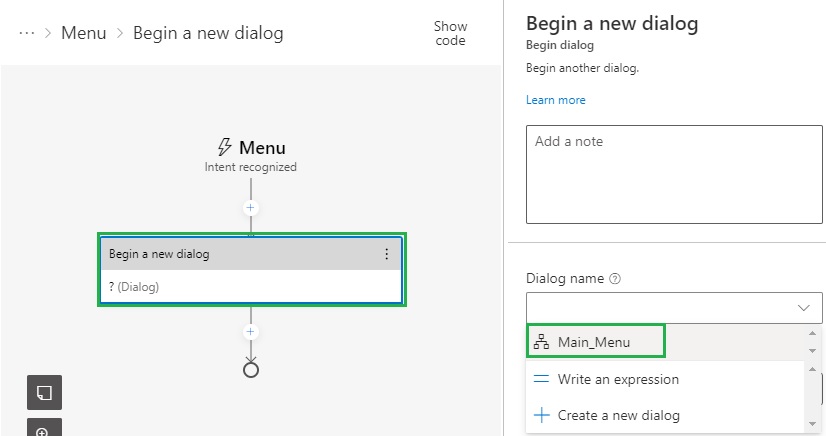
In the Begin a new dialog event you will see a question mark (?) to the right of the (Dialog) name. To make this unknown go away, we will need to select a value for the Dialog name property. We select the Main_Menu option as shown:
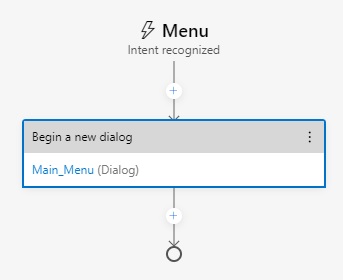
The dialog name is now correctly defined:
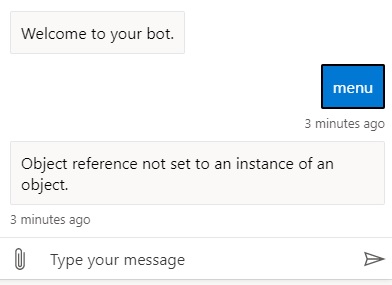
If we did not define the dialog name in the above step, when we run the chat bot and enter the text menu, we will get an Object not set to an instance of an object error like this:
The implementation of the basic chat bot is complete.
In the next section I will show how to run the chat bot using the runtime manager.
Running the Chat Bot Application
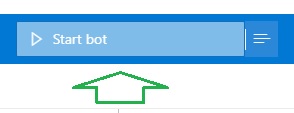
To run the chat bot to see the results of our labour, click the Start bot button on the title area on the IDE Window:
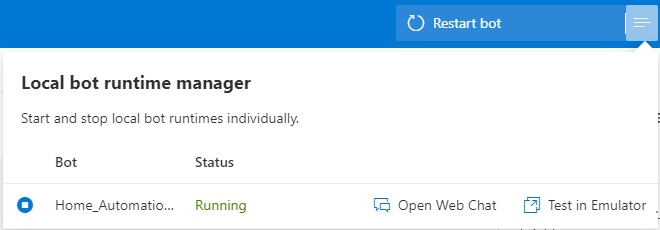
When the chat bot runtime manager is running, you will see two options, run bot as a Web Chat or Test in Emulator.
Select the Web Chat option.
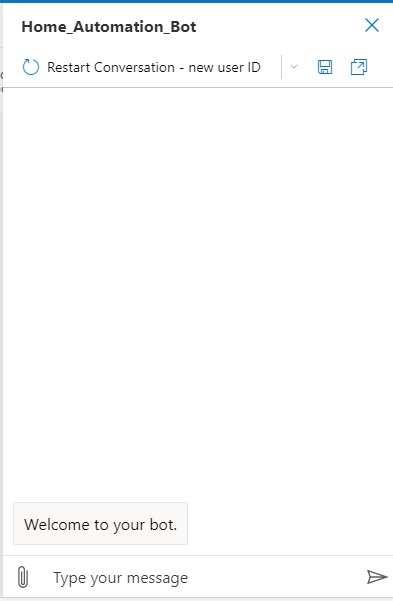
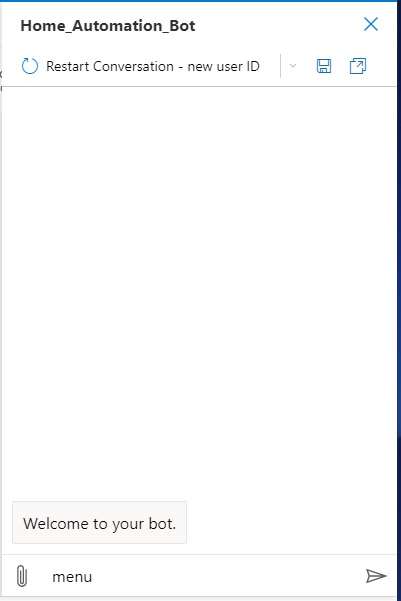
The chat window will open with the opening greeting from the bot:
Type in the input text: menu as shown:
After pressing the enter arrow, you will get the response:
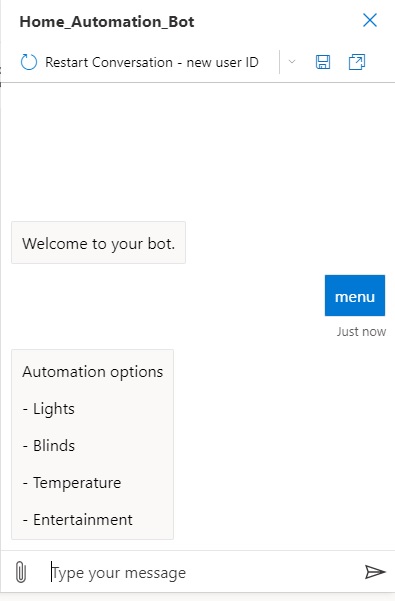
The bot has responded with the automation options menu response which we defined in the Main_Menu dialog earlier.
We have successfully implemented a basic web chat bot.
In future posts, I will show how to test the chat bot using the Bot Framework Emulator, use orchestration to route inputs, publishing a chat bot to Azure, and using speech in the chat bot.
That is all for today’s post.
I hope that you have found this post useful and informative.
Andrew Halil is a blogger, author and software developer with expertise of many areas in the information technology industry including full-stack web and native cloud based development, test driven development and Devops.

