
Welcome to today’s blog.
Today I will be giving an overview of how to build a docker container and image using the tools within Visual Studio 2019.
Before I show how to build Docker images with Visual Studio, I will explain what Docker images are and why we use them.
What are Docker Images?
Why do we use Docker images and what is their purpose in the continuous build and deployment lifecycle?
Docker is a self-contained image of all the artifacts used to comprise our application and architecture. It can be a standalone web application, a collection of APIs, or even an end-to-end application stack comprising of a web UI, web APIs, libraries and databases. The most common use for Docker is with microservices architectures, where a self-contained image of an entire system can be re-built, tested, and deployed across to a production clustered environment such as Kubernetes or Service Fabric at a low cost. There is no additional hardware cost involved as the container images are virtual.
Why do we use Docker Images?
Docker images are a replica of the equivalent systems we would use in a workstation development environment. They are also equivalent to builds within a non-development environment, like a test or production environment.
These are used extensively in continuous build and deployment environments, where there is a need to install, configure, build, run, test, then tear down the environment. This provides minimal overheads for hardware resources, operating systems, and software that can take longer than with a manual setup.
Adding Docker and Docker Compose Support to Visual Studio
To be able to use the Docker container tools within Visual Studio 2019 you will need an installation of Docker for Windows including its command line tools.
There are two types of Docker containers available, Windows and Linux. The Linux containers are at this time better supported and more stable, so we will be using Linux containers for our OS when building the Docker images.
Assuming you have an existing .NET Core application. The next step we will take is to add Docker and Docker Compose support to our application.
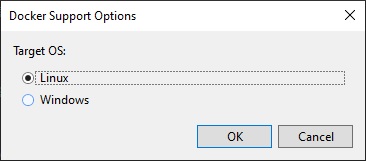
In the solution context menu, select Add -> Docker Support.
In the dialog, select the Linux target OS as shown:
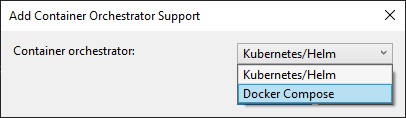
After this is added, from the same solution context menu, select Add Orchestrator Support.
In the dialog that shows, select Docker Compose:
After adding the above, you will see newly created files.
The first is the docker file.
I will explain the Docker file in the next section.
Creating a Docker File for the Docker Image
The docker file is used to pull dependencies (such as the .NET Core framework) from remote repositories, enable ports for your container applications, restore the .NET Framework within your application folder, build the application, then publish the final artifacts as a Docker image.
FROM mcr.microsoft.com/dotnet/core/aspnet:3.1-buster-slim AS base
WORKDIR /app
EXPOSE 80

FROM mcr.microsoft.com/dotnet/core/sdk:3.1-buster AS build
WORKDIR /src
COPY ["BookLoan.Catalog.API/BookLoan.Catalog.API.csproj", "BookLoan.Catalog.API/"]
RUN dotnet restore "BookLoan.Catalog.API/BookLoan.Catalog.API.csproj"
COPY . .
WORKDIR "/src/BookLoan.Catalog.API"
RUN dotnet build "BookLoan.Catalog.API.csproj" -c Release -o /app/build

FROM build AS publish
RUN dotnet publish "BookLoan.Catalog.API.csproj" -c Release -o /app/publish

FROM base AS final
WORKDIR /app
COPY --from=publish /app/publish .
ENTRYPOINT ["dotnet", "BookLoan.Catalog.API.dll"]
The docker compose (YML) file is used to create and build a container, then add the docker image to the container. Multiple images can be built and moved into their own containers.
version: '3.4'

services:
  bookloan.catalog.api:
    image: ${DOCKER_REGISTRY-}bookloancatalogapi
    build:
      context: .
      dockerfile: BookLoan.Catalog.API/Dockerfile
After building the container, you will see the created images using the Docker command:
docker ps

To view generated Docker images use the following command:
docker images

In the next section, I will show how to run and debug the docker image from within Visual Studio.
Running and Debugging the Docker Image from Visual Studio
After our Docker container and images are created, can we run and debug them from within Visual Studio 2019?
The answer is yes.
If we try to launch Docker image from within the IDE, we may get the following error:
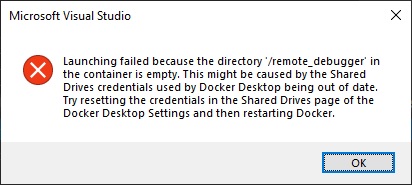
If we get this error, then we will have to make a small adjustment to allow the Docker to populate the remote debugger folder within the container. This involves resetting the credentials for Docker to access our shared C drive.
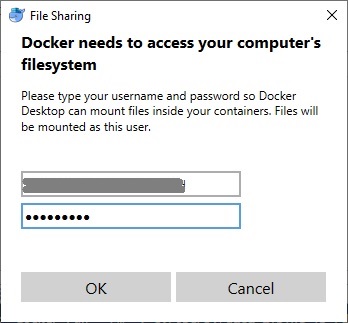
First open Docker Windows settings. In shared drives, select Reset Credentials, then reselect the C: drive.
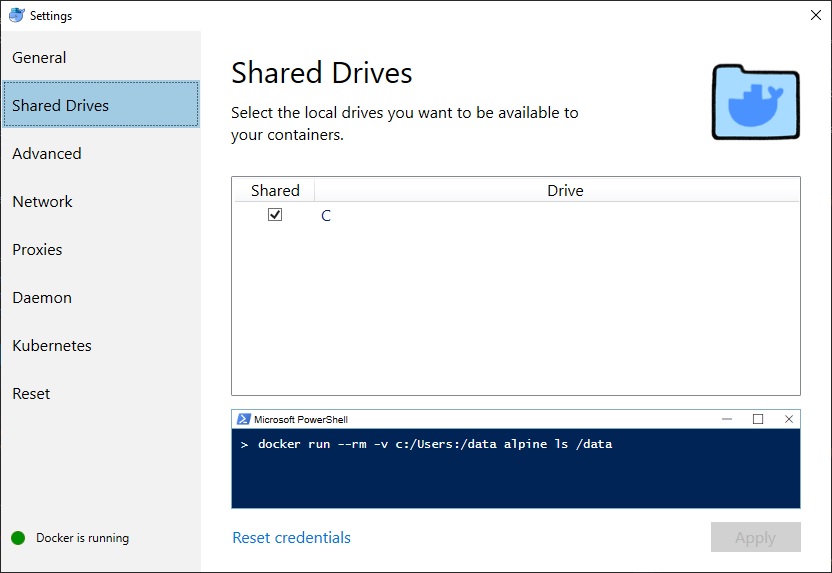
Then Apply changes.
You will then need to enter your credentials to confirm the changes:
You docker image should now be able to run within its container.
If you experience issues when using database connection strings that reference SQL server databases within your hosting environment within your container, then you will need to get the IP address of your hosting environment. This can be done by running the command:
ipconfig
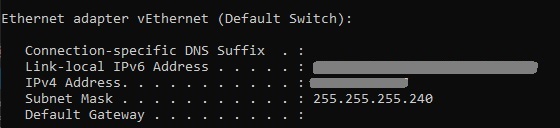
Then use the IPv4 address within your connection strings.
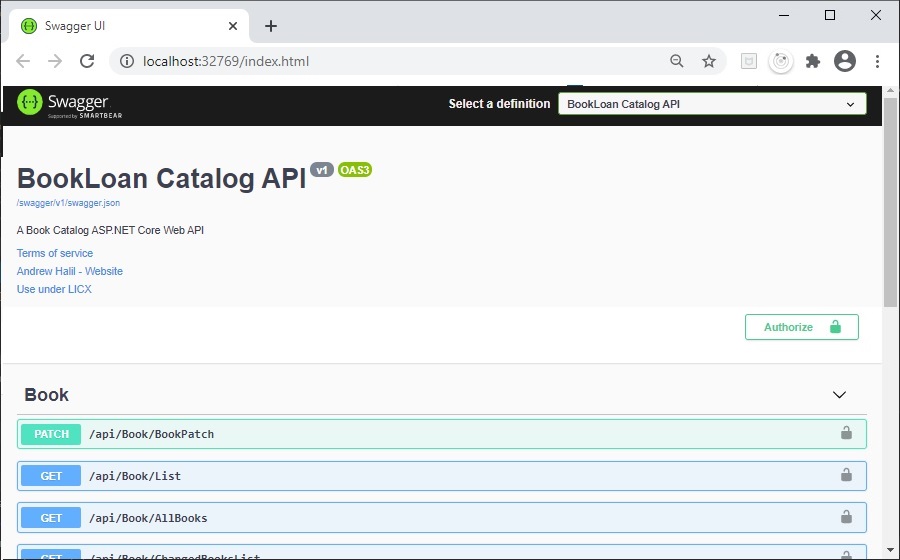
When the image launches, you will see the application in the browser:
Note that the IP address of the Docker container can be obtained by following the steps below:
1. Run command docker ps.
2. get the container id.
3. Run the command docker inspect [container id]
4. In the output get the value from the “HostPost” key (under the “80/tcp” key):
 "Ports": {
     "80/tcp": [
     {
         "HostIp": "0.0.0.0",
         "HostPort": "32769"
     }
     ]
 },
While the container is running you should be able to see the running and paused docker containers:
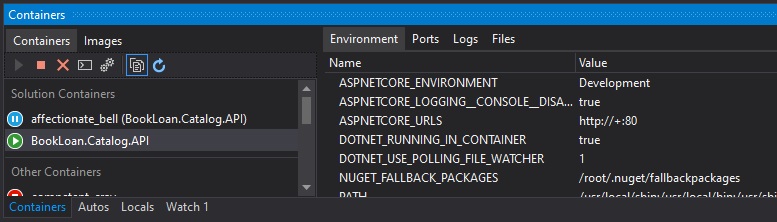
and images:

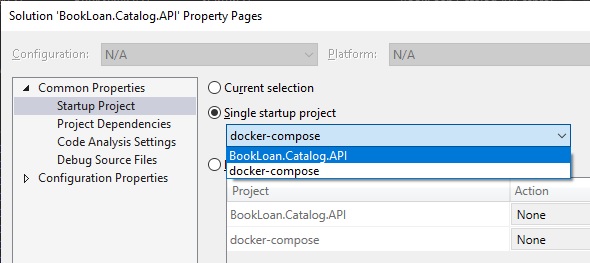
To switch back to your default application launch which launches the application outside of the containers, open solution properties and amend the Single start up project back to the web application as shown:
That’s all for today’s post.
I hope you found this post useful and informative.
Andrew Halil is a blogger, author and software developer with expertise of many areas in the information technology industry including full-stack web and native cloud based development, test driven development and Devops.

