
Welcome to today’s post.
In today’s post, I will show how to add NUnit tests into the build tasks for a full build, test and release pipeline with the TeamCity Continuous Integration / Continuous Deployment Tool.
In a previous post I showed how to create a build configuration within TeamCity for an existing .NET Core Application within a GitHub source repository.
I will first explain how a unit testing step works within a continuous build pipeline.
Unit Testing within a Continuous Integration Build Pipeline
Integration of unit testing into the continuous build, test and deployment pipeline is one of the most powerful automated tasks you can integrate into your CI (continuous integration) and CD (continuous deployment) development pipeline process. Without having a set of unit tests within your pipeline, the quality of your build does not have a quantifiable measure that can be communicated to the test or QA teams or to the developers that work to improve the quality of software artifacts.
I will go through a walkthrough of the procedure of integrating a unit test into an existing Team City:
The process is depicted in the diagram below:

A developer makes some changes within the code repository, then commits the changes into the repository. When the code is in the repository, the build step for a code build in the continuous build pipeline are then be executed on the code.
In the build steps, the NuGet packages are first restored into a working folder. Then a checkout of the code is executed to copy the current code into the working folder. The code that is checked out can include both application code and unit test code.
A subsequent build step that is a unit test then runs against the code in the unit test project that is in the working folder. The results are then reported within the continuous build pipeline run.
Configuring Steps in the Build Pipeline Configuration
In this section, I will show how to configure the build steps in the Build Pipeline.
The current version I am using for this post is Team City 2018 (there has since been a 2019 release).
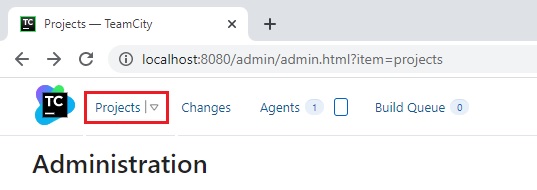
Open TeamCity (the URL might be something like http://localhost:8080).
In the landing page, click on the Projects menu item.
In the projects page, click on Build under the project:
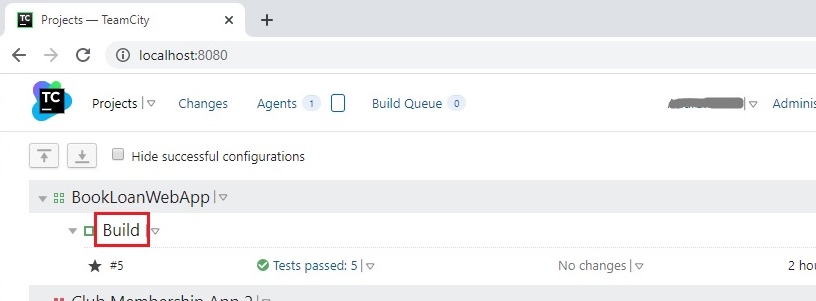
Click on Edit Configuration Settings in the Build page:


Click on Add build step.
In the next screen, a test step can be created as shown:
In the next section, I will show how to setup the unit test runner step that will execute the unit tests.
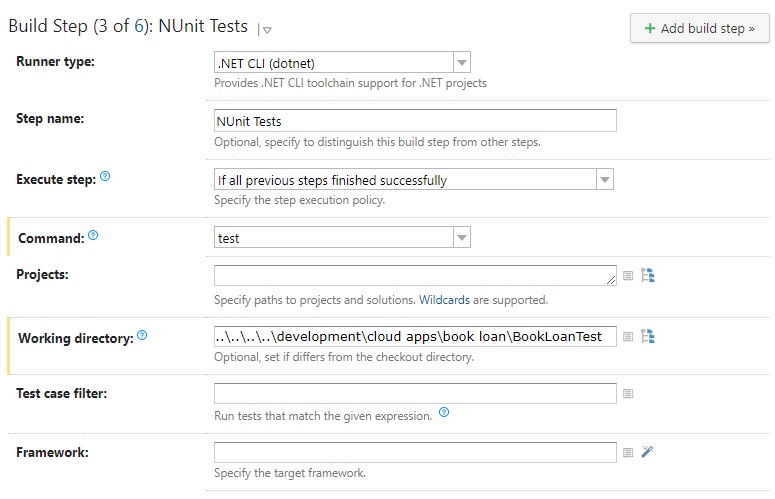
Setup of the Unit Test Runner Command
The Runner type is the command that will run our unit tests. In the pre-dot net Core days this would have been the NUnit runner. For this step we will apply the .NET Core command:
dotnet test
The Command will be test.
Next, the Working directory should reference the actual unit test project for this application.
You will find that with .NET Core web applications, the unit test does not accommodate easily within the same folder structure as the application csproj. Also, GitHub repository integrations with other tools such as Docker, Team City etc. only support one project at a time per repository. You can check in a project that has multiple embedded projects for the same solution, however the resulting triggers into GitHub default to the main starting project of the solution.
Copying test project structure into the \TeamCity\buildAgent\work subfolder will not work as the work folder is cleared out for each subsequent build pipeline. The best workaround I can think of is to reference the unit test project relative to the \work\[build id] sub-folder:

After determining the relative path, the build step containing the working directory should look something like this:

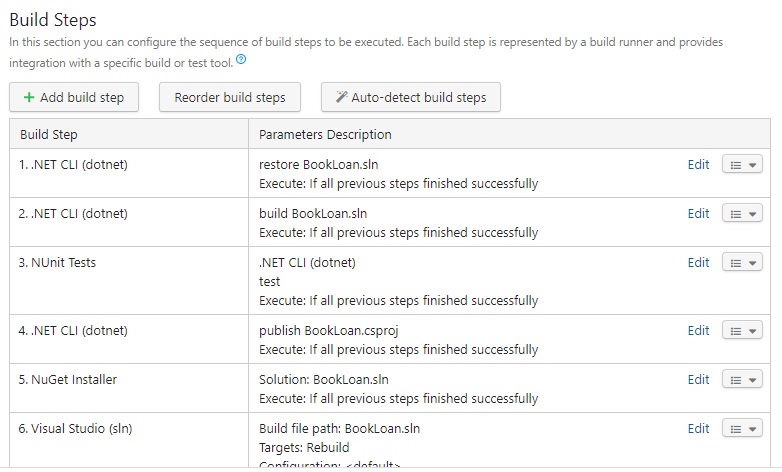
After saving the step and reordering the test step before the publish step. the list of build steps looks as follows:
In the next section, I will go through a run of the build and how the unit tests are executed and their results.
Execution of the Build and Inspection of Results
After running the build, open the logs to inspect progress.
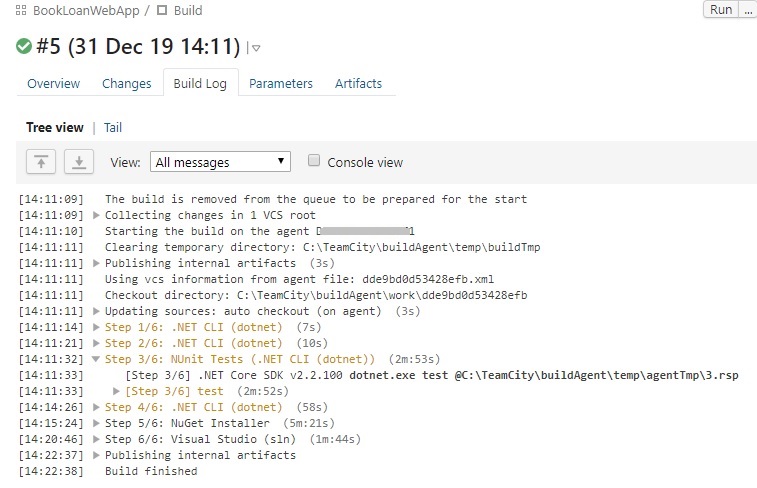
Expanding the unit test step will show each successive test as it is run:

Under Agents | Build History or Projects | Build are the test reports which show which test build passed and which ones failed:
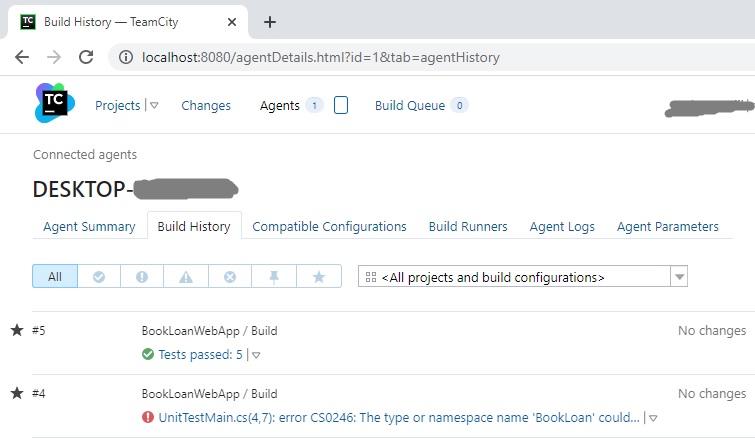
Drilling into the most recent test run will show a conclusion of each test run and duration:

Click on all tests will show a detailed summary including status and duration:

I would recommend integrating a unit test into the pipeline early in the development cycle so that developers can update their unit tests and have progress on the quality of code updated regularly. This helps not only the developers in understanding how robust their unit tests are, but also for the test team and stakeholders to gain confidence in the quality of the released software.
Knowing what reduces the quality of software is equally as important as knowing when the tests are successful, and with this will enable the build, test, and deployment pipeline to successfully lead to well build and tested deliverables.
That’s all for today’s post.
I hope you found it useful and informative.
In a future post I will show how to deploy your application build from Team City into a production environment.
Andrew Halil is a blogger, author and software developer with expertise of many areas in the information technology industry including full-stack web and native cloud based development, test driven development and Devops.

