
Welcome to today’s post.
In today’s post I will be what speech synthesis is and how to translate from text to speech. I will also show how to use Azure AI Services to help translate text to speech.
With speech synthesis we take as input the text, then provide as output a sound file, which when played back, includes the audio representing the input text as a speech.
With Microsoft Azure AI Services, we can create a subscription to an AI Speech Service that provides us with the capability of translating from text to speech to text and from speech to text.
Before I show how to implement a speech synthesis, I will show how to create and setup an AI Speech Service from the Azure Portal. I will then show how to use the speech service to call useful functions within the Azure Speech Services SDK to provide us with speech synthesis capability.
Creation and Setup of an Azure Speech Service
Open the Azure Portal.
Select Resources.
Search for “speech service”.
You will see the service below:
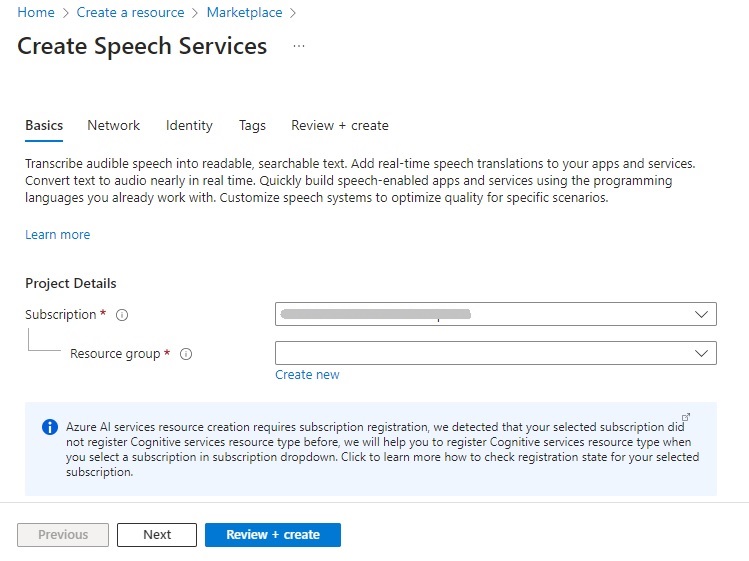
Click the Create button.
In the create resource screen, select your subscription and resource group.
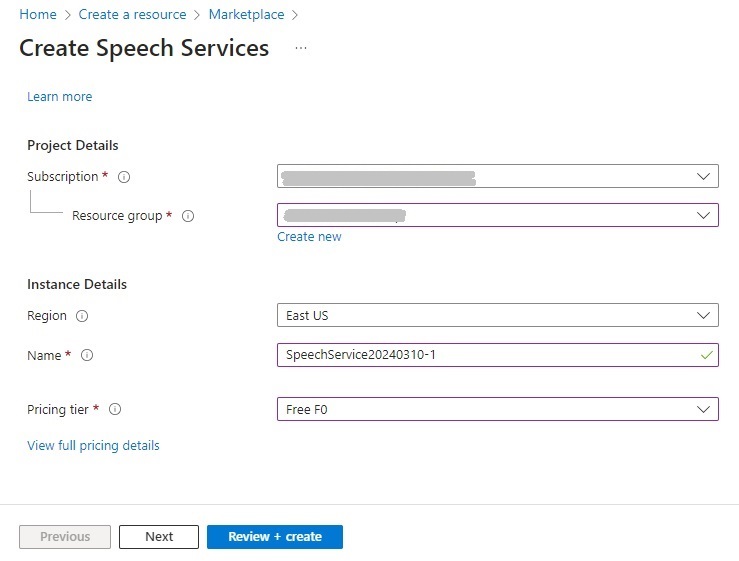
Click Next. In the instance details screen, enter the Region, Name and Pricing tier.

The pricing tier includes Free (F0), Standard (S0), and Premium.
If starting out for the first time, you can select the Free tier.
After the speech service resource is created, you will be able to connect to it and use the speech services in your own applications.
One of the first things you can try from the Portal is the Azure Speech Studio.
The AI Speech Studio allows you to try out speech operations such as audio to text for free before deciding what features to use from the service.

Also, you may get the following Region is not supported error when using the speech studio:
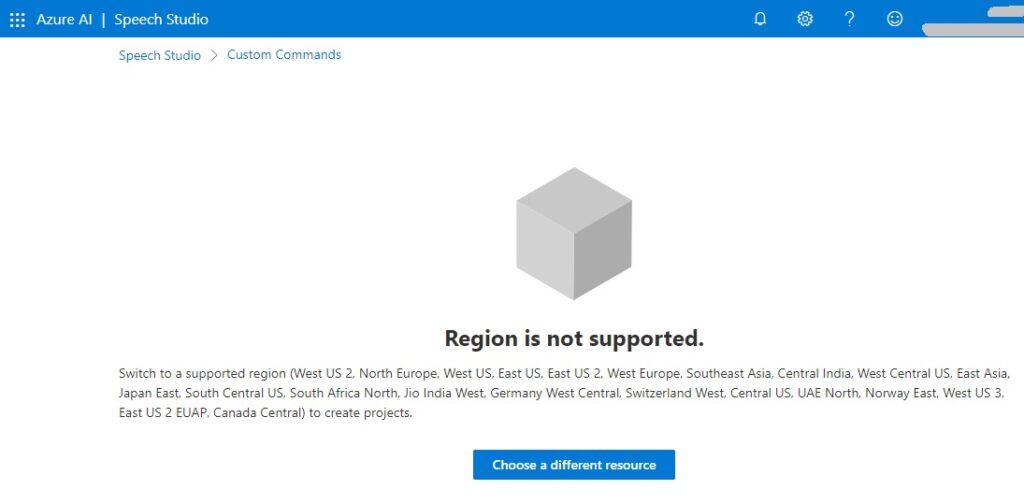
Not all the regions support the Free tier, so you may have to re-create the speech service resource again with a region that does support the free tier.
Once you have the Azure AI Speech Resource created and setup you can use that to synthesize speech audio from text. Before I show how that is done, I will explain the Azure Speech SDK in the next section.
Overview of the Cognitive Services Azure Speech SDK
To be able to use speech services, we will need to use the Azure Speech SDK, which is a library of methods and functions that allows us to perform many of the speech features in our own development environment.
Some of the methods of the SDK are unable to work in all development environments. For example, in a development environment that is using a server-side development tool, such as ASP.NET Core, the generated audio from a microphone on the server that is running the SDK methods are unable to output the audio to the microphone of the client application that is streaming the audio output. If the application is running speech SDK functions on a web server within a development machine, there are still limitations preventing audio from running onto a web client.
When the SDK functions and methods are run from a console application or directly from JavaScript within a browser client, the methods for returning audio files, text and microphone output are supported.
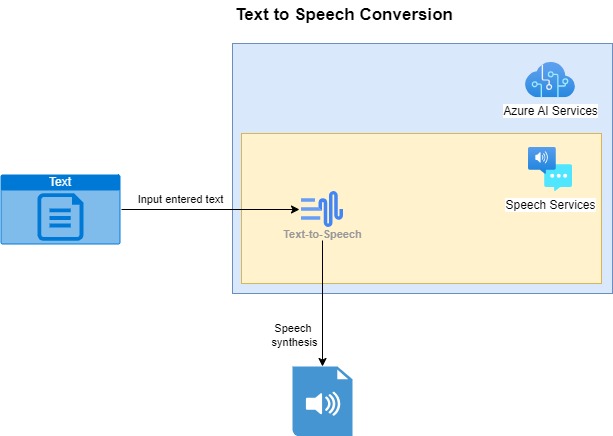
An overview of how the conversion works with the Azure AI Speech Service works to take input text and convert it to a sound file using the Text to Speech SDK in shown below:
The example I will be providing for the text to speech translation is written in C# as a console application.
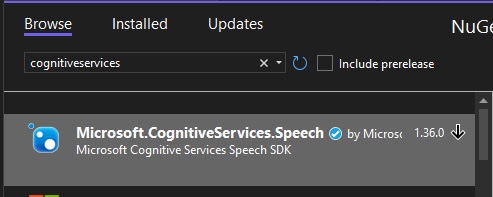
To use the speech services, you will need to first install the NuGet package Microsoft.CognitiveServices.Speech:
The next step is within our code, where we need to specify the parameters to connect and use the speech service functions. To do this we will need to provide one of the subscription keys and the region of the service. These are obtained from the Overview of the resource in the Azure Portal. The subscription key must be treated as an access credential, which can be misused if compromised by an untrusted party.
When using the subscription key and region in your application, they should not be hard coded or stored in publicly accessible settings files. Storing them in a secure key vault that is accessible through a configuration provider or in environment variables hides the key details from unauthorized access.
To store the access keys in environment variables you can do the following from a Windows command prompt:
setx SPEECH_KEY subscription-key
setx SPEECH_REGION subscription-region
Where subscription-key and subscription-region are your subscription key and region of the AI service.
To declare the SDK within the application startup, use the following declarations:
using Microsoft.CognitiveServices.Speech;
using Microsoft.CognitiveServices.Speech.Audio;
The above namespace library declarations allow us to use the cognitive speech library and the audio processing methods within the library.
To set up the speech configuration, use the FromSubscription() method of the SpeechConfig SDK class:
string speechKey = Environment.GetEnvironmentVariable("SPEECH_KEY");
string speechRegion = Environment.GetEnvironmentVariable("SPEECH_REGION");

var speechConfig = SpeechConfig.FromSubscription(
    speechKey,
    speechRegion
);
The first property we need to set is to shape the output of the synthesized audio and the speech voice accent. This is done using the speechSynthesisVoiceName property of the SpeechConfig class.
An example of how this is done is shown below:
speechConfig.speechSynthesisVoiceName = "en-AU-NatashaNeural";
You should aim to use a voice that is applicable to the country/culture that your application will be hosted for. A full list of synthesized voices for different regions and genders is on the language support section of the Microsoft AI Services site for text to speech.
The audio output is configured using the AudioConfig SDK class fromAudioFileOutput() method:
var audioConfig = AudioConfig.FromAudioFileOutput(audioFile);
Where audioFile is the string name of the audio file that will store the audio file output of the generated speech.
We next create an instance of the SpeechSynthesizer SDK class that will allow you to specify input text and the output audio file. This is done as shown:
var synthesizer = new SpeechSynthesizer(speechConfig, audioConfig);
Applying the text to the SpeechSynthesizer SDK class to produce synthesized audio output file is done using the SpeakTextAsync() function, which returns an asynchronous task result of type <Microsoft.CognitiveServices.Speech.SpeechSynthesisResult>.
We return a synthesis result with the following asynchronous call:
SpeechSynthesisResult speechSynthesisResult = await synthesizer.SpeakTextAsync(enteredText);
We process the output as shown:
switch (speechSynthesisResult.Reason)
{
    case ResultReason.SynthesizingAudio:
        Console.WriteLine(
 		    $"SYNTHESIZING: Speech synthesizing Text={enteredText}...");
            break;
    case ResultReason.SynthesizingAudioCompleted:
        Console.WriteLine(
  		    $"SYNTHESIZED: Output File={audioOutputFile}. Duration={speechSynthesisResult.AudioDuration}.");
            break;
    case ResultReason.Canceled:
        Console.WriteLine($"CANCELED.");
            break;
}
There are two key result enumerations to bear in mind:
ResultReason.SynthesizingAudio
ResultReason.SynthesizingAudioCompleted
The first result type is returned during the synthesis of the audio.
The second result type is returned at the completion of the audio synthesis.
In the next section, I will show how to execute a console application with the above SDK functions to produce synthesized speech output from text input.
Running a Script to Synthesize Text to Speech
Below is the main method that uses standard input for sentence text and an output file location, then synthesizes an audio output file:
static async void RunGenerateSpeechFromText(SpeechConfig speechConfig)
{
    SpeechSynthesisResult speechSynthesisResult;
    ConsoleKeyInfo consoleKeyInfo;

    string? audioOutputFile = String.Empty;
    var enteredText = String.Empty;

    bool isFinished = false;

    speechConfig.speechSynthesisVoiceName = "en-AU-NatashaNeural";

    while (!isFinished)
    {
        Console.WriteLine("Enter text to synthesize to audio:");
        enteredText = Console.ReadLine();

        Console.WriteLine("Enter location of output audio file:");
        audioOutputFile = Console.ReadLine();

        if (audioOutputFile == String.Empty || audioOutputFile?.Length == 0)
        {
            Console.WriteLine("Please specify a valid output filename.");
            return;
        }

        using (var audioConfig = AudioConfig.FromWavFileOutput(audioOutputFile))
        {
            using (var synthesizer = new SpeechSynthesizer(speechConfig, audioConfig))
            {
                speechSynthesisResult = await synthesizer.SpeakTextAsync(enteredText);

                switch (speechSynthesisResult.Reason)
                {
                    case ResultReason.SynthesizingAudio:
                        Console.WriteLine($"SYNTHESIZING: Speech synthesizing Text={enteredText}...");
                        break;
                    case ResultReason.SynthesizingAudioCompleted:
                        Console.WriteLine($"SYNTHESIZED: Output File={audioOutputFile}. Duration={speechSynthesisResult.AudioDuration}.");
                        break;
                    case ResultReason.Canceled:
                        Console.WriteLine($"CANCELED.");
                        break;
                }

                Console.WriteLine("Press Y to give another sample. Escape to finish.");
                consoleKeyInfo = Console.ReadKey(true);
                if (consoleKeyInfo.Key == ConsoleKey.Escape)
                {
                    Console.WriteLine("Escape Key Pressed.");
                    isFinished = true;
                }
            }
        }
    }
}
The above method is called from within the main method which configures the speech service below:
async static Task Main(string[] args)
{
    HostApplicationBuilder builder = Host.CreateApplicationBuilder(args);

    string speechKey = Environment.GetEnvironmentVariable("SPEECH_KEY");
    string speechRegion = Environment.GetEnvironmentVariable("SPEECH_REGION");

    builder.Services.AddLogging(
        l => l.AddConsole().SetMinimumLevel(LogLevel.None));

    using IHost host = builder.Build();

    var speechConfig = SpeechConfig.FromSubscription(speechKey, speechRegion);
    speechConfig.SpeechRecognitionLanguage = "en-US";

    Console.WriteLine("For Speech Recognition from a File Press F.");
    Console.WriteLine("For Speech Synthesis from entered Text Press V.");
    Console.WriteLine("Press Escape to finish.");
    ConsoleKeyInfo consoleKeyInfo = Console.ReadKey(true);
    if (consoleKeyInfo.Key == ConsoleKey.F)
        RunRecognizeSingleCommandsFromFile(speechConfig);
    if (consoleKeyInfo.Key == ConsoleKey.V)
        RunGenerateSpeechFromText(speechConfig);
    await host.RunAsync();

    Console.WriteLine("Application terminated.");
}
If the text can be synthesized to audio speech, the result of the reason property of the SpeakTextAsync() functionreturns SynthesizingAudioCompleted. If the text is unable to synthesize any audio speech, then the errorDetails property of the result contains the error.
After building and running the console application, the following prompts appear:

Enter V and in the text prompt press the Enter key, then enter the output file path and name. You will notice that the file duration is zero seconds:

This will result in the output file being empty and size zero.
Now try a different input with the text:
Make hay while the sun shines!
Enter the output filename. After entering, you will see the following output:

On completion, the audio file will be generated with a duration:

The audio file is in the WAV format at 256kbps.

When played back it will sound a little robotic and monotone.
We have used the Azure AI Speech Services SDK to synthesize speech from some sample text.
There are some useful applications of text to speech conversion. These include:
- Reading text instructions for visually impaired people.
- Reading of public announcements from dynamically generated text inputs.
I will cover other uses for the Speech Services SDK in another post.
That is all for today’s post.
I hope that you have found this post useful and informative.
Andrew Halil is a blogger, author and software developer with expertise of many areas in the information technology industry including full-stack web and native cloud based development, test driven development and Devops.