
Welcome to today’s post.
In today’s post I will be showing you how to use recorded audio voice files to run a test to evaluate the quality of speech recognition of a customized speech model compared with a Microsoft baseline speech model.
In one of my previous posts, I showed how to implement a custom speech model using a combination of the Azure AI Speech CLI and the Azure AI Speech Studio. I showed how to create a new speech project, upload structured markup file language datasets, train the model from the dataset, then create an endpoint for deployment purposes.
What I did not show was how to apply a test to evaluate the quality of recognition of our custom speech model quality against training audio dataset.
A quality test is an inspection test that requires the subjective view of the tester to determine if a training dataset is of sufficient quality to be used as a custom speech model. The tester inspects the transcription output from the test to decide if the custom model is suitable for use, and whether further training is required.
The training dataset consists of one or more audio file WAV files that we have recorded, then archived into a ZIP file.
I will explain the test process in the first section.
Process of Testing the Recognition Quality of a Custom Speech Model
In this section I will go through the process to apply the evaluation test using the audio file on our trained custom speech model with a comparison against a Microsoft speech baseline model.
The process for quality testing of custom speech models is shown below:
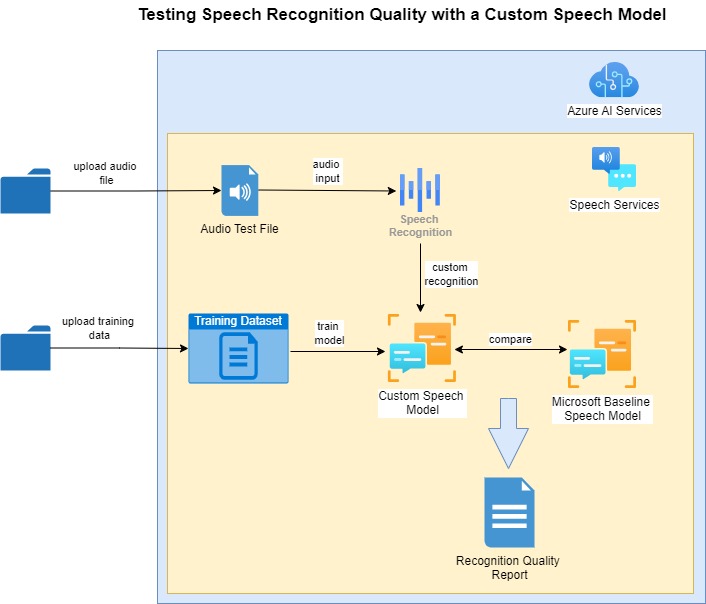
One of the prerequisites before recognition quality testing can commence are that the custom speech model is trained with an uploaded text file training dataset.
We then upload an audio file that includes the vocal utterances to help test the training dataset.
After the audio file is uploaded, a baseline model is selected to compare the results of the speech recognition with the custom speech model.
When the quality test is run against the audio test file and the custom speech model, the quality results reports are output showing any discrepancies between the custom and baseline speech models.
In the next section I will show how we record the audio file and upload it as a dataset into our Azure AI Speech Studio project.
Uploading Audio WAV Files to the AI Speech Studio Project
In this section I will show how to go through the process of uploading an audio training dataset to the Azure AI Speech Studio.
In a previous post I showed how to install and setup the Audacity audio tool to open M4A files and export them to WAV format files. We can also use Audacity to record an audio session. In the Audacity interface the menu command to record audio is a red button as shown below:

I then read out the following sentences during the audio recording session:
Turn on the living room lights.
Switch off the living room lights.
Turn on the television power.
Switch off the television power.
Set the television volume level to be 20 decibels.
Set television volume level to be 20 decibels.
Set television volume level 20 decibels.
Adjust the air conditioner temperature 23 degrees.
Adjust air conditioner temperature 23 degrees.
Open dining room blinds.
Close dining room blinds.
Open bed room blinds.
Close bed room blinds.
The above sentences are combinations of the sentences I used in the language training dataset markup file. Notice that I deliberately spoke out the word bed room with a pause between the two parts of the word. We will see how this shows in the quality test later.
Once the audio is recorded, you click on the black rectangular icon to stop the recording session. After recording, you can export the audio recording to a WAV file using the recommended options show below:

Following export, you will see the file saved with the WAV extension as shown:
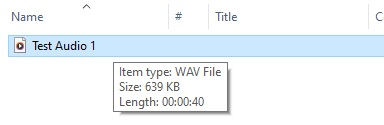
To be able to upload the file will require you to compress the audio file or files into a ZIP archive.
In the speech studio, in the datasets screen, select the Upload Dataset action and you will be presented with the following options:
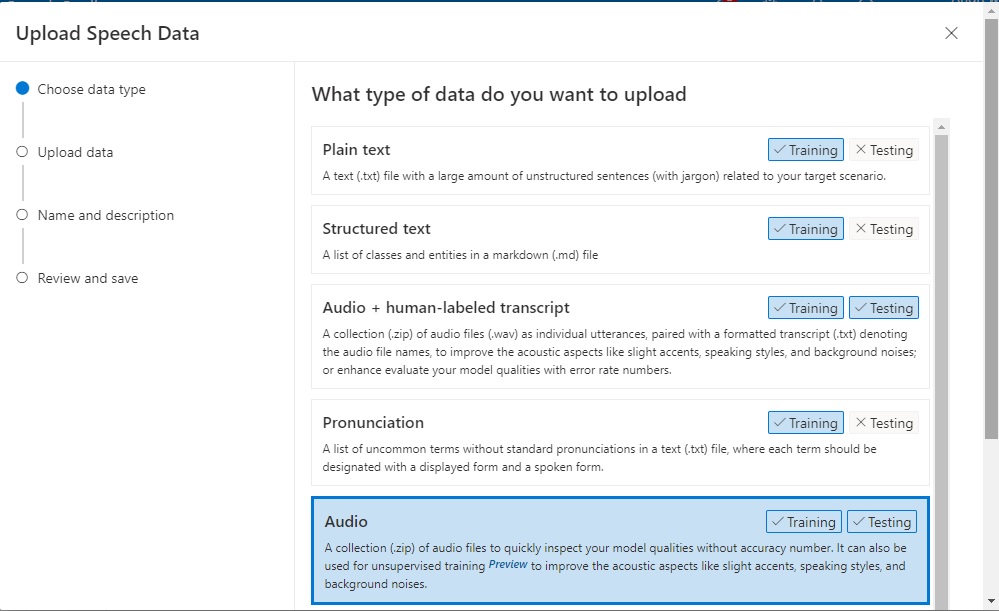
Select the Audio upload file data type and click Next.
In the next screen, you can select an audio file either from a Blob or shared web URL, browse a local folder, or drag and drop a file into the upload area:
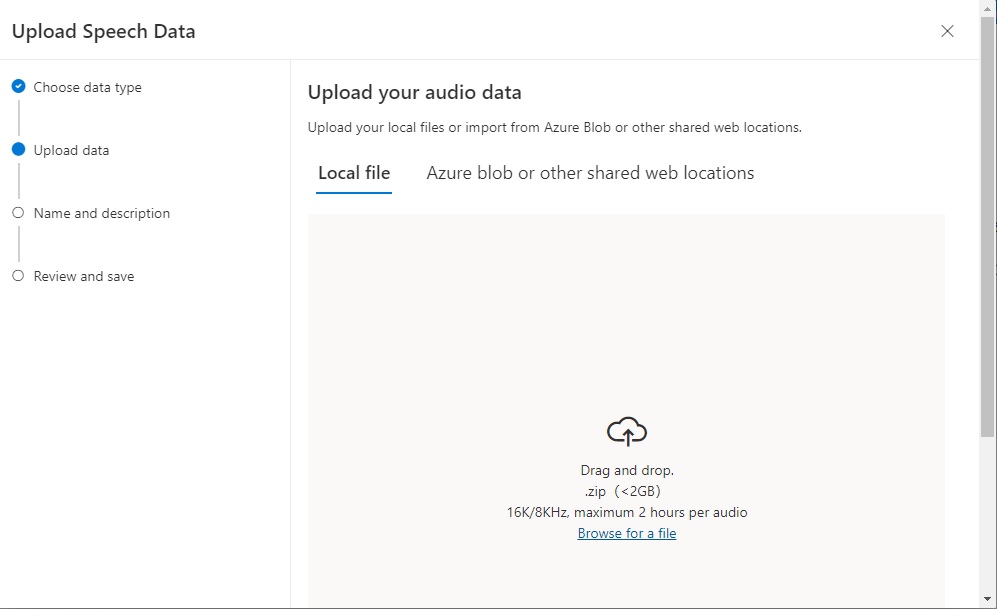
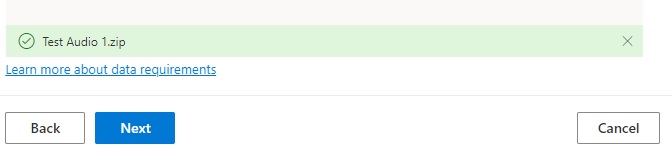
After the file is uploaded, click the Next button as shown:
Give the uploaded audio dataset a name and description:
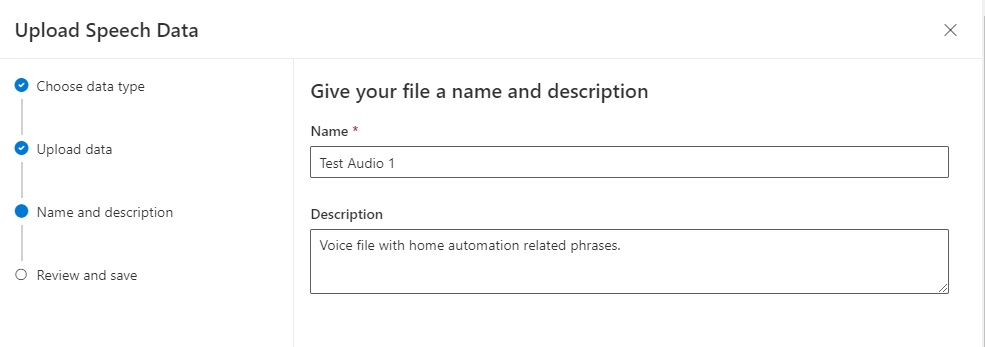
Click Next and review the change.
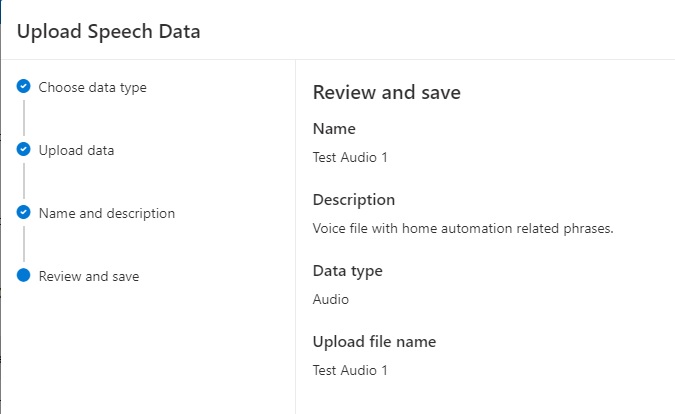
Click Next. The file will be uploaded, with the upload status progress displaying.
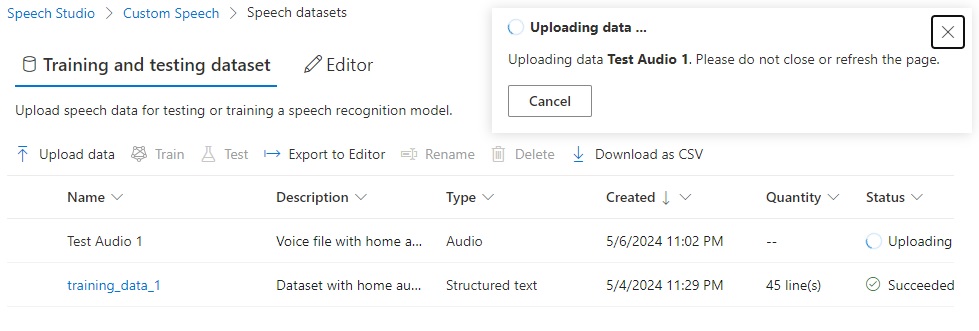
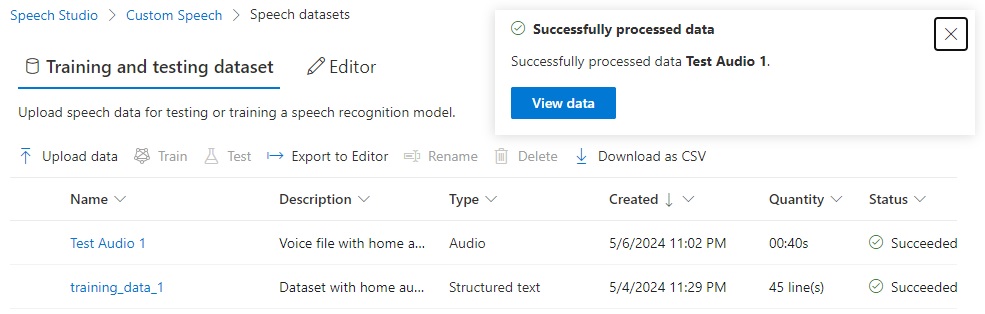
When the audio file is uploaded successfully, it will have a Successful status.
In the next section, I will show how to run quality evaluation tests on the custom speech model using the uploaded audio training dataset against a baseline model.
Testing the Custom Speech Model using Audio Training Data
In this section, I will show how to run a quality test the custom speech model using the uploaded audio training data.
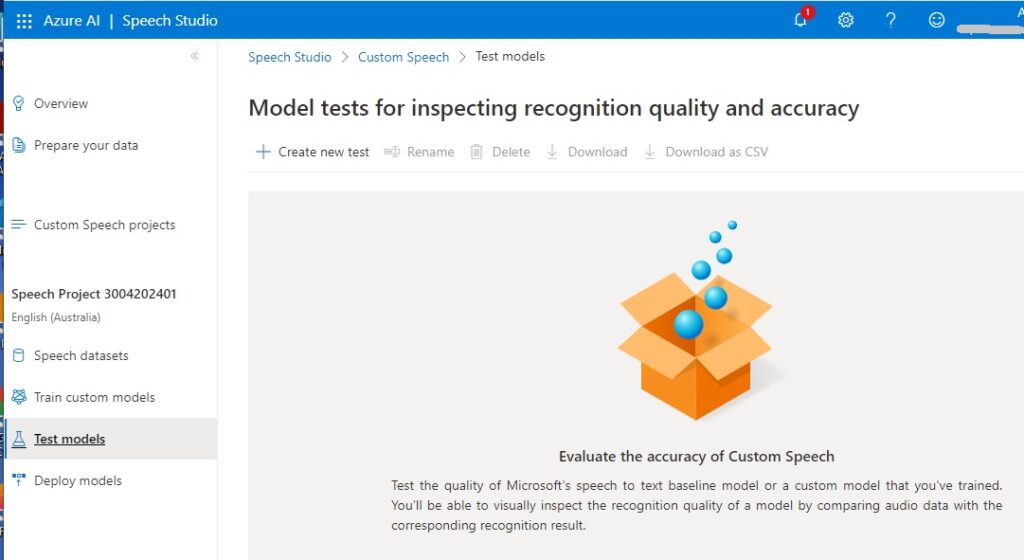
In the Azure AI Speech Studio, select the Test Models menu. Click on the Create new test action.
In the Choose a test type screen, select the Inspect quality (Audio-only data) screen as shown:
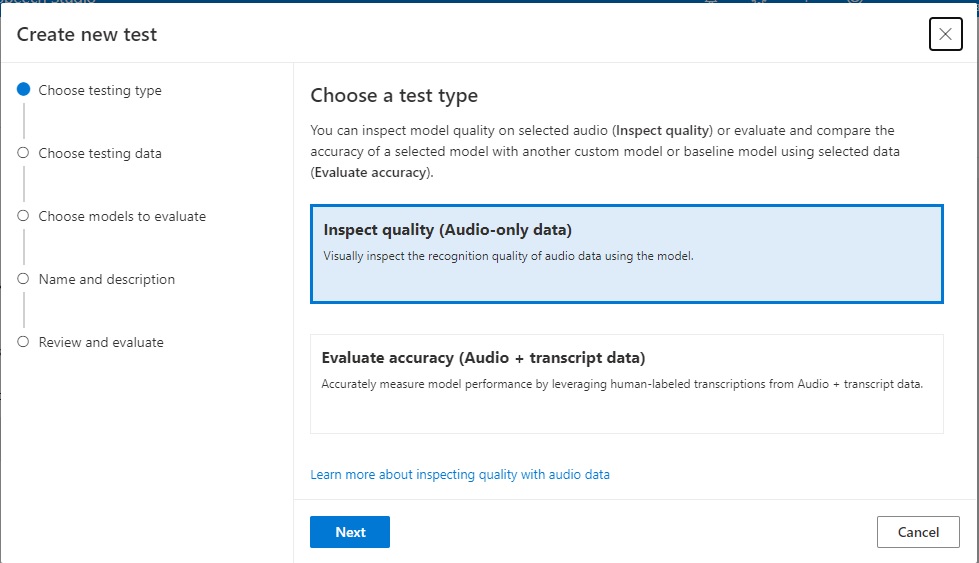
Click Next.
In the next screen, select the audio dataset that we had uploaded earlier.
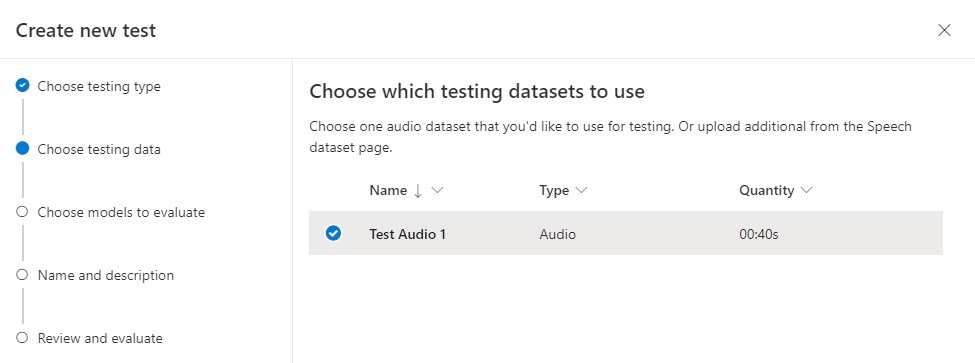
Click Next.
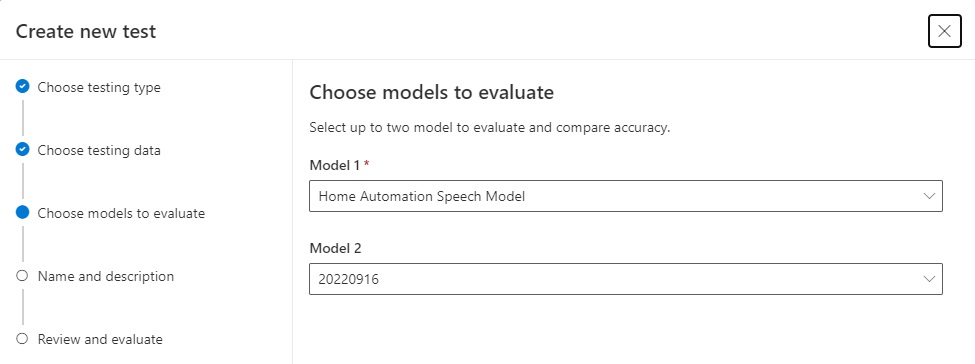
In the next screen, we choose the models that we would like to participate in the model quality evaluation. We are required to choose at least one model to evaluate. The first choice we make is a custom speech model that we created previously. We can then select an optional second model (which is one of the baseline models) OR [None].
In the selections below I selected the custom speech model and one of the baseline models named 20220916:
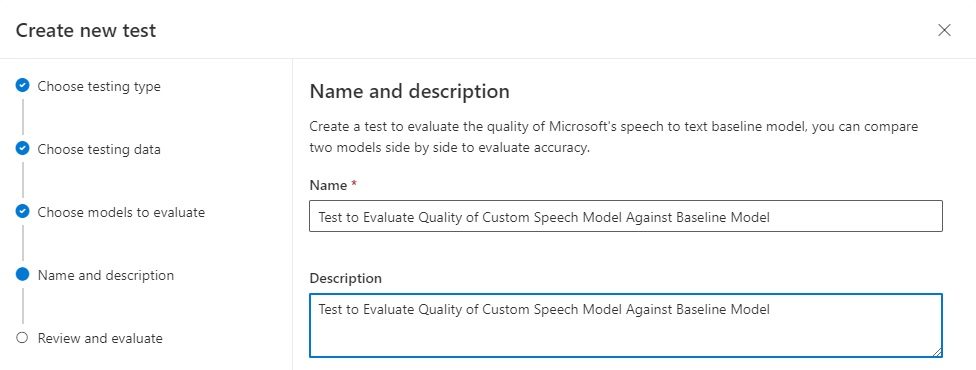
In the next screen, we name and describe the test.
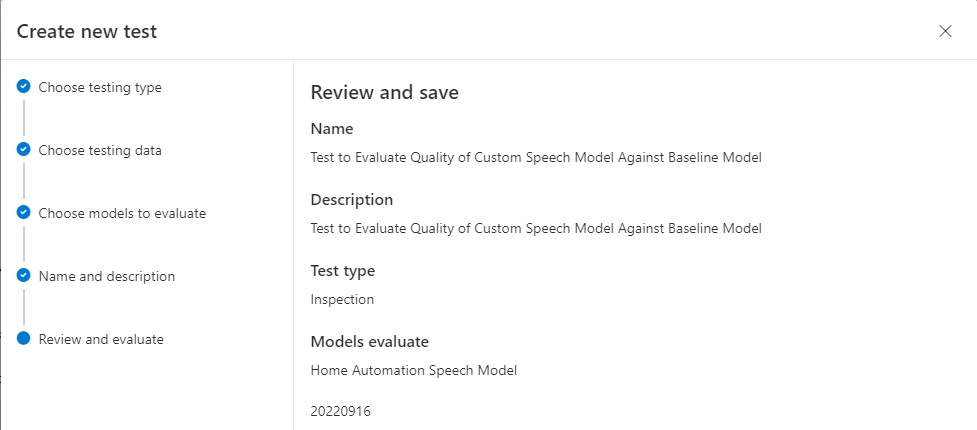
Click Next. We then review the test name.
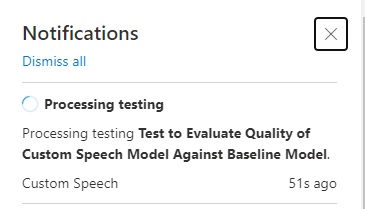
After clicking Next, the test will start processing with the initialization:
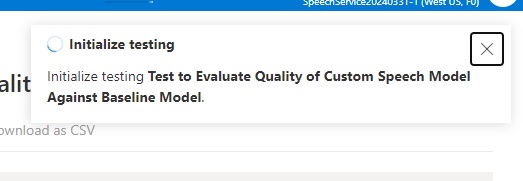
Depending on how big the audio data file is, then process can take several minutes:
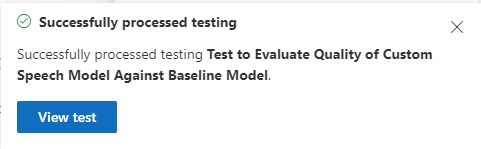
After the test is executed to completion, you will be able to view the test results.
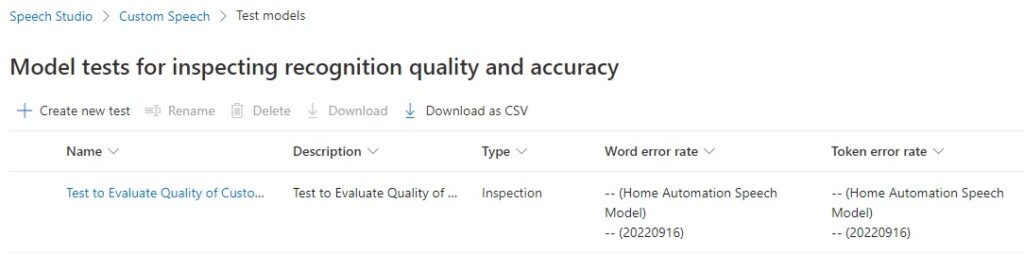
You will see the test created with the Inspection type as shown:
Click on the ellipsis next to the test name and select Download in the popup menu. You are given the following choices:
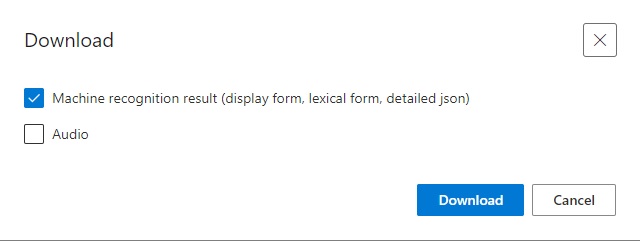
To review the results, check the Machine recognition results … option and click Download. You will receive a zipped file that contains test result files in both JSON and text format containing the original and recognized text from the audio dataset.
In the same ellipsis menu for the test, selecting the View details menu option shows the details of the test showing the status of the test, the models participating in the test quality comparison, and any differences in speech recognition results:
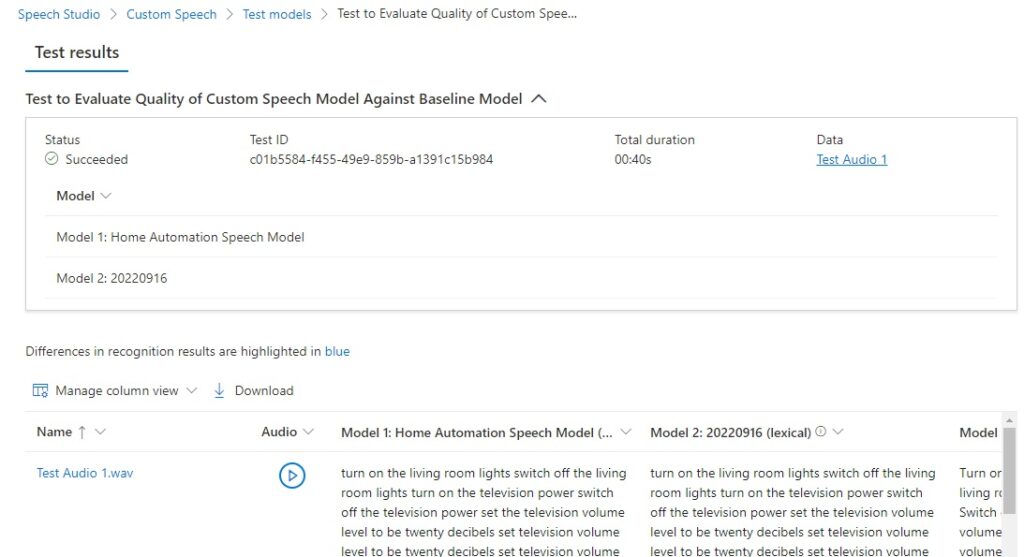
The speech recognition results span four columns, which are shown below:

You will notice there are words highlighted in blue to indicate differences between the custom and baseline speech recognition models.
In the next section, I will show how we interpret the quality results.
Interpretation of the Machine Recognition Results
As I mentioned, there are four results columns that we can interpret. The first two columns are lexical, where the words are recognized literally. The last two columns are displayed with the original words from in the training data.
The results are shown below:
Text lexical – Model 1 (Home Automation Speech Model)
turn on the living room lights switch off the living room lights turn on the television power switch off the television power set the television volume level to be twenty decibels set television volume level to be twenty decibels set television volume level twenty decibels adjust the air conditioner temperature twenty three degrees adjust air conditioner temperature twenty three degrees open dining room bought blinds close dining room blinds open bed room blinds close bed room blinds
Text lexical – Model 2 (20220916 Baseline)
turn on the living room lights switch off the living room lights turn on the television power switch off the television power set the television volume level to be twenty decibels set television volume level to be twenty decibels set television volume level twenty decibels adjust the air conditioner temperature twenty three degrees adjust air conditioner temperature twenty three degrees open dining room bought blinds clothes dining room blinds open bedroom blinds close bedroom blinds
Text display – Model 1 (Home Automation Speech Model)
Turn on the living room lights. Switch off the living room lights. Turn on the television power. Switch off the television power. Set the television volume level to be 20 decibels. Set television volume level to be 20 decibels. Set television volume level 20 decibels. Adjust the air conditioner temperature 23°. Adjust air conditioner temperature 23° Open dining room bought blinds. Close dining room blinds. Open bed room blinds. Close bed room blinds.
Text display – Model 2 (20220916 Baseline)
Turn on the living room lights. Switch off the living room lights. Turn on the television power. Switch off the television power. Set the television volume level to be 20 decibels. Set television volume level to be 20 decibels. Set television volume level 20 decibels. Adjust the air conditioner temperature 23°. Adjust air conditioner temperature 23° Open dining room bought blinds, clothes, dining room blinds, open bedroom blinds, close bedroom blinds.
We notice that the model 1 (custom) and model 2 (baseline) transcription lexical outputs vary in quality. With the custom model, consider the following sentences in model 1:
open dining room bought blinds
close dining room blinds
open bed room blinds
close bed room blinds
and compare them with the same sentences in the model 2 transcription:
open dining room bought blinds
clothes dining room blinds
open bedroom blinds
close bedroom blinds
In the custom model, we have used the spelling bed room, which is incorrect as the noun bedroom is a composite noun.
In the baseline model, the word bought has been incorrectly inserted into the sentence open dining room blinds between the words room and blinds. Also, the word close has been replaced with the incorrect word, clothes in the sentence close dining room blinds.
To view the results in more detail, we can run the Speech CLI command to list the evaluation tests:
spx csr evaluation list
The properties for the above test will show the following values:
"properties": {
      "wordErrorRate2": 6.49,
      "wordErrorRate1": 6.67,
      "sentenceErrorRate2": 33.3,
      "sentenceCount2": 3,
      "wordCount2": 77,
      "correctWordCount2": 72,
      "wordSubstitutionCount2": 3,
      "wordDeletionCount2": 2,
      "wordInsertionCount2": 0,
      "sentenceErrorRate1": 33.3,
      "sentenceCount1": 3,
      "wordCount1": 75,
      "correctWordCount1": 72,
      "wordSubstitutionCount1": 3,
      "wordDeletionCount1": 0,
      "wordInsertionCount1": 2
},
You will notice that from the original 77 words in the recognized text:
"wordCount2": 77,
there are 72 correct words out of 75 words:
"wordCount1": 75,
"correctWordCount1": 72,
with 2 words deleted from the count:
"wordDeletionCount2": 2,
I will explain the above results in some more detail when I show how to use quantitative testing of speech models in the next post.
The above has been an overview of the quality testing for a custom speech model using audio training datasets.
The above has been an overview of the qualitative testing of speech models and how we inspect the transcription outputs to evaluate the quality of the custom speech models compared against the baseline speech model.
In the next post I will show how we can test out speech models quantitatively and compare the transcription outputs and analyse the discrepancies more closely.
That is all for today’s post.
I hope that you have found this post useful and informative.
Andrew Halil is a blogger, author and software developer with expertise of many areas in the information technology industry including full-stack web and native cloud based development, test driven development and Devops.

