
Welcome to today’s post.
In today’s post I will be showing you how to determine the recognition accuracy of a custom speech model.
In the previous post I showed how to inspect the quality of a speech model when tested with audio data. With a quality test, we inspect the output from speech recognition using the custom model and compare it against the baseline model.
The process of creating the audio test files is similar, however, with accuracy testing we create an additional human annotated transcription file that accompanies the audio test data. The process of uploading and initiating the tests is quite similar.
I will explain the test process in the first section.
Process of Testing of the Recognition Accuracy of a Custom Speech Model
In this section I will go through the process to apply the evaluation test using the audio file on our trained custom speech model with a comparison against a Microsoft speech baseline model.
The process for accuracy testing of custom speech models is shown below:

The prerequisites before recognition accuracy testing can commence are that the custom speech model is trained with an uploaded text file training dataset.
For the recognition accuracy testing of the trained custom speech model, audio files that correspond to each uttered sentence, and a human annotated transcription file are uploaded, that contain one mapping on each line, consisting of the name of each audio file and the human annotated sentence phrase matching the utterance in the audio file.
The purpose behind using an annotated transcription file is to compare the recognized speech output with the annotated sentence. The comparison is then used in the speech recognition analysis report.
When the accuracy test is run against the test files and the custom speech model, the quantitative result reports are outputs showing the word error rates and token error rates between the custom and baseline speech models.
In the next section I will show how we prepare the audio and human annotated transcription files and upload then into our Azure AI Speech Studio project during the testing process.
Uploading Test Data Files into the AI Speech Studio Project for Accuracy Testing
The procedure to create audio file been explained in a previous post. When testing for speech recognition quality, we used one audio test file that contained all the utterances that we needed to test the domain of our speech model. When testing for speech recognition accuracy, we create one audio file for each sentence that is to be tested for accuracy.
Below are the audio files I have created for 13 sentences that are part of the accuracy test:
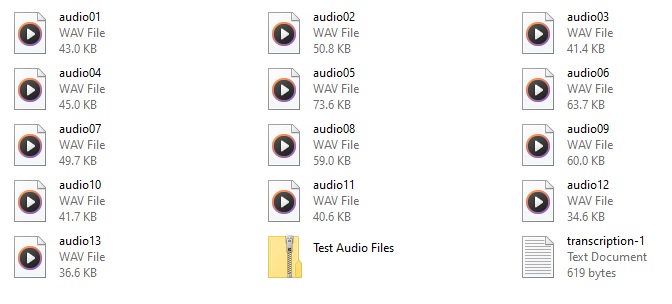
The human annotated transcription file, which is named transcription-1.txt is populated with the following mapping from the audio file to each uttered sentence:
audio01.wav	Turn on the living room lights
audio02.wav	Switch off the living room lights
audio03.wav	Turn on the television power
audio04.wav	Switch off the television power
audio05.wav	Set the television volume level to be 20 decibels
audio06.wav	Set television volume level to be 20 decibels
audio07.wav	Set television volume level 20 decibels
audio08.wav	Adjust the air conditioner temperature 23 degrees
audio09.wav	Adjust air conditioner temperature 23 degrees
audio10.wav	Open dining room blinds
audio11.wav	Close dining room blinds
audio12.wav	Open bed room blinds
audio13.wav	Close bed room blinds
In addition, we will need to combine all the audio files into a compressed ZIP archive file.
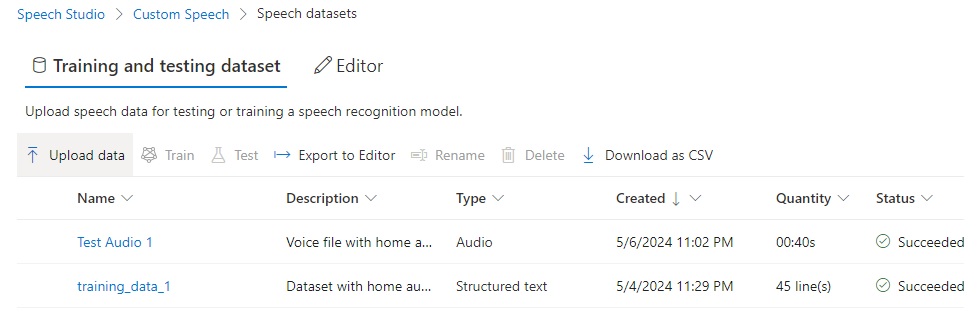
To upload the test dataset ZIP file, we go into the Speech datasets menu of the Speech Studio and click on Upload data.
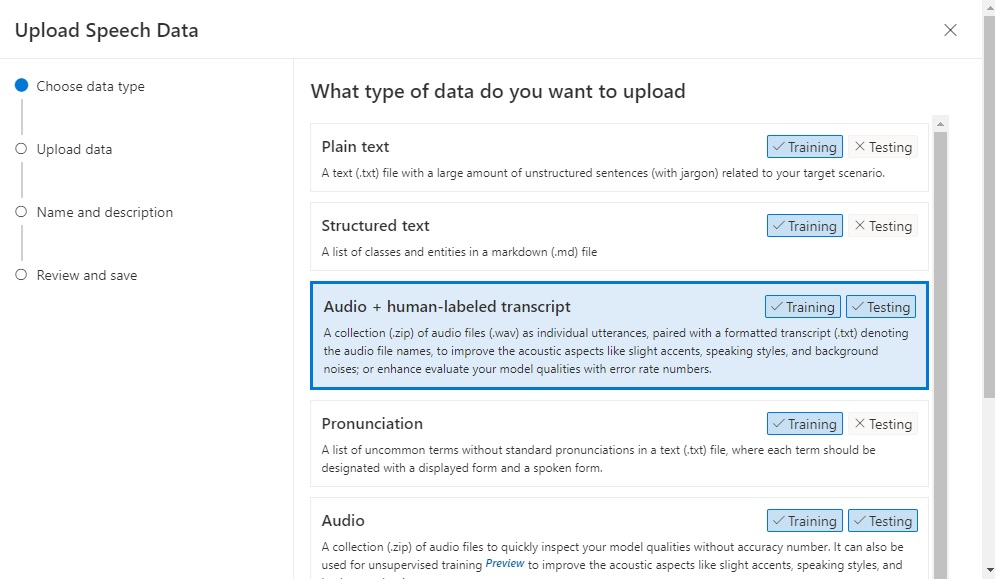
In the Upload Speech Data screen, we select the option Audio + human-labeled transcript:
Drag the ZIP file into the upload pane.

The uploaded file will appear at the bottom of the upload pane:
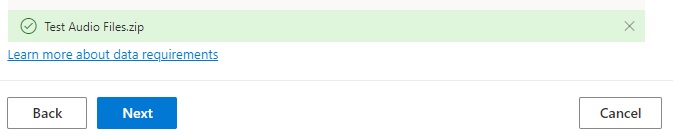
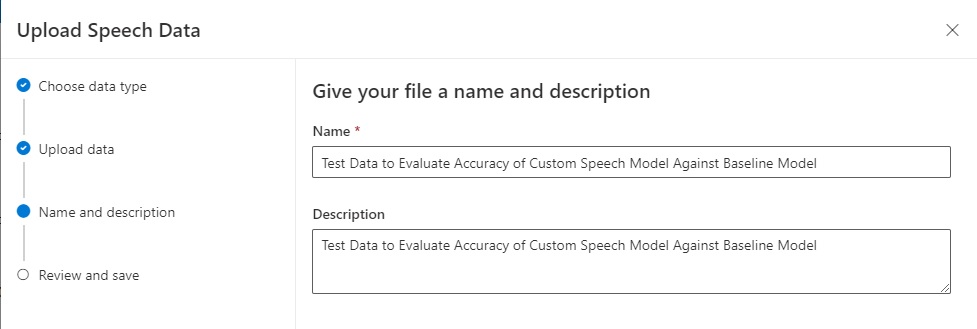
After you have clicked Next, enter the upload data details:
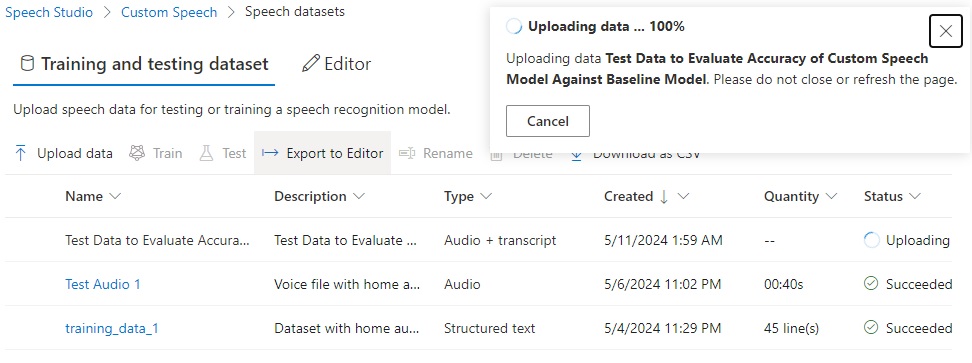
After the upload starts, you will see the upload progress.
If the upload fails, you will see the following notification dialog:
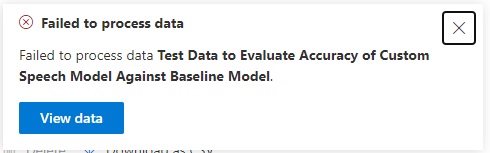
In the uploaded datasets grid, in the status column, you can view the reason for a Failed upload from the information icon as shown:
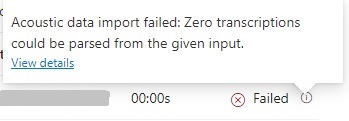
The following error is shown: “Zero transactions could be parsed from the given input”.
What this error message means is that you have not uploaded the audio files and the text transcription file together in the same ZIP file. To do this, you should copy the transcription file into the ZIP containing the audio files as shown:

Then delete the erroneous ZIP file and re-upload the updated ZIP file. When successful, the following notification will be shown:
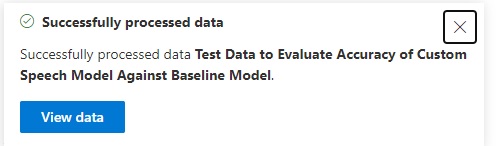
Click on View data, and you will see a user-friendly view of the uploaded test data:
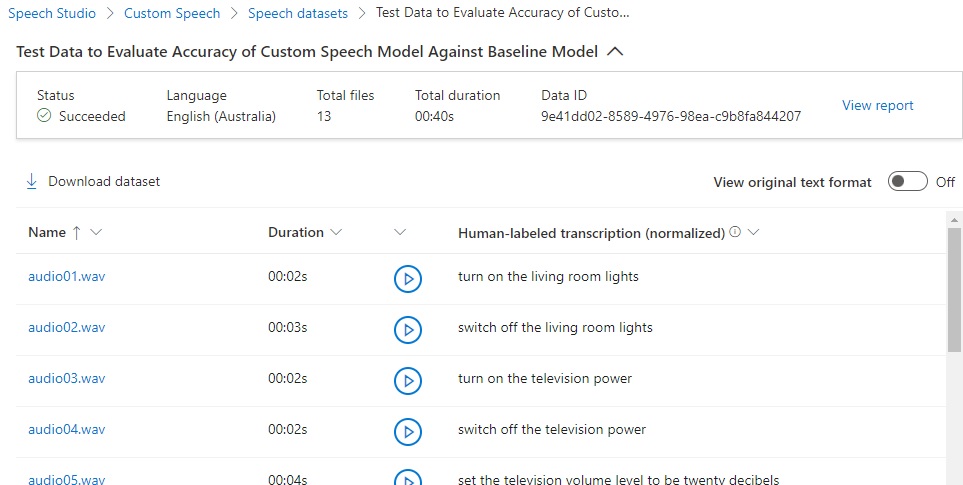
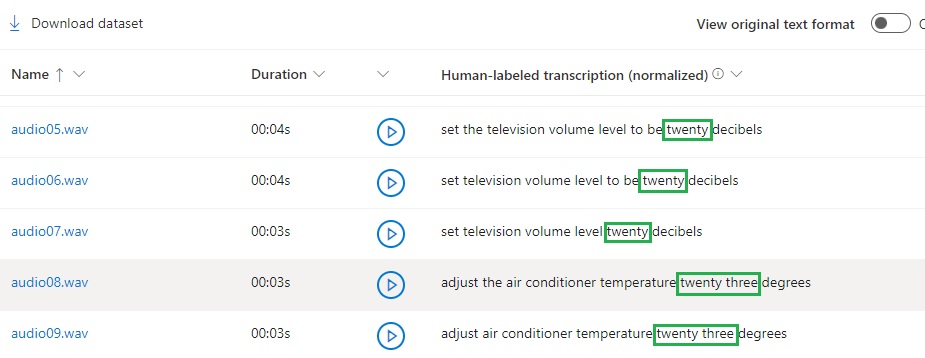
Below the header, you will see columns showing each uploaded audio WAV file, its duration, a button to play back the audio, and the text of the human-labeled transcription. If you scroll down this grid, you have noticed that the transcriptions are normalized so that they can be processed by the speech recognition process:
In the next section, I will show how to run the accuracy test for the above uploaded test data files.
Running the Accuracy Test on the Custom Speech Model
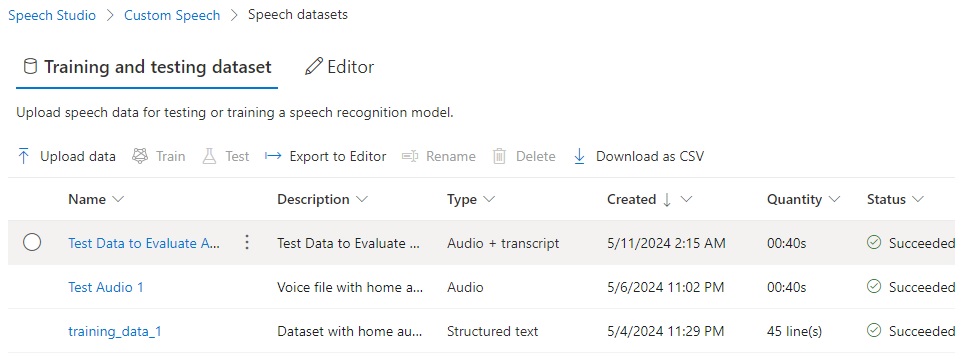
To reach the test process, in the Speech datasets page review the status and ensure the upload was successful:
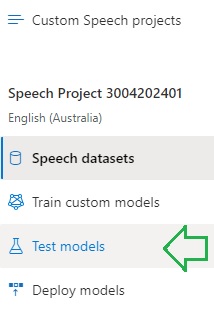
On the right menu pane, select the Test models option:
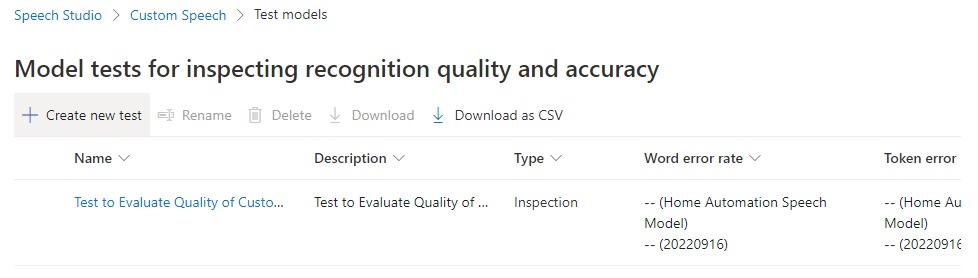
In the Test models screen, you will then see the list of existing speech models. On the action menu, select the Create new test option.
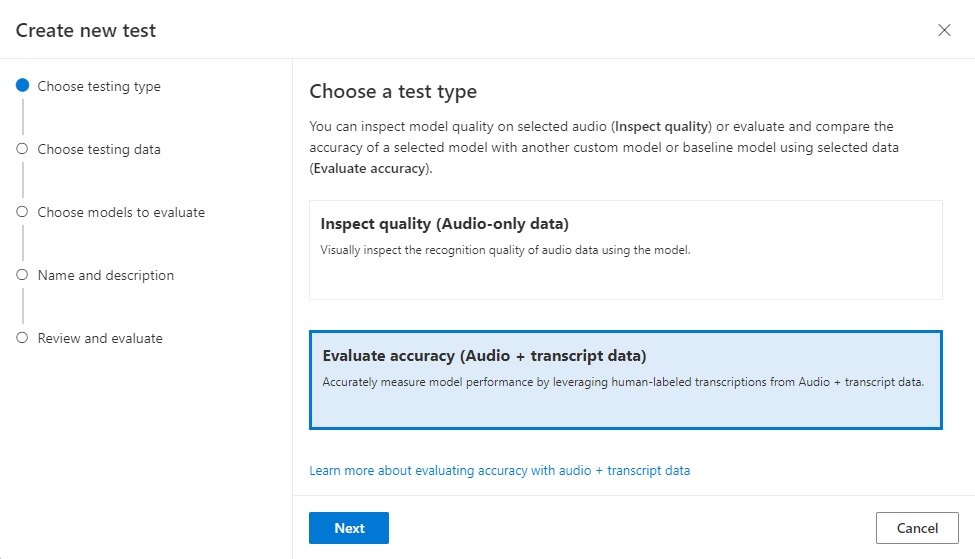
In the Create new test screen, select the option Evaluate accuracy (Audio + transcript data):
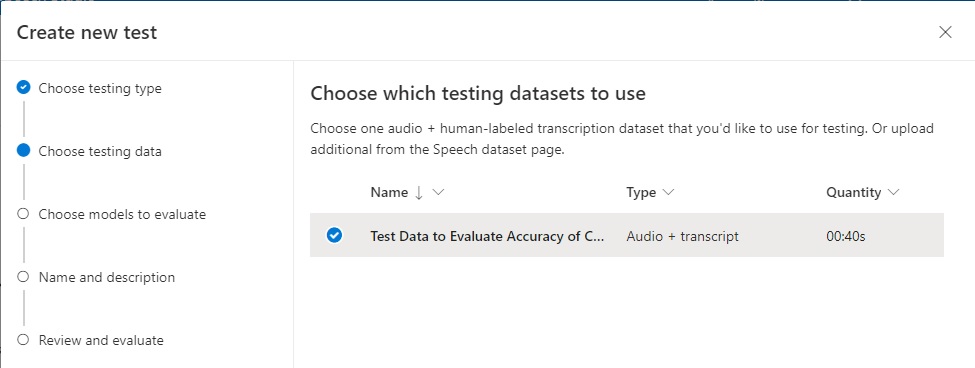
In the next screen, Create new test, select the compatible test dataset (which we uploaded earlier) to use for testing:
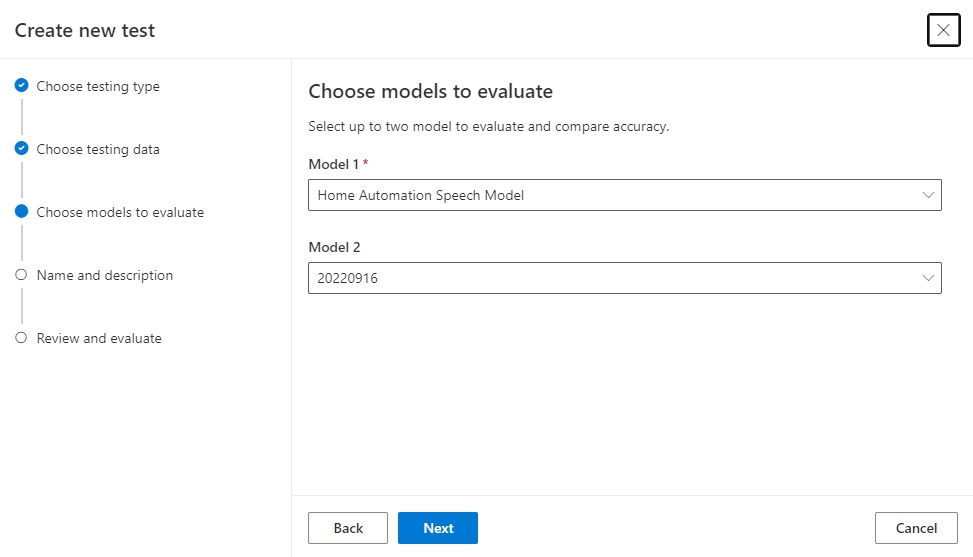
In the next screen, we select the models that we wish to use to evaluate the models for accuracy.
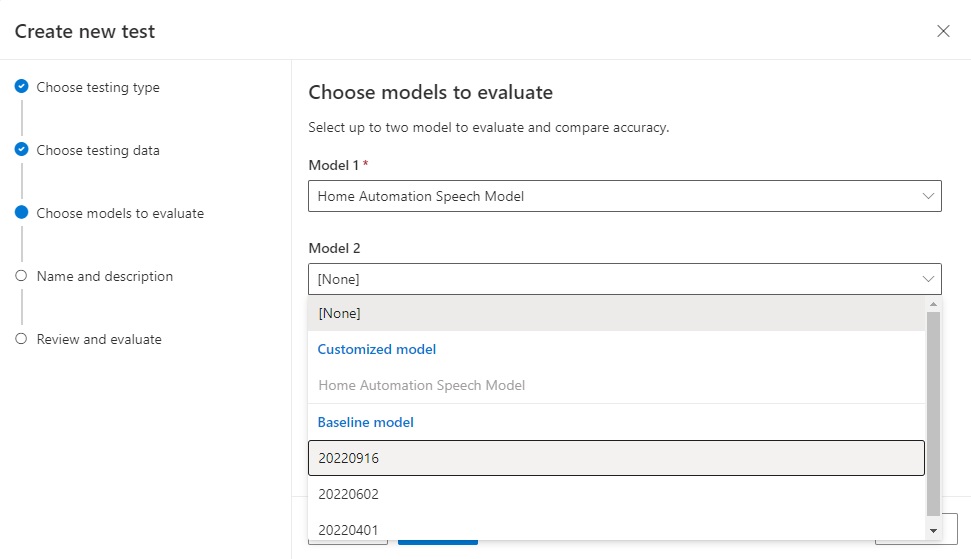
I we already have a custom speech model, we can select that as the first option, then select one of the Microsoft baseline speech models as the second model:
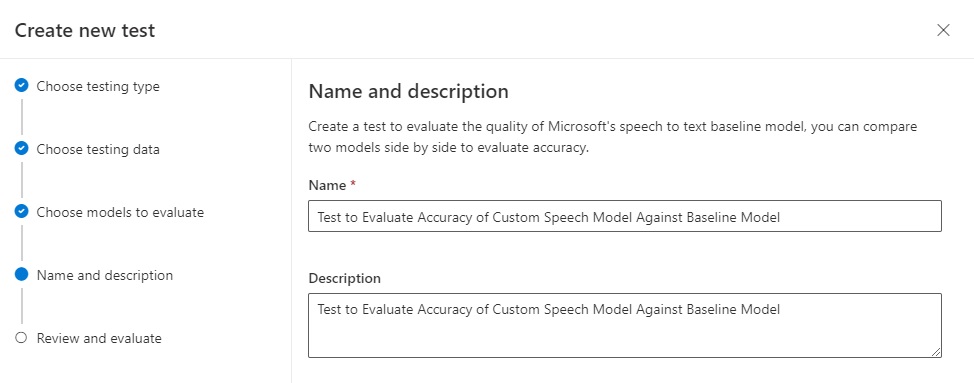
In the next screen we provide the test a name and a description:
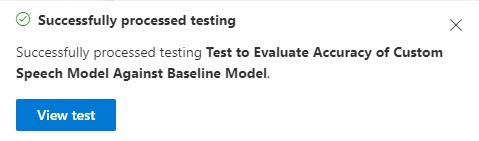
Once the test has been processed successfully, we can then view the results.
After viewing the test, we see the following summary of Test results:
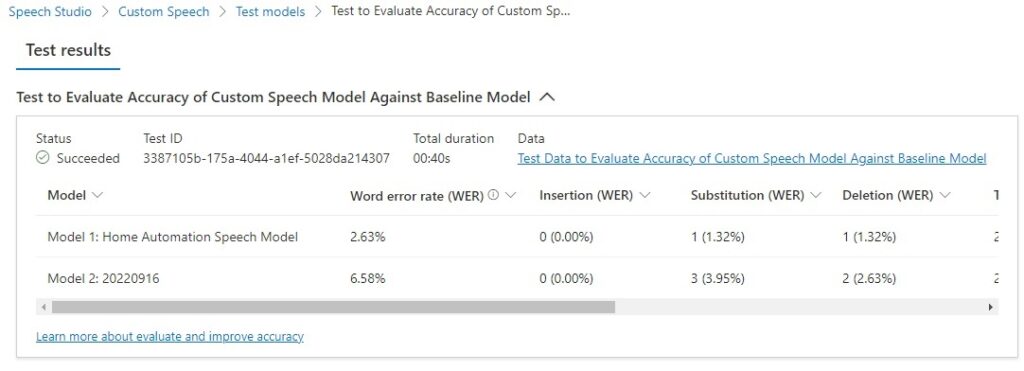
In the test results, the abbreviations WER (word error rate) and TER (token error rate) are a measure of the percentage of erroneous words/tokens from the original human annotated transcript. The word errors relate to incorrectly identified words and the token errors relate to incorrect punctuation, capitalization, and ITN.
An example of a token error would be a missing full stop, keeping the leading character of a name lower-cased, or misinterpreting a numeric word.
Scroll over to the end and more result fields will show:
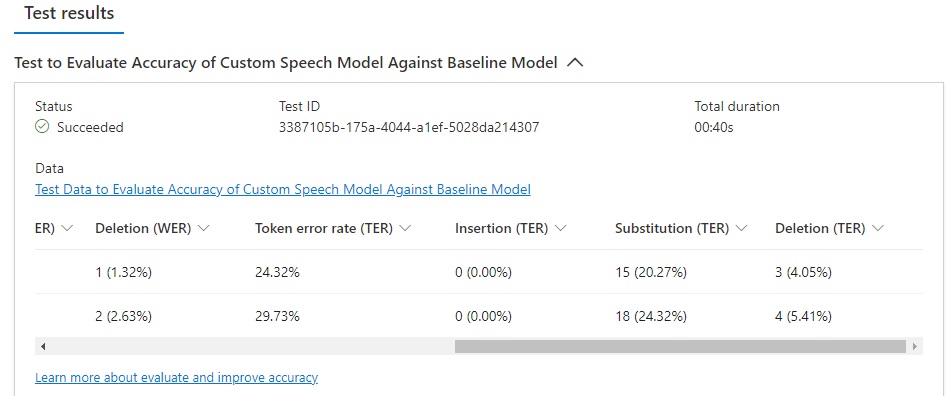
You will see the following fields in the test result grid:
Model
WER (Model 1)
Insertion (WER)
Substitution (WER)
Deletion (WER)
Token error rate (TER)
Insertion (TER)
Substitution (TER)
Deletion (TER)
Where:
WER is the word error rate, which is the number of incorrectly identified words during the recognition process. If N is the total number of words in the human supplied transcription, I is the number of incorrectly added words in the recognition output, D is the number of undetected words in the recognition output, S is the number of substituted words in the recognition output. WER is the following ratio:
(S + D + I) / N
Insertion (WER) is the ratio of incorrect words added words in the recognition output, which is:
I / N
Substitution (WER) is the ratio of substituted words in the recognition output, which is:
S / N
Deletion (WER) is the ratio of undetected words in the recognition output, which is:
D / N
TER is the token error rate, which is the number of incorrectly identified tokens during the recognition process. If N is the total number of tokens in the human supplied transcription, I is the number of incorrectly added tokens in the recognition output, D is the number of undetected tokens in the recognition output, S is the number of substituted tokens in the recognition output. TER is the following ratio:
(S + D + I) / N
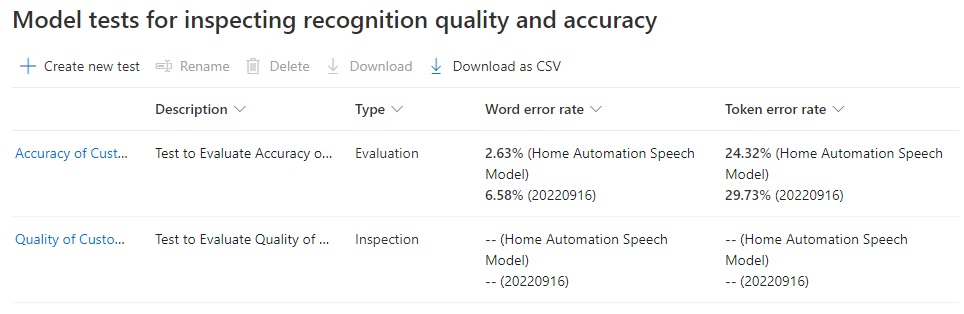
The summary of test accuracy results showing the WER (word error rate) and TER (token error rate) can be viewed when we select the Test models option in the left menu pane:
In the test details grid, we can view the breakdown of the WER and TER for each model for each audio test file. This allows us to determine which of the audio files contains the uttered words and tokens that were incorrectly recognized:
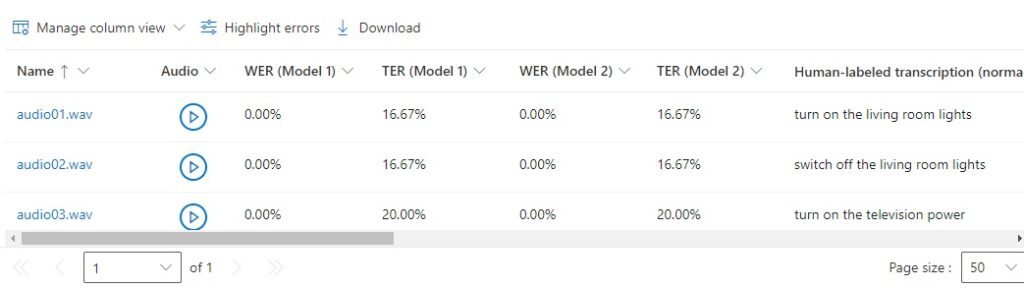
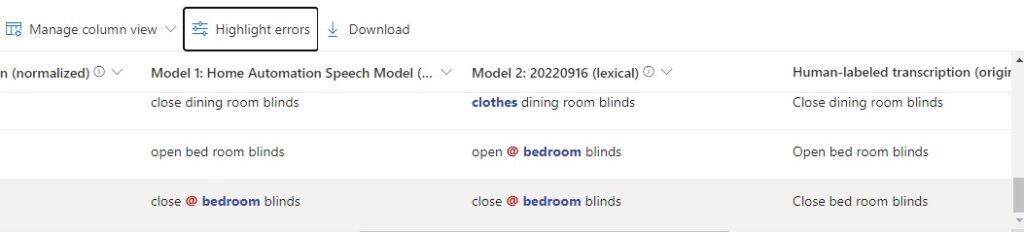
If we click on and toggle the Highlight errors option, we can see the phrases under each column that were incorrectly recognized in the output:
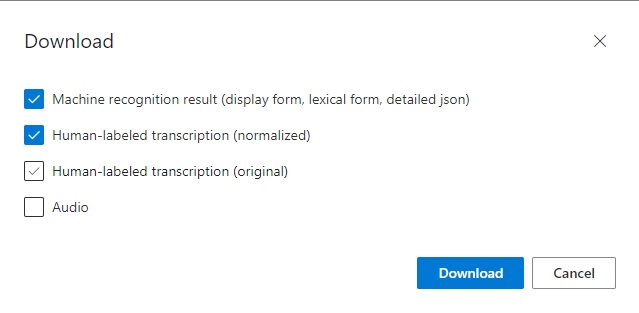
To analyze the outputs further, you can download the test results using the Download option, which allows downloading of the Machine recognition result, Human-labeled transcription (normalized), Human-labeled transcription (original), and Audio:
Analyzing Recognition Accuracy Test Results
Following the completion of the machine recognition tests, the results are output as a report, which can also be downloaded and extracted as JSON and text files. The test results for each sentence within the test audio and annotated transcript file are output to their own file, which contains a list of candidate sentences that that are compared against the sentence being tested. The comparison includes a score between 0 and 1, which indicates how confident the machine reignition algorithm is that the result is correct.
\Machine recognition result\json\model_1\audio13.json
| Lexical | Word | confidence |
| close bedroom blinds | 0.8640235 | |
| bedroom | 0.6412814 | |
| close bed room blinds | 0.8679355 | |
| bed | 0.22410795 | |
| close bedroom blinds | 0.80528057 | |
| Bedroom | 0.36985582 | |
| close mudroom blinds | 0.7802063 | |
| Mudroom | 0.33715147 | |
| close bed room blinds | 0.84681374 | |
| Bed | 0.16141275 |
Notes: The confidence of the word bed is between 0.16-0.22 when preceding the word room. The word bed room is incorrect, as the composite noun bedroom is correct. This discrepancy was flagged in the accuracy report.
\Machine recognition result\json\model_2\audio13.json
| Lexical | Word | Confidence |
| close bedroom blinds | 0.69971895 | |
| Bedroom | 0.32956955 | |
| close mudroom blinds | 0.59453696 | |
| Mudroom | 0.10829121 | |
| close bedroom blinds up | 0.69460297 | |
| Bedroom | 0.32956955 | |
| Up | 0.5374743 | |
| close bedroom blinds in | 0.6967211 | |
| Bedroom | 0.32956955 | |
| In | 0.60772544 | |
| close bedroom blinds us | 0.644253 | |
| Bedroom | 0.32956955 |
Notes. Given the word bedroom has a confidence of 0.32, but the word mudroom (???) has a confidence of 0.10, the sentence close bedroom blinds, has a higher confidence than the sentence close mudroom blinds. The sentences with the trailing up/in/us words have confidence between 0.694 and 0.697, whereas sentence close bedroom blinds have a confidence of 0.699. The baseline model selects close bedroom blinds as the best matching sentence.
\Machine recognition result\json\model_1\audio11.json
| Lexical | Word | Confidence |
| close dining room blinds | 0.9488704 | |
| close dining room blinds us | 0.90996516 | |
| Us | 0.34437448 | |
| close dining room blinds in | 0.93298155 | |
| In | 0.3914494 | |
| close dining room blinds and | 0.9248522 | |
| And | 0.4329297 |
Notes. The sentences with the trailing us/in/and words have confidence between 0.344 and 0.432, whereas sentence close dining room blinds have a confidence of 0.948 and is the best matching sentence from the custom speech model.
\Machine recognition result\json\model_2\audio11.json
| Lexical | Word | Confidence |
| clothes dining room blinds | 0.7597427 | |
| Clothes | 0.5510712 | |
| close dining room blinds | 0.7628926 | |
| Close | 0.6575526 | |
| Dining | 0.53543806 | |
| closed dining room blinds | 0.67973596 | |
| Closed | 0.32055303 | |
| clothes for dining room blinds | 0.7012593 | |
| Clothes | 0.30136126 | |
| For | 0.59705293 | |
| Dining | 0.7528292 | |
| close to dining room blinds | 0.8465282 | |
| To | 0.42073846 | |
Notes. The words, to/for preceding dining have confidence levels of 0.42 to 0.597. The leading words clothes/closed have confidence levels of 0.32 to 0.55. The baseline model seems to have detected the word clothes instead of close from the audio file and given the sentence clothes dining room blinds a confidence of 0.759 and the sentence close dining room blinds a confidence of 0.762. The sentence with the lower confidence level was displayed. Could this be because of the test audio quality?
The above has been an overview on how to prepare and run speech recognition accuracy tests on an existing custom speech model, then output and analyze the results.
That is all for today’s post.
I hope that you have found this post useful and informative.
Andrew Halil is a blogger, author and software developer with expertise of many areas in the information technology industry including full-stack web and native cloud based development, test driven development and Devops.

