
Welcome to today’s post.
In today’s post I will be showing you how to create a basic Web Chat Bot using Visual Studio 2022.
I will show how to use Visual Studio 2022 to create a basic Web Chat Bot, which can form the backbone of a more complex Chat Bot solution, that you can enhance and deploy into Azure and use in a real-world scenario.
In a previous post I showed how to create a Web Chat using the Bot Framework Composer.
I will first explain my experiences when using the Web Chat Composer and trying to use them within Visual Studio.
Web Chat Bots in Bot Framework Composer and Visual Studio
When we created the Web Chat Bot using the Framework Composer, we used a visual designer interface to create out chat bot that included parsing out the user input and determining the bot responses.
One of the challenging aspects of creating the Web Chat Bot using the Framework Composer that I have found is that that solution that is generated, even though it uses C# and the .NET Core Frameworks to generate the application and binaries, opening and modifying the solution within Visual Studio does not automatically guarantee that it will then be useable and re-compatible within the Bot Framework Composer.
As the Bot Framework Composer uses .NET Core SDK 3.1, which is considered a legacy framework, opening it in Visual Studio 2022 and beyond is a challenge to not just rebuild, but also getting the Microsoft.Bot.Builder.* libraries to compile and build with the different versions of ASP.NET Core in the same development environment. One such error is the one shown in the following screenshot:

I then took the recommended action to re-reference the Bot Builder assembly as suggested in Intellisense:

I then gave up, closing the solution within Visual Studio.
Once you start with the Bot Framework Composer to build Bots, you are almost stuck within that environment, unless of course the tools improve in future to make them completely compatible with the latest versions of Visual Studio.
Creating the Web Chat Bot using Visual Studio 2022
In this section, I will show how to use Visual Studio 2022 and the Bot Framework SDK to create a basic Web Chat Bot. Later, I will show how we can run the Chat Bot service from Visual Studio and connect it to the Bot Framework Emulator (which I showed how to install and setup within a previous post).
The first task we will need to do is to install an extension into Visual Studio for the Bot Framework SDK.
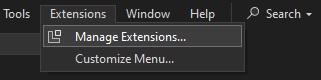
In the menu at the top of the IDE, select the Extensions | Manage Extensions sub-menu as shown below:
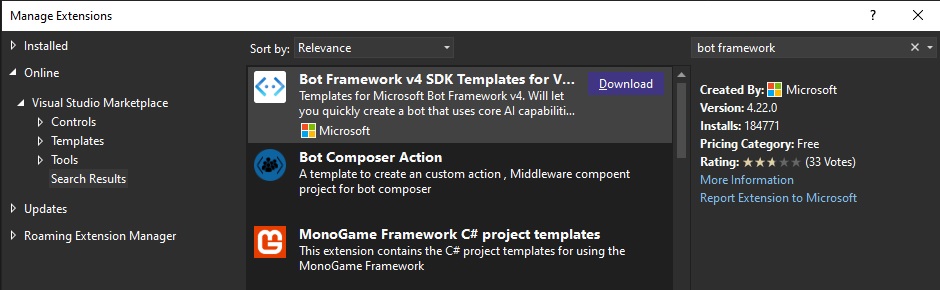
In the Manage Extensions dialog, filter by “bot framework”, then select the template Bot Framework v4 SDK Templates for Visual Studio as shown below:
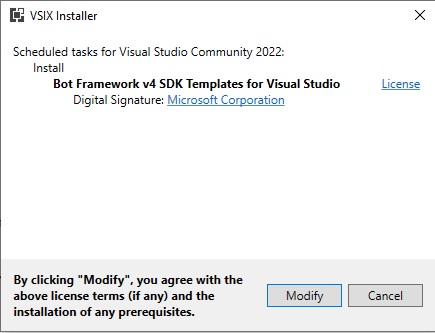
After the previous screen, the extension installer will be run:
When the template has been installed successfully, you will then be able to use the Bot Framework SDK within Visual Studio projects to create Web Chat Bots.
When you create a new project, select the project type filter AI Bots as shown:
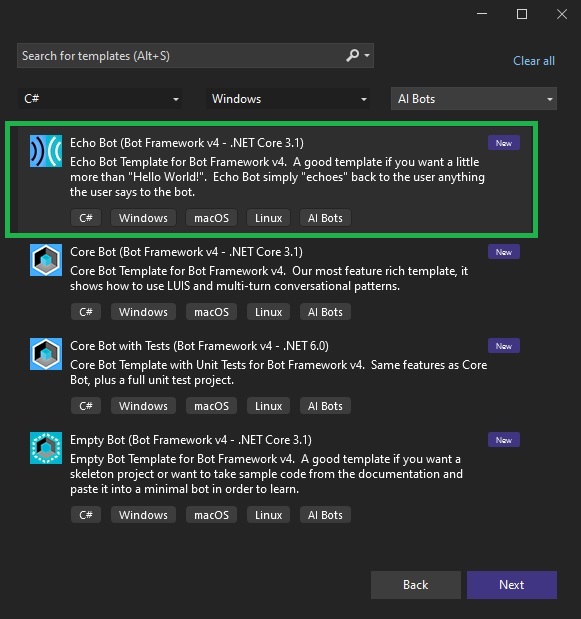
Select the Echo Bot project template and click Next.
Configure the project as shown:
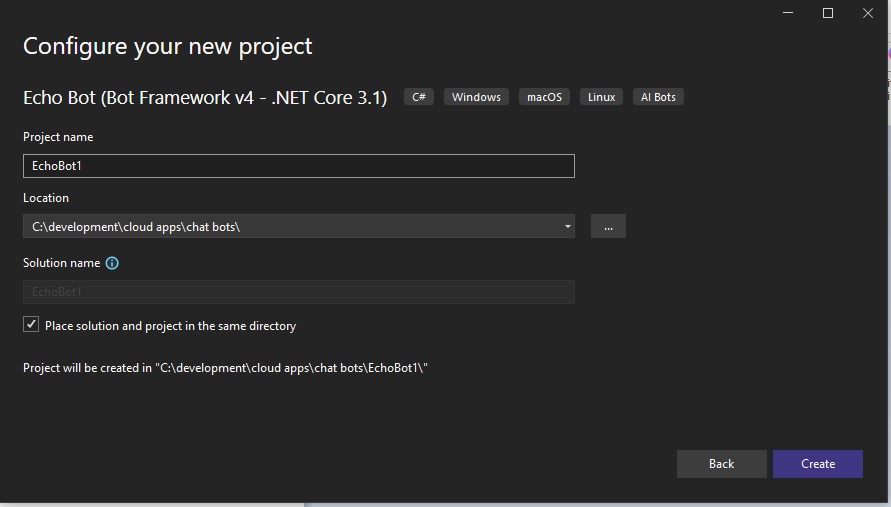
Click on Create.
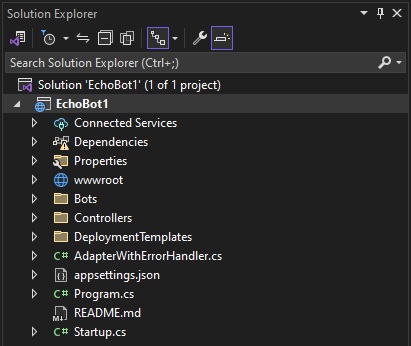
After several minutes of churning away, the solution for the chat bot will be generated for you. The resulting solution folder, implemented as an ASP.NET Core 3.1 application with the bots, controllers, startup, and application settings is shown below:
The next step is to run the web chat bot, which is what I will show in the next section.
Running and Testing the Web Chat Bot
In this section, I will show how to run and test the web chat bot. In addition, I will show how to run and debug the solution under Visual Studio and the Chat Bot Emulator.
Running the web chat bot solution from Visual Studio will not automatically run the chat bot dialog. To run the web chat bot dialog, we will need to connect to the Chat Bot Emulator from the Chat Bot service that is running from Visual Studio.
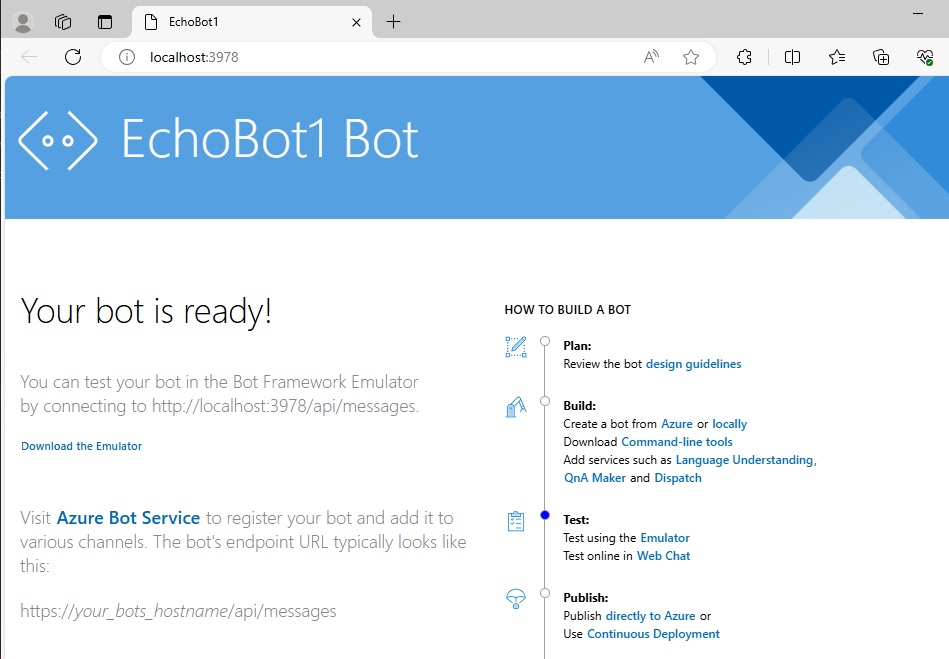
After building and running the solution within Visual Studio, you will see the service running from the browser as shown:
To be able to test our bot in from within our local machine, we will need to connect the bot framework emulator to our running bot service.
After opening the Bot Framework Emulator, you will see the following helpful information in the landing page:
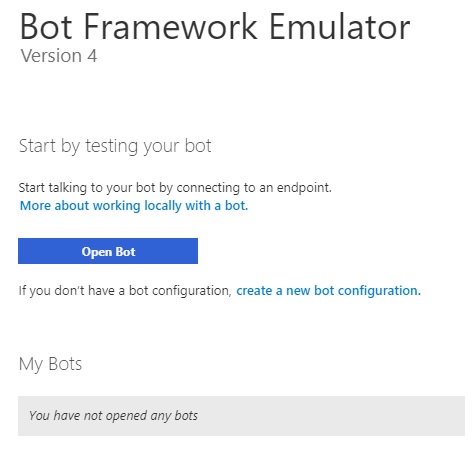
After clicking on the Open Bot button, the following dialog box will open:
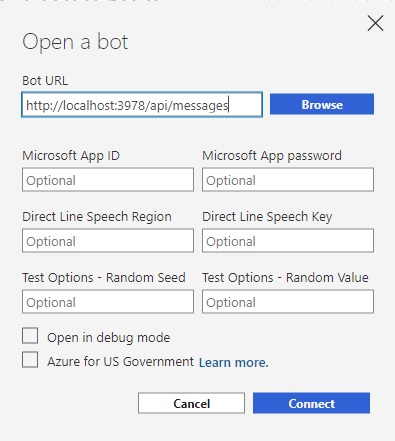
In the Bot URL setting, enter the URI for the API messages of the locally hosted chat bot service, which is usually:
http://localhost:3978/api/messages
After connection, you will see that the emulator, with its own chat bot dialog is able to send and receive messages to our chat bot service that is running locally from within Visual Studio. You can see from the message log the date and time a log message appears and any associated incoming and outgoing messages.
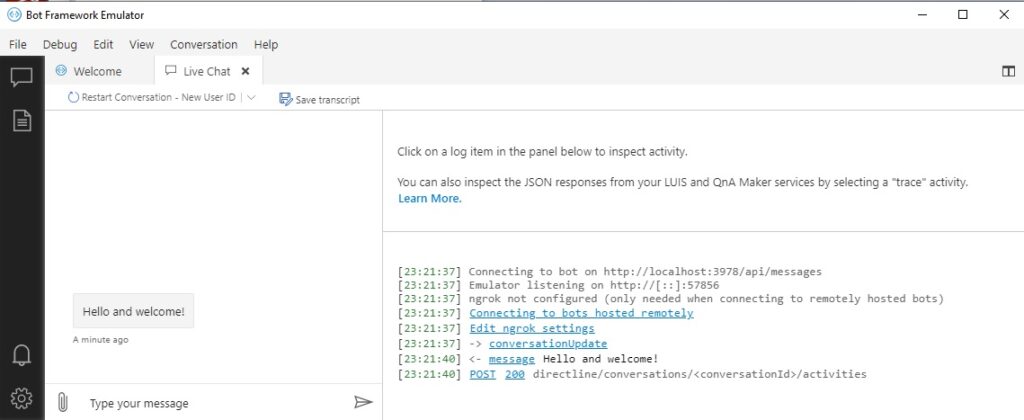
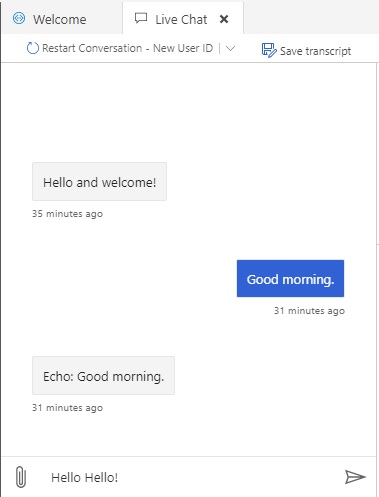
The Echo Bot has sent us an initial Hello and welcome text.
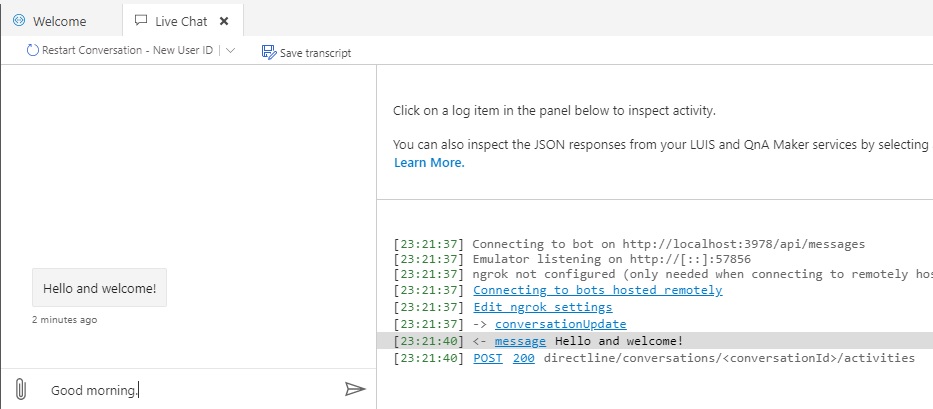
I have responded to the initial message by typing in “Good morning”.
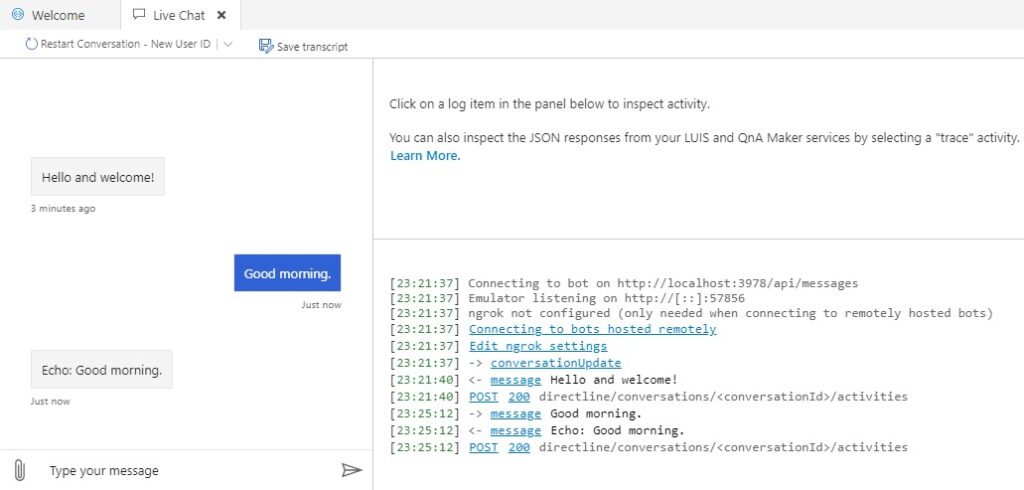
The Echo Bot will then respond with the message: Echo: Good morning as shown:
In the next section, I will show how to debug messages that are sent to and received from our chat bot service.
Debugging Messages from the Web Chat Bot
In this section, I will show how to debug messages within Visual Studio that are sent to and received from our chat bot service.
To debug messaging from within our chat bot solution, you need to first run the solution under the Debug configuration. After the solution is running, open one of the source files of the solution that you want to debug and place a breakpoint.
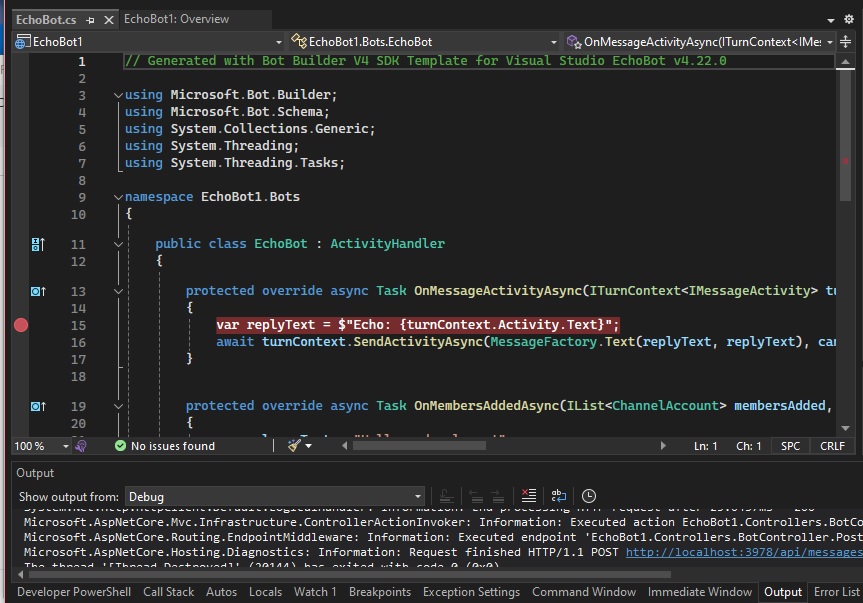
In the Echo Bot, I first opened the source file \EchoBot1\Bots\EchoBot.cs, then within the OnMessageActivityAsync() handler, place a breakpoint on the first line as shown:
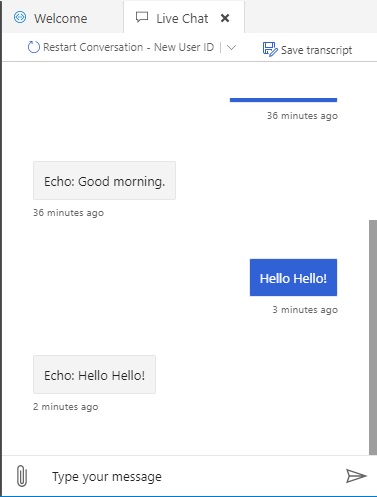
Return to the Bot Framework Emulator and in the chat bot dialog, enter a new message “Hello Hello!” and press enter:
You will almost immediately, notice that the running chat bot service that is running from within Visual Studio has stopped on our breakpoint:
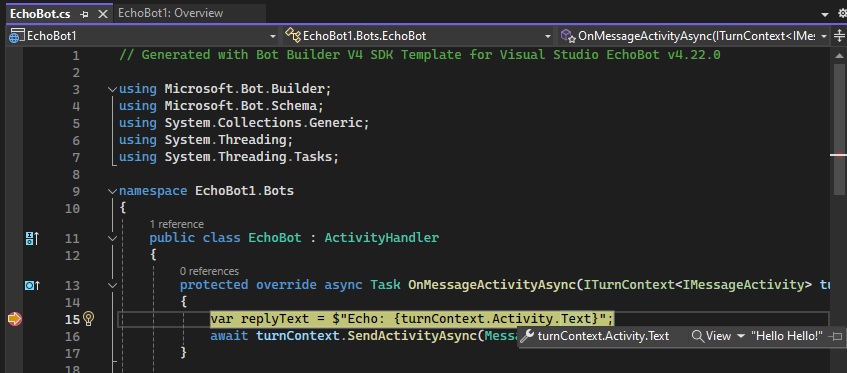
Place your cursor over the expression turncontext.Activity.Text and you will see the expression value showing as “Hello Hello!”. It is identical to the text we entered into the chat bot within the emulator.
Return to the Chat Bot Emulator dialog, and we can see that the chat bot has echoed back the response Echo: Hello Hello! as shown:
The above has shown us how to create a basic chat bot solution using Visual Studio and the Bot Framework SDK. I then showed how to test it using the Framework Emulator.
Finally, I showed how to debug the chat bot service from Visual Studio. We have the basics to build upon our basic Visual Studio chat bot solution, which I will do from a future post.
That is all for today’s post.
I hope that you have found this post useful and informative.
Andrew Halil is a blogger, author and software developer with expertise of many areas in the information technology industry including full-stack web and native cloud based development, test driven development and Devops.