
Welcome to today’s post.
In today’s post I will be introducing ASP.NET Core Blazor WebAssembly applications.
In previous posts I have introduced ASP.NET Core Blazor Server applications. ASP.NET Core Blazor Server applications are a hosting model that is server-centric and very much like the hosting model employed with ASP.NET Core web applications.
In this post I will be going through similar tasks with Blazor Server applications, by showing how to create a basic starter Blazor WebAssembly application, build and run It. I will also be explaining how the hosting model of Blazor WebAssembly applications differ from that of Blazor Server applications, and which hosting model to use when considering a decision on what application features are required.
I will first define what Blazor WebAssembly applications are.
What are Blazor WebAssembly Applications?
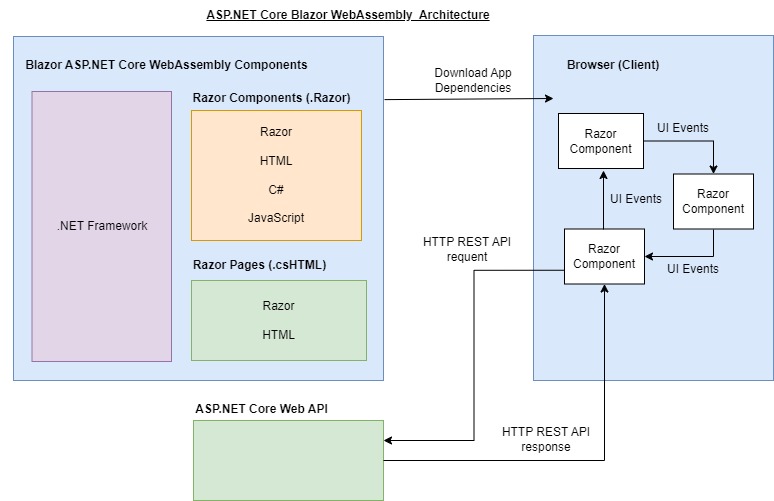
WebAssembly applications are web applications that run as native clients on end-user browsers. The entire application logic runs within the client browser. All application components including Razor components run within the client browser. Given that WebAssembly applications run on client-side browsers, the components do not interact with any server-side components or resources directly. In addition, there is no server-side rendering that occurs with the Razor components or Razor pages.
To achieve this execution model, Blazor WebAssembly applications download all dependencies including Razor components, script files, .NET runtime libraries, and application library files into the rootfolder of the client before application execution. To reduce the download times of application dependencies, the .NET runtime libraries and custom libraries are cached within the browser.
This allows the native client to run faster than hosted web applications that have server-side dependencies. Given that all the application dependencies are confined to the client browser, a Blazor WebAssembly application performs like an offline web client with occasional HTTP REST requests to server and external web API services.
In addition, all client interactions including those between components and between client browser events and components occur within the same browser client. With the architectural diagram below, we can see how Blazor WebAssembly applications work and how they differ from the Blazor Server architecture.
We now know how WebAssembly application interact with server-side and client-side web components. In the next section, I will explain how the Blazor WebAssembly and Blazor Server application hosting models differ.
Differences between Blazor WebAssembly and Blazor Server Application Hosting Models
Having already described the hosting model for Blazor WebAssembly applications, I will explain the differences with the hosting model of Blazor Server applications.
The first difference is with the localization of server and client components and resources. In Blazor Server applications, both the server and client dependencies are rendered on the server side. With WebAssembly, all application components are rendered on the client.
The second difference is that Blazor Server Razor components are statically rendered as HTML and output browsers from client requests. With WebAssembly, all application components and events are already downloaded and run within the browser process.
The third difference is the Blazor Server client event interactions are initiated though a connection with the server, which then pre-renders and outputs the HTML page responses. This makes rendering of user interface interactions optimal for speed and is achieved without having to download additional JavaScript bundles which can slow down response times.
The fourth difference is that with Blazor Server application code is securely hosted in a server, whereas with the Blazor WebAssembly, code is downloaded onto the client machine and potentially can be decompiled.
In the next section, I will show how to create and setup a Blazor WebAssembly application.
Creation and Setup of a Blazor WebAssembly Application
In this section I will go over the creation of a new Blazor WebAssembly project, build and run the application, and explain the constituent components and resources of the application.
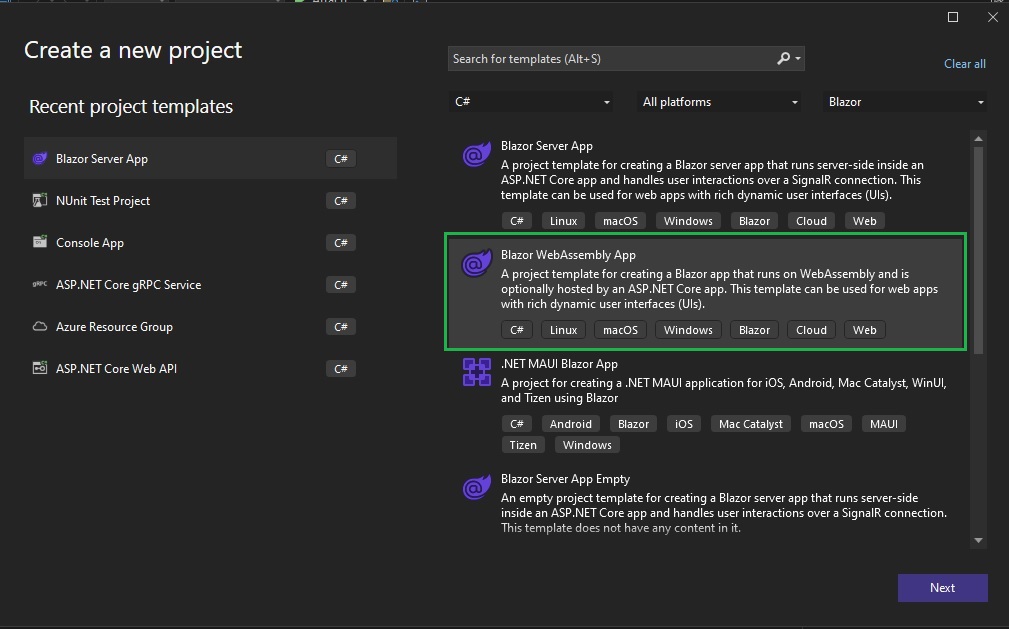
The first step is to create new project by searching for the Blazor WebAssembly Application from the project templates.
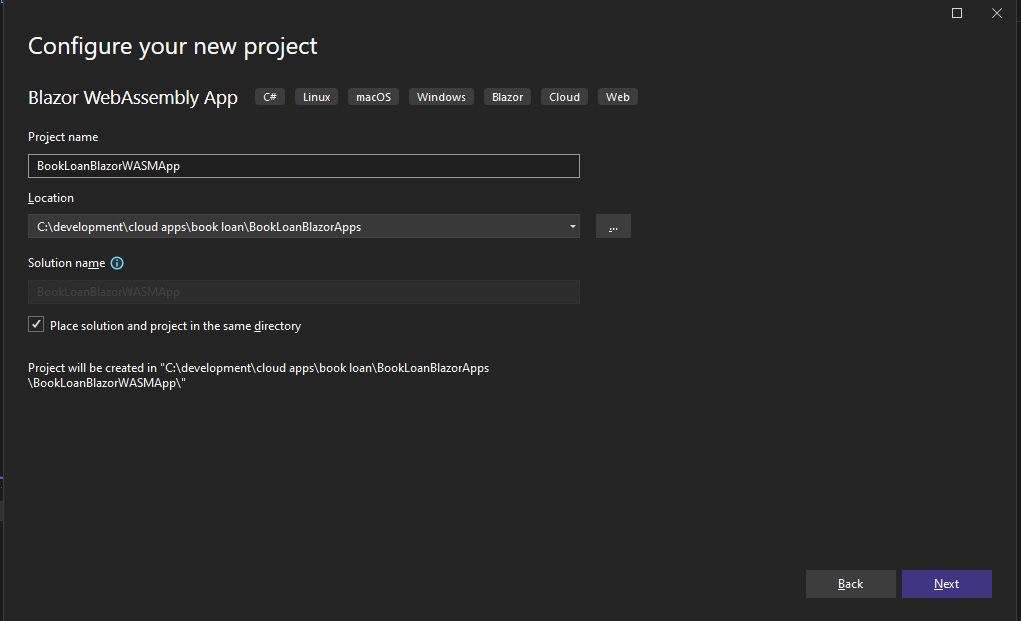
We give the project a name and a location to store the solution and project files.
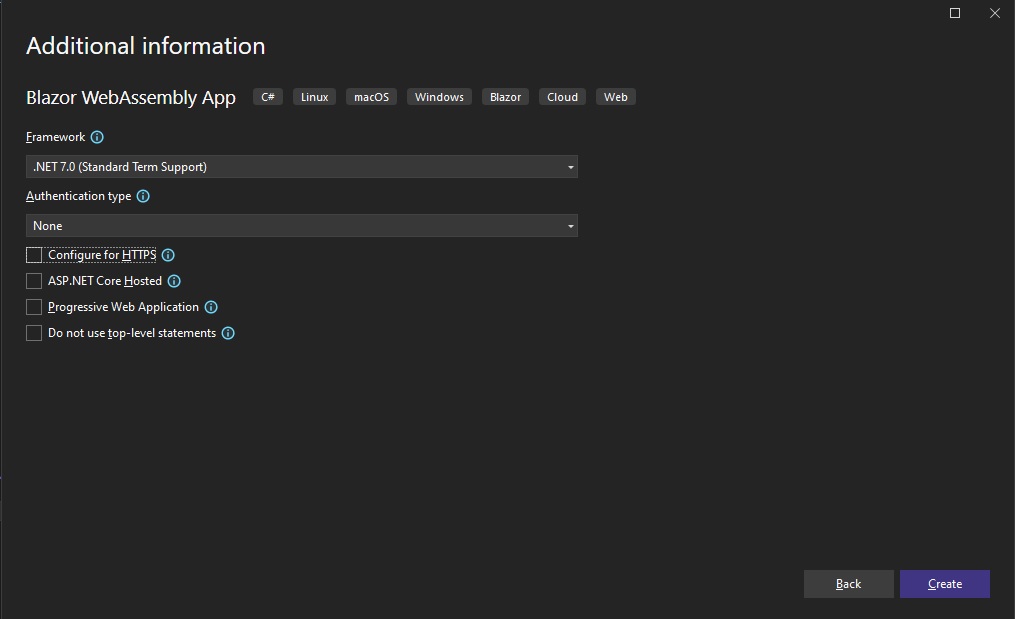
Next, we select the framework. This will usually default to the latest .NET Core Framework you have installed on your machine. You can also choose to keep HTTPS or use HTTP. The other option offered is to select ASP.NET Core Hybrid hosting model. Another option is available to create as a Progressive Web Application. I have unchecked these options as shown:
After hitting the create button, it may take several minutes to build and create the scaffolded application with the sample code. Following completion, the solution folder structure is almost identical to the folder structure that is in Blazor Server applications. The solution folder is shown below:
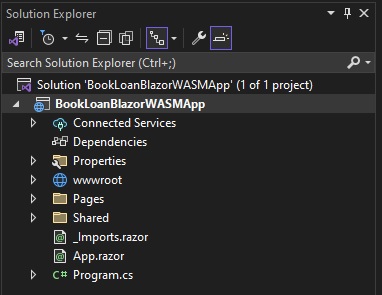
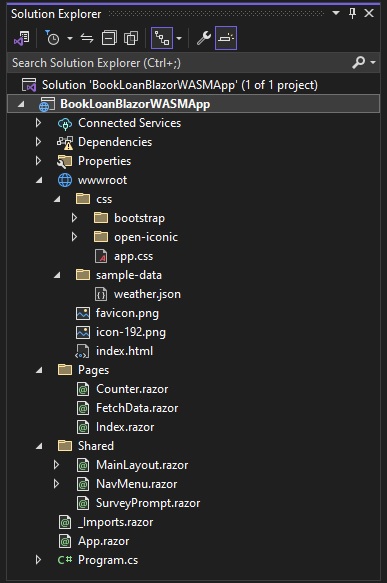
When you expand some of the sub-folders within the solution folder, what you will see are the Razor Page components, shared Razor components, content within the wwwroot folder, and startup Program.cs file.
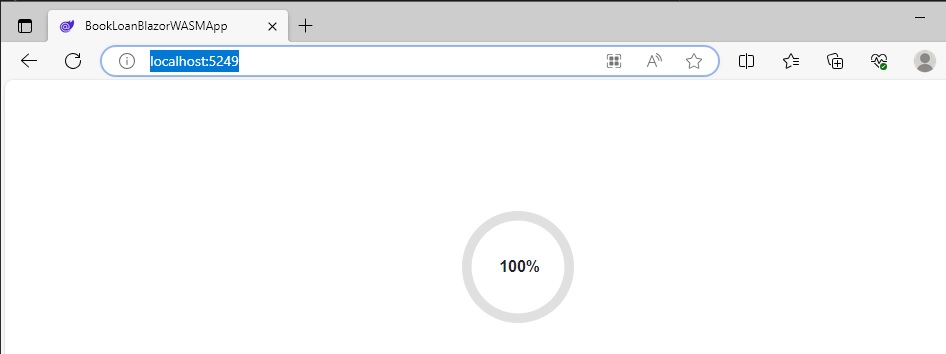
When the application is run for the first time, it may take a few minutes to start. You will see the application loading as shown:
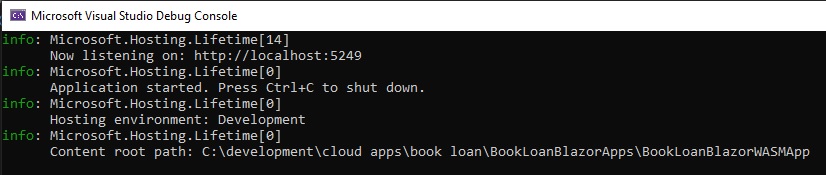
Once the application is loaded, you will see the debug console showing the application has successfully loaded with the application root path:
I will go through and explain each screen and the source code for each Razor component that went into the sample application.
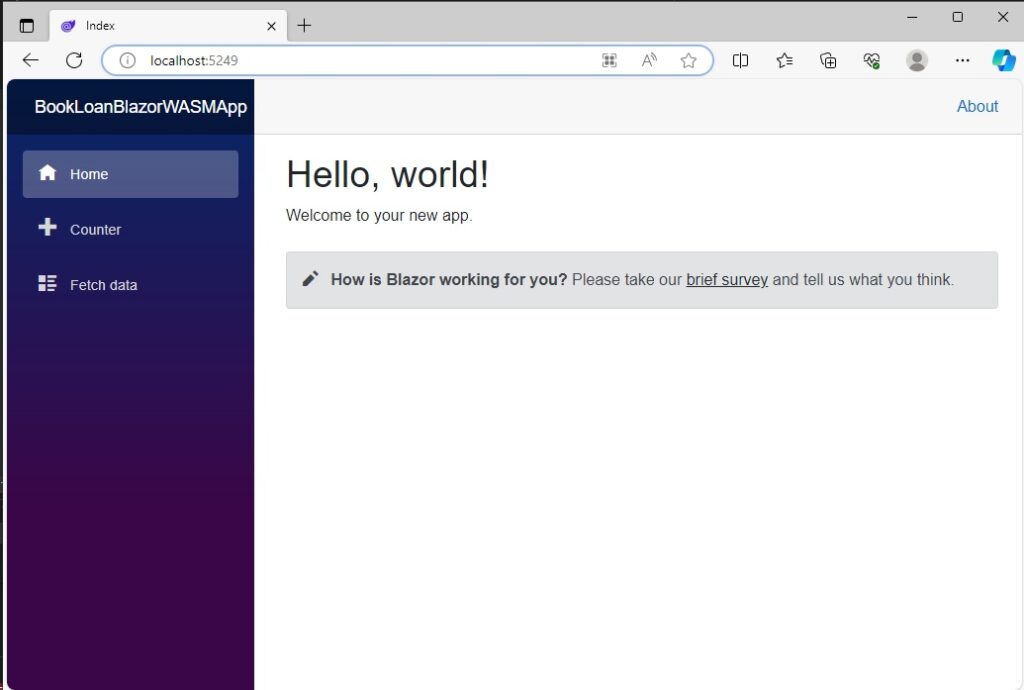
The index landing page will then show with the familiar message, and on the menu side bar you will see three menu items, including a counter and data report.
The navigational menu component NavMenu.razor, which is shown below, is identical to that for Blazor Server. It can be toggled to expand or collapse its visibility.
<div class="top-row ps-3 navbar navbar-dark">
    <div class="container-fluid">
        <a class="navbar-brand" href="">BookLoanBlazorWASMApp</a>
        <button title="Navigation menu" class="navbar-toggler" @onclick="ToggleNavMenu">
            <span class="navbar-toggler-icon"></span>
        </button>
    </div>
</div>

<div class="@NavMenuCssClass nav-scrollable" @onclick="ToggleNavMenu">
    <nav class="flex-column">
        <div class="nav-item px-3">
            <NavLink class="nav-link" href="" Match="NavLinkMatch.All">
                <span class="oi oi-home" aria-hidden="true"></span> Home
            </NavLink>
        </div>
        <div class="nav-item px-3">
            <NavLink class="nav-link" href="counter">
                <span class="oi oi-plus" aria-hidden="true"></span> Counter
            </NavLink>
        </div>
        <div class="nav-item px-3">
            <NavLink class="nav-link" href="fetchdata">
                <span class="oi oi-list-rich" aria-hidden="true"></span> Fetch data
            </NavLink>
        </div>
    </nav>
</div>

@code {
    private bool collapseNavMenu = true;

    private string? NavMenuCssClass => collapseNavMenu ? "collapse" : null;

    private void ToggleNavMenu()
    {
        collapseNavMenu = !collapseNavMenu;
    }
}
In addition, each navigational link uses identical URL matching as that for Blazor Server applications with the href attributes.
<NavLink class="nav-link" href="counter">
    <span class="oi oi-plus" aria-hidden="true"></span> Counter
</NavLink>
The Home screen is also a Razor component, Index.razor, which has the page navigation path set to
/
a page title, a heading, and a welcome text as shown:
@page "/"

<PageTitle>Index</PageTitle>

<h1>Hello, world!</h1>

Welcome to your new app.

<SurveyPrompt Title="How is Blazor working for you?" />
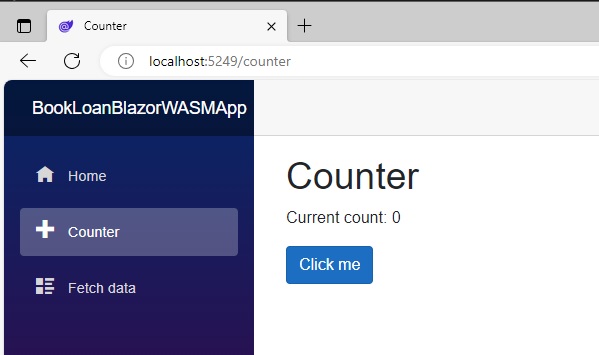
Next, select Counter from the side bar menu. You will see a counter heading with a button that increments a counter.
The component source for Counter.Razor is shown below:
@page "/counter"

<PageTitle>Counter</PageTitle>

<h1>Counter</h1>

<p role="status">Current count: @currentCount</p>

<button class="btn btn-primary" @onclick="IncrementCount">Click me</button>

@code {
    private int currentCount = 0;

    private void IncrementCount()
    {
        currentCount++;
    }
}
The page navigation URL shown below:
/counter
Is used to navigate to the counter page from within the navigation Razor component.
The sole interactive interface element in the component, the Click me button when actioned multiple times increments the internal component counter variable, @currentCount. The current value of the increment is then displayed within the paragraph above.
The variable that increments the counter, Counter is an internal component variable whose value goes out of scope once the Razor component unloads. This means its value is initialized back to zero and will start at zero when the counter page Razor component is re-opened.
The final menu item, Fetch data when opened displays a data grid with data in multiple columns:
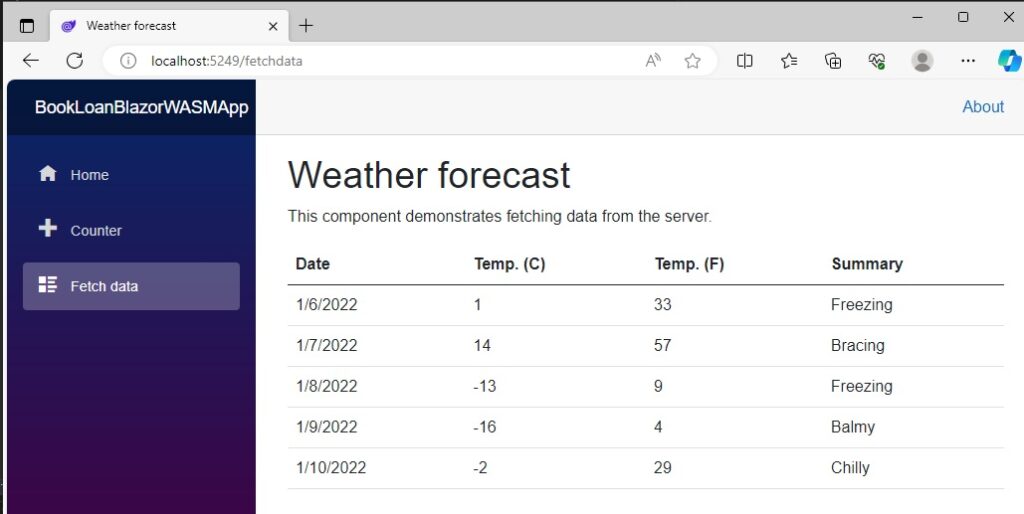
The Razor component for the above data report, FetchData.razor, is shown below.
@page "/fetchdata"
@inject HttpClient Http

<PageTitle>Weather forecast</PageTitle>

<h1>Weather forecast</h1>

<p>This component demonstrates fetching data from the server.</p>

@if (forecasts == null)
{
    <p><em>Loading...</em></p>
}
else
{
    <table class="table">
        <thead>
            <tr>
                <th>Date</th>
                <th>Temp. (C)</th>
                <th>Temp. (F)</th>
                <th>Summary</th>
            </tr>
        </thead>
        <tbody>
            @foreach (var forecast in forecasts)
            {
                <tr>
                    <td>@forecast.Date.ToShortDateString()</td>
                    <td>@forecast.TemperatureC</td>
                    <td>@forecast.TemperatureF</td>
                    <td>@forecast.Summary</td>
                </tr>
            }
        </tbody>
    </table>
}

@code {
    private WeatherForecast[]? forecasts;

    protected override async Task OnInitializedAsync()
    {
        forecasts = await Http.GetFromJsonAsync<WeatherForecast[]>("sample-data/weather.json");
    }

    public class WeatherForecast
    {
        public DateOnly Date { get; set; }
        public int TemperatureC { get; set; }
        public string? Summary { get; set; }
        public int TemperatureF => 32 + (int)(TemperatureC / 0.5556);
    }
}
During the initial loading of the form, it waits asynchronously for the data to load into the forecasts component variable array. While is loads the screen provides a Loading… text status as shown:
@if (forecasts == null)
{
    <p><em>Loading...</em></p>
}
The data is loaded from a sample data JSON file through the HttpClient method, GetFromJsonAsync().
The HTTP REST call is shown below:
await Http.GetFromJsonAsync<WeatherForecast[]>("sample-data/weather.json");
There are other observations we can make with the application. I mentioned earlier that one of the features of a WebAssembly application is that it downloads its dependences to the client. In the browser dev tools, you will notice that when the dependencies download, they will appear in the debug console. Below shows some of the.NET Framework library files that have downloaded with their respective file sizes:
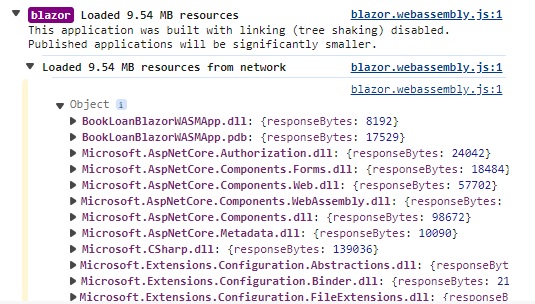
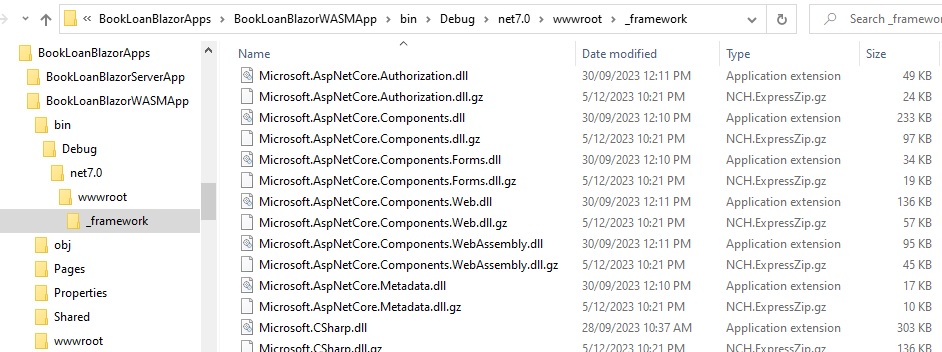
If you expand the \wwwroot sub-folder within the project root folder, you will see a _framework subfolder which contains a blazor.host boot file and many DLL files, corresponding GZ compressed GZ files.
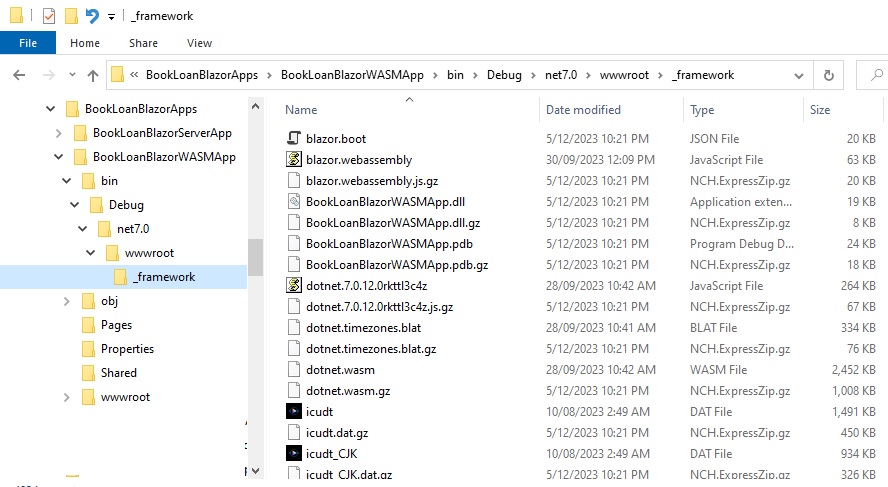
Scrolling further down you will see the .NET framework DLL library files that have been downloaded.
In the above overview, you have seen how to create a basic Blazor WebAssembly application. We have also seen how the navigation of components works and their similarity to Blazor Server applications. We have also seen how Razor page components are authored, along with the C# code that can be used within the component to control internal state.
Given there are numerous similarities between the two types of Blazor applications, you would think that it would be straightforward to convert an application from one to the other. This is far from the case, since the server-rendering model of Server Blazor applications requires significant coding to convert server-side dependencies to web APIs that decouple calls from the client.
That is all for today’s post.
I hope you have found this post useful and informative.
Andrew Halil is a blogger, author and software developer with expertise of many areas in the information technology industry including full-stack web and native cloud based development, test driven development and Devops.