
Welcome to today’s post.
In this post I will be explaining what a speech model is and how to implement a speech model that is trained to be used in a particular everyday usage domain.
I will be using Azure Speech Services to create a custom speech model, then train it with sample language phrases. The resulting model can then be deployed and used in an application to perform speech recognition.
In previous posts I showed how to create an offline model that included speech intents and entities with basic patterns being used within speech intents. I then showed how to use more advanced pattern matching within speech intents to include custom entities within the intent phrases.
With the online model approach, the models can be trained based on phrase patterns and non-pattern phrases. The phrases used in intents are used to accurately model the usage domain and determine entities and intent from phrase variations.
Comparing the Offline versus the Online Speech Model Approaches
In the previous posts I used the domain of a home automation speech recognition system. An offline model was constructed that included intent phrase patterns and custom entities. The model was then used to help recognize the intent of the speaker from audio speech and output recognized text based on the encoded patterns within the model.
In this post we will be providing an online custom speech model with a structured training dataset that consists of intents, entity lists and some machine-learned entities that will be used to normalize the dataset. The trained model will then be capable of recognizing a sub-set of phrases within our domain based on the provided intent phrases in the training dataset. Of course, to provide more accurate recognition will require more training data and calibrate the pronunciation of words based on the source language of the speaker.
With the online custom speech to text models, we can train the model using either structured dataset (which is what I have already mentioned), or unstructured datasets, that include lists of phrases that have no patterns.
Creation of a Custom Speech Model
To create a custom speech model, you can either use the Azure AI Speech Studio or we can use Azure Speech SDK CLI commands. I will be using mostly the CLI approach and show what the result looks like in the Speech Studio.
To create a new Custom Speech Project from the CLI we do the following:
First login to your Azure subscription using the CLI:
az login
Set the speech resource key and region using the Speech Services resource you have created in Azure:
spx config @key --set "[your speech service resource key]"
spx config @region --set "[your speech service resource region]"
Next, create a new custom speech project with the spx csr project create command.
spx csr project create --api-version v3.1
    --name "[Name of Your Project]"
    --description "[Description of Your Project]"
    --language "[Source Language Locale]"
Below are example project names, descriptions, and source language which you can alter:
spx csr project create
    --api-version v3.1
    --name "Speech Project 12345678"
    --description "Speech Project 12345678"
    --language "en-AU"
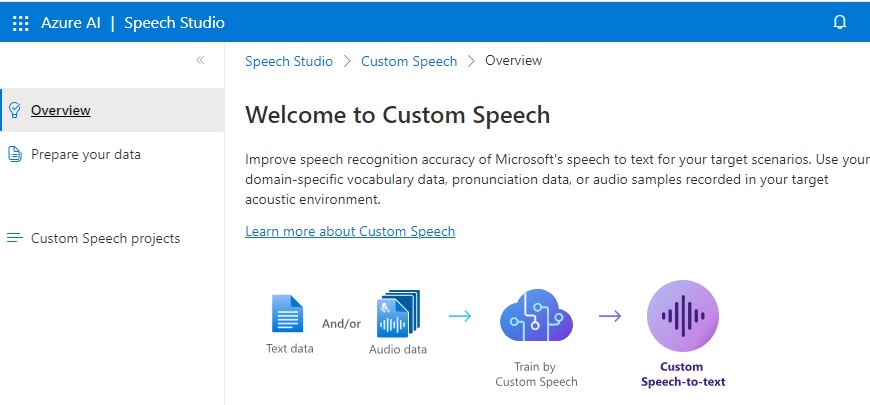
After the project is created, you can find it in the Speech Studio as follows.
Select the custom speech option:

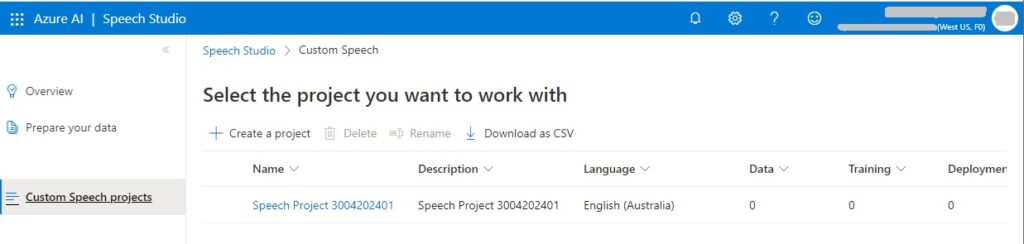
In the Custom Speech Overview, select the Custom Speech projects menu item:
The list of custom speech projects that are existing will show in the grid within the right pane:
In the CLI, to obtain the project properties, you can use the CLI command:
spx csr project list
Then the JSON output displays, the URI in the self element contains the project identifier as shown:
https://westus.api.cognitive.microsoft.com/speechtotext/v3.1/projects/[projectId]
The projectId can be used to create a dataset that references a dataset stored in an existing URL.
If you have stored the dataset in an Azure Blob, then use the following CLI command to generate the dataset for a language markdown:
spx csr dataset create
    --api-version v3.1
    --kind "LanguageMarkdown"
    --name "[Your Language Dataset Name]"
    --description "[Your Language Dataset Description]"
    --project projectId
    --content YourContentUrl
    --language "[Your Language Locale]"
Because an uploaded dataset cannot be modified in the Speech Studio, it makes no sense to run the above command without an existing content URL then have an empty dataset.
Local files can also be uploaded manually within the Speech Studio if you do not have the dataset stored in an Azure Blob file.
I will show how this is done in a later section. In the next section, I will show how to create a basic training dataset file that will be used in the training of the custom speech model.
Defining a Speech Recognition Training Dataset File
The dataset file that we will need to create is in the markdown format, with the file having the .md extension.
First create a new file and name it with the .md extension.
I’ve called my dataset training file training_data_1.md.
Saved the file into a local folder.
I will explain the entries that are required within your markup file so that it can be successfully uploaded by the Custom Speech model.
The following sections are what is minimally required within the markup file:
Comments.
List of entity items.
Training sentences.
I will explain what is in each section with examples.
Comments
Comments are explanations that are preceded by the double forward slash, like the example below:
// Lists of items
The comments are purely for commentary purposes and are ignored by the uploader and training processes.
Lists of Entity Items
Each entity that we use in a training sentence will appear in one of a list of items. For example, the roomName entity can have lists of room names that are recognizable in spoken sentences.
Below is the definition for the lists of room names:
@ list roomName =
- living room
- dining room
- bed room
- study room
- kitchen
- 1st bed room
- 2nd bed room
Training Sentences
The training sentences are used to train the custom speech model to understand the structure and pattern of what to expect from the spoken sentence and to determine the intent based on matching the custom entity based on defined entity lists. Below are example phrases for a training sentence for the OnOffLights intent:
# TrainingSentences_OnOffLights
- Turn on the {@roomName} lights.
- Switch on the {@roomName} lights.
Machine Learning Entity
A machine learning entity is an entity that is derived from a prebuilt entity, such as number or age and is then normalized to spoken text. The following machine learnt sub-phrase:
@ ml degrees
- @ number 'degrees'
The above will take a training sentence ending with 20 degrees, and normalize it to be:
twenty degrees.
We can also train speech recognition to determine the entities (street name, suburb, city etc.) that are in a more complex sub-phrase, such as a spoken address.
When we put together the lists and training sentences, we have the following markup file:
// Lists of items
@ list roomName =
- living room
- dining room
- bed room
- study room
- kitchen
- 1st bed room
- 2nd bed room

@ list applianceName =
- television
- radio
- air conditioner
- fan

@ list action =
- open
- close

@ ml degrees
  - @ number 'degrees'

@ ml decibels
  - @ number 'decibels'

// Here are sections of training sentences.
# TrainingSentences_OnOffLights
- Turn on the {@roomName} lights.
- Switch off the {@roomName} lights.

# TrainingSentences_OnOffAppliance
- Turn on the {@applianceName} power.
- Switch on the {@applianceName} power.

# TrainingSentences_AdjustVolumeLevel
- Set the {@applianceName} volume level to be {@decibels=20 decibels}.
- Set {@applianceName} volume level to be {@decibels=20 decibels}.

# TrainingSentences_AdjustTemperatureLevel
- Adjust the {@applianceName} temperature to be {@degrees=23 degrees}.
- Adjust the {@applianceName} temperature {@degrees=23 degrees}.

# TrainingSentences_OpenCloseBlinds
- Open {@roomName} blinds.
- Close {@roomName} blinds.
After we have saved the above file, I will show how to upload it in the next section.
Uploading Speech Training Dataset Markdown Files
Click on the project (from the Custom Speech projects screen).
In the Speech datasets screen you will see a list of training datasets that have been created or uploaded.
Click on the Upload data menu item:

In the next dialog, you will see the types of data that are able to be uploaded. These include:
Plain text
Structured text
Audio + human-labeled transcript
Pronunciation
Transcript
Output format
Note that Plain text, Structured text, and Pronunciation dataset types can only be Trained, and are not available to be Tested.
I then select Structured Text as shown:
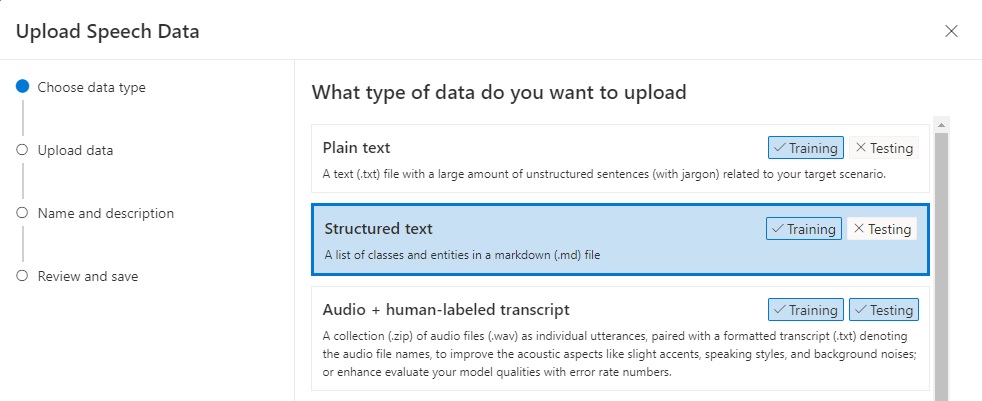
Click Next.
The next screen allows a local file or Azure blob file to be uploaded manually.
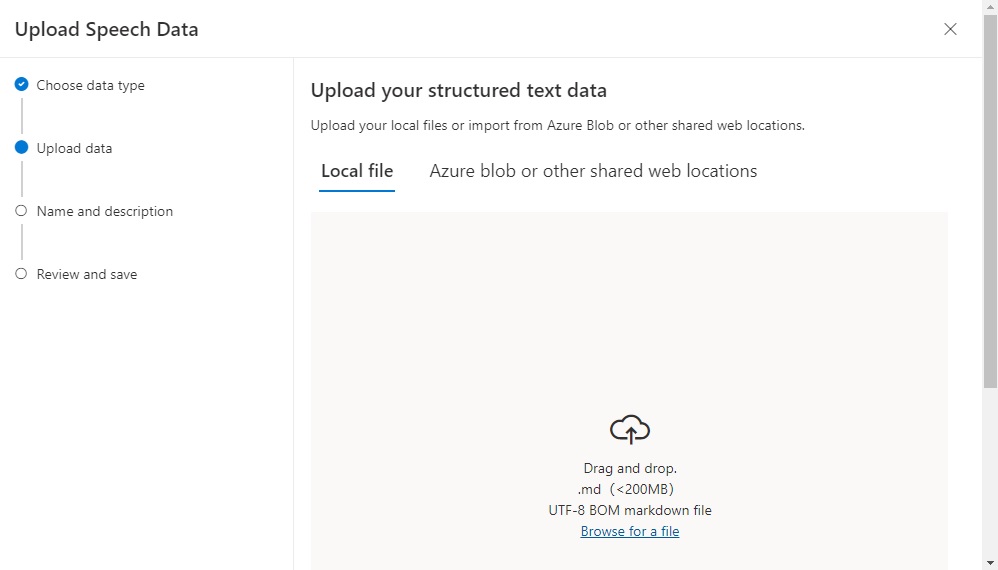
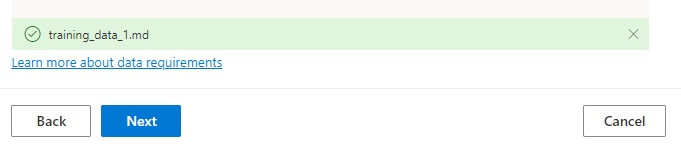
After uploading your markdown file, it will appear as shown.
Click Next.
Enter the properties of your dataset including name and description:
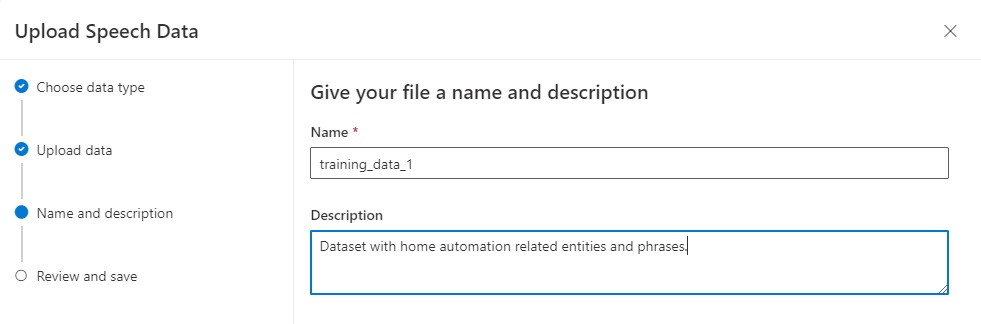
Click Next.
Review the properties of your dataset in the next screen:
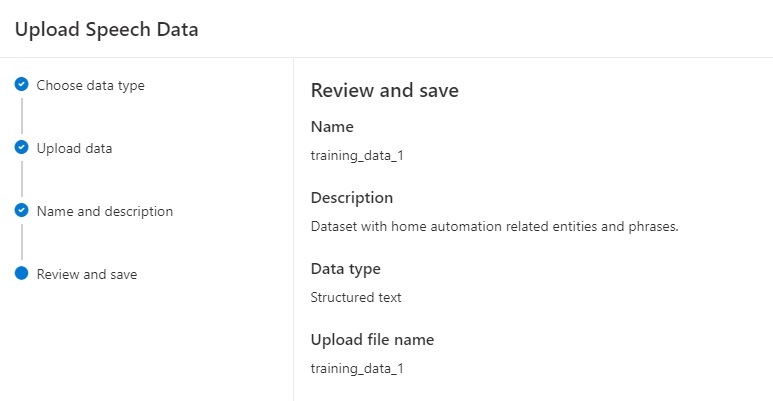
Click Next. The upload will commence.
It can take a minute or more depending on the size of your dataset.
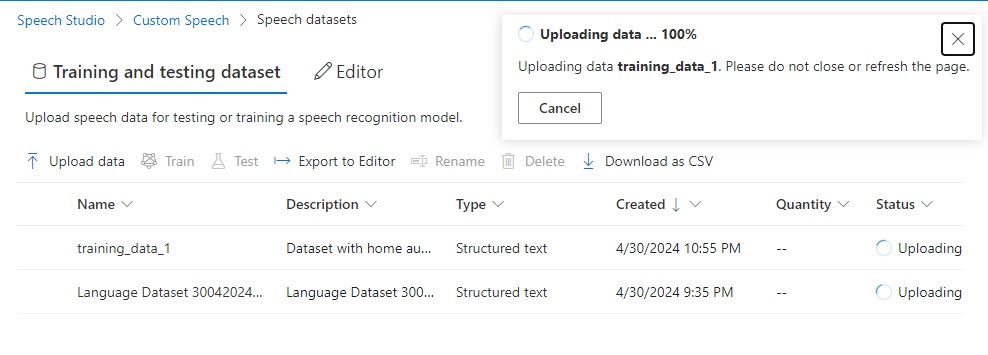
If successful, you will see the following notification with a status of Succeeded:
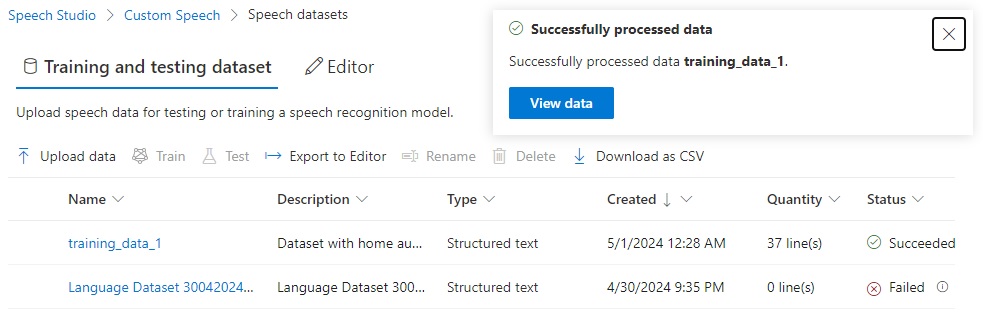
When the uploaded training dataset details are viewed, you will see the status is Successful and the number if lines in the dataset training file:

In the next section, I will go over some errors you may encounter during the upload process.
Resolving Errors During Processing of DataSets
During the uploading of datasets, you will more often encounter errors that occur when the markdown file is parsed during the upload and importation process of speech training data.
I will go through two types of errors I have encountered, and the remediation I used to rectify the errors.
When an error is returned during a file upload, you will see the following dialog displayed with a button to view the related:
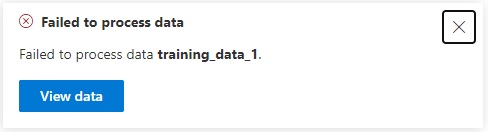
When the data is viewed, we will see the upload has succeeded, however there are errors in the learning data. To view the error report, click on the hyperlink as shown:
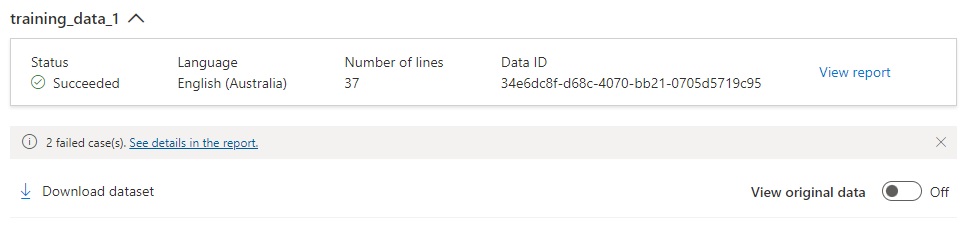
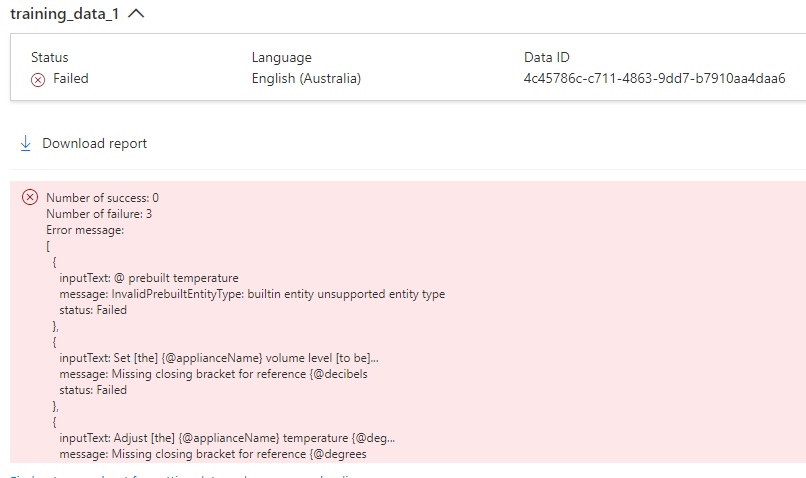
The Dataset report shows the number of lines successfully uploaded and number of lines unsuccessfully uploaded with the error messages in JSON format:

Using patterns within the training data intent phrases will not train your model and will give errors like those above. Use of any sentence syntax patterns like those below will give the above errors:
- Set [the] {@applianceName} volume level [to be] {@decibels=20 decibels}.
- Adjust [the] {@applianceName} temperature {@degrees=23 degrees}.
The errors can also be viewed by expanding the training dataset details and viewing the uploading status. The error report displays a light red panel with the error message. Below is an example of the error message:

With the error message:
"message": "InvalidPrebuiltEntityType: builtin entity unsupported entity type",
I was trying to use the prebuilt syntax for a markdown speech structured language file, which is invalid. Below are the two lines that caused the issue:
@ prebuilt number
@ prebuilt temperature
..
To attempt to resolve the error, I update the markdown file and save the change.
As the uploaded dataset cannot be modified from the Speech Studio, I will need to remove the file.
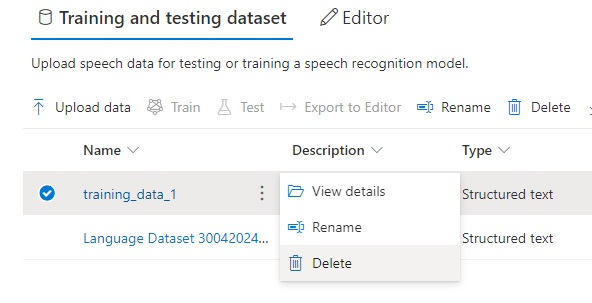
After removal, I then re-upload the file.
During the upload process, I have another error message:
With the error message:
"message": "Missing closing bracket for reference {@decibels",
The machine learning entity has a @ prefix, which is only applicable to custom entity references.
The following phrase line was containing one of the errors:
#TrainingSentences_AdjustVolumeLevel
- Set the {@applianceName} volume level to be {@decibels = 20 decibels}.
I then modify the line as shown to remove the @ prefix from the machine learned sub-phrase reference:
# TrainingSentences_AdjustVolumeLevel
- Set the {@applianceName} volume level to be {decibels = 20 decibels}.
After removing the uploaded dataset, applying, and saving the change, then re-uploading the dataset file, it loads successfully:

In the next section, I will show how to train the custom speech model with the uploaded dataset.
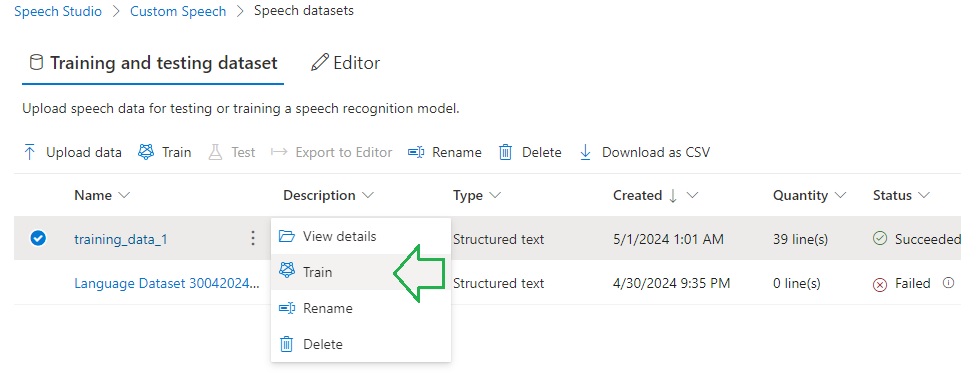
Training the Model with the Uploaded Dataset
To train the custom speech model, we can use one of two approaches, either with the Speech Studio or with Azure Speech SDK CLI commands.
Below is how we train the custom speech model with the uploaded training dataset:
A default general baseline model is used to train your custom speech model, with the custom speech model having a 30% weighting:

To do the same with the Speech SDK CLI, we use the spx csr model create command:
spx csr model create
    --api-version v3.1
    --project projectId
    --name "[Your Speech Model Name]"
    --description "[Your Speech Model Description]"
    --dataset datasetId
    --language "[Source Language Locale]"
To use the model creation command, we will need the project id obtained earlier and the dataset id, which can be obtained by running the CLI command:
spx csr dataset list
Then the JSON output displays, the URI in the self element contains the dataset identifier as shown:
https://westus.api.cognitive.microsoft.com/speechtotext/v3.1/datasets/[datasetId]
Below is a command that trains the speech model:
spx csr model create
    --api-version v3.1
    --project projectId
    --name "Home Automation Speech Model"
    --description "Home Automation Speech Model"
    --dataset datasetId
    --language "en-AU"
If you attempt to train a dataset that has errors in the markup file, then you will end up with the following error:
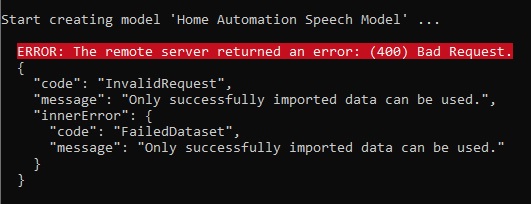
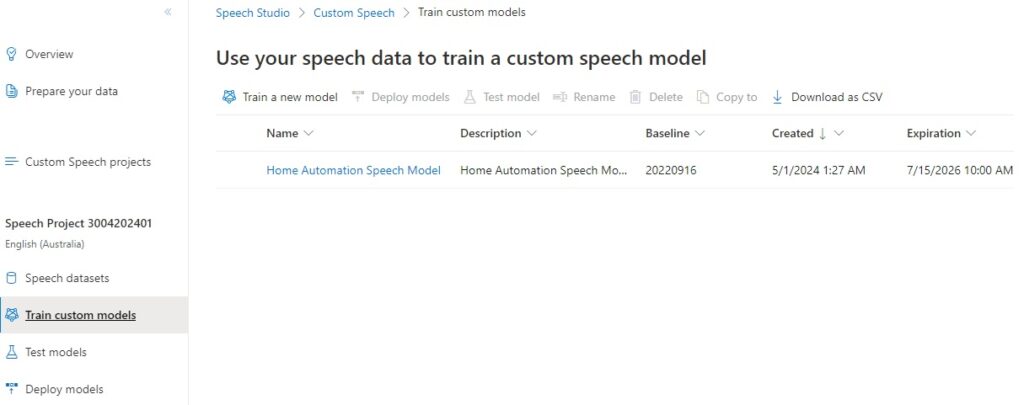
Once training has completed, you will see the custom model showing the Name, Baseline model, Creation date and Expiration date. With models created with the F0 (free tier), the models are automatically deleted is unused after 7 days:
To create an endpoint for the model, we will need the project id and dataset id, which we obtained earlier and the model id, which can be obtained by running the CLI command:
spx csr model list
Then the JSON output displays, the URI in the self element contains the dataset identifier as shown:
https://westus.api.cognitive.microsoft.com/speechtotext/v3.1/models/[modelId]
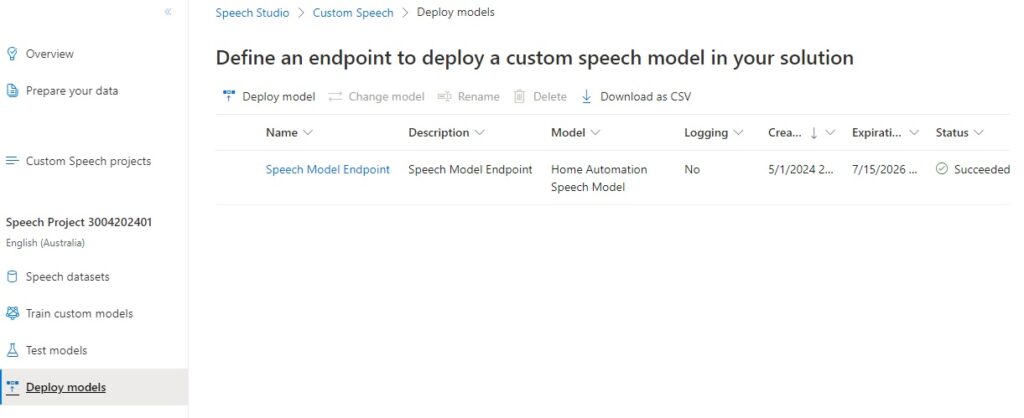
Below is a command that creates an endpoint to access the speech model from an application:
spx csr endpoint create
    --api-version v3.1
    --project projectId
    --model modelId
    --name "Speech Model Endpoint"
    --description "Speech Model Endpoint"
    --language "en-AU"
When the endpoint is created, you will see it listed in the Deploy models screen in Speech Studio:
In future posts, I will show how to test our custom speech model using recorded audio files and use the endpoints we generated for the custom speech model for speech recognition within an application.
That is all for today’s post.
I hope that you have found this post useful and informative.
Andrew Halil is a blogger, author and software developer with expertise of many areas in the information technology industry including full-stack web and native cloud based development, test driven development and Devops.

