Welcome to today’s post.
In today’s post I will be showing you how to add a Swagger interface to your existing web API.
You may already have created an existing web API service application .NET Core which may already have a Swagger UI interface. However, if you have an existing .NET Core web API application that does not have an existing Swagger interface, then this post will be handy in being able to amend the API application to include Swagger UI.
Before I get around to showing how Swagger is added to your web API application, I will explain what Swagger U is.
What is Swagger UI?
Swagger UI based on the Open API specification and is an API description format and documentation tool for REST API services which allows you to describe the API for your Web API service. The API methods that are defined within the API service are a set of methods that are called with one of the HTTP verbs: GET, POST, PUT, DELETE and PATCH.
The Swagger UI documents the following for each API method:
HTTP Action Verb (GET, POST, PUT, DELETE, PATCH)
URI request pattern.
Input parameters.
Responses.
Swagger is a tool which is used to implement the Open API specification and is a useful package for improving the documentation of your Web API controllers in your web application or micro service.
I the next sections I will show you how to install and configure the Swashbuckle NuGet packages that use the Swagger UI to document your Web API services.
Installing Swagger UI
Open Package Manager.
Search for “Swashbuckle”
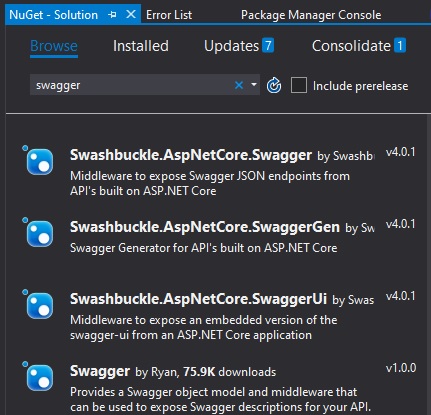
Select and add the following packages:
Swashbuckle.AspNetCore.Swagger
Swashbuckle.AspNetCore.SwaggerGen
Swashbuckle.AspNetCore.SwaggerUI
Accept each package installation.
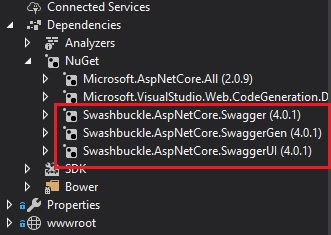
After installation, you should see all three Swagger packages under the NuGet folder:
In the next section, I will show how to configure the Swagger UI.
Configuring Swagger
Next, configure your middleware as follows:
Open Startup.cs.
In ConfigureServices(), add the line that injects the SwaggerGen provider:
public void ConfigureServices(IServiceCollection services)
{
	...

      	// Inject ISwaggerProvider with defaulted settings
         services.AddSwaggerGen(c =>
         {
             c.SwaggerDoc("v1",
                 new Swashbuckle.AspNetCore.Swagger.Info
                 {
                     Title = "BookLoan API",
                      Version = "v1"
                 });
         });
}
In Configure(), add the lines:
public void Configure(
	IApplicationBuilder app,
	IHostingEnvironment env,
	ILoggerFactory loggerFactory)
{
        . . .
      	app.UseSwagger();
      	app.UseSwaggerUi();
  }
Also don’t forget to include namespace Swashbuckle.AspNetCore.
Build and run the application.
Remediations
If you don’t see the swagger.json file generated then try the following:
Remove your controller class routing attributes.
[Route("api/[controller]")]
public class BookController : Controller
to
public class BookController : Controller
Replace your controller action class routing attributes with REST attributes (HTTPGET, HTTPPOST, HTTPPUT, HTTPDELETE)
Below is an example replacement with a HTTP GET REST attribute:
[Route("api/[controller]/Details/{id}")]
[Authorize(Policy = "BookReadAccess")]
public async Task<ActionResult> Details(int id)
{
	…
}
to
[HttpGet("api/[controller]/Details/{id}")]
[Authorize(Policy = "BookReadAccess")]
public async Task<ActionResult> Details(int id)
{
	…
}
Add the [NoAction] attribute to any public members in your controllers.
This is self-explanatory.
Testing the Swagger UI generation
Run the application.
Browse to
The site will redirect to
http://[server]/swagger/index.html
The page like the one below will show:
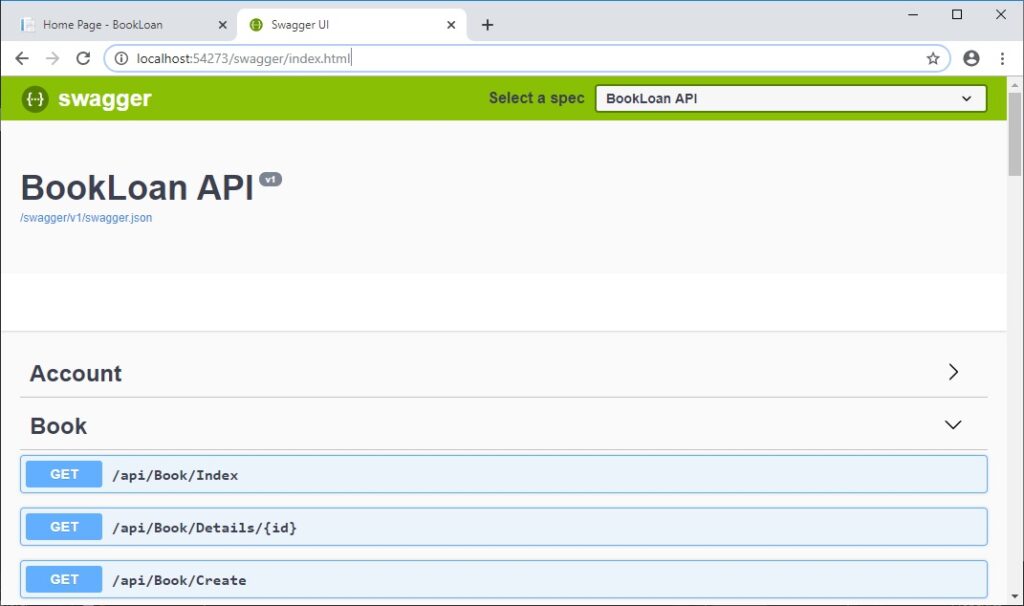
Drill into a GET and POST and check the input parameters and output documentation.
A typical HTTP GET method is shown:

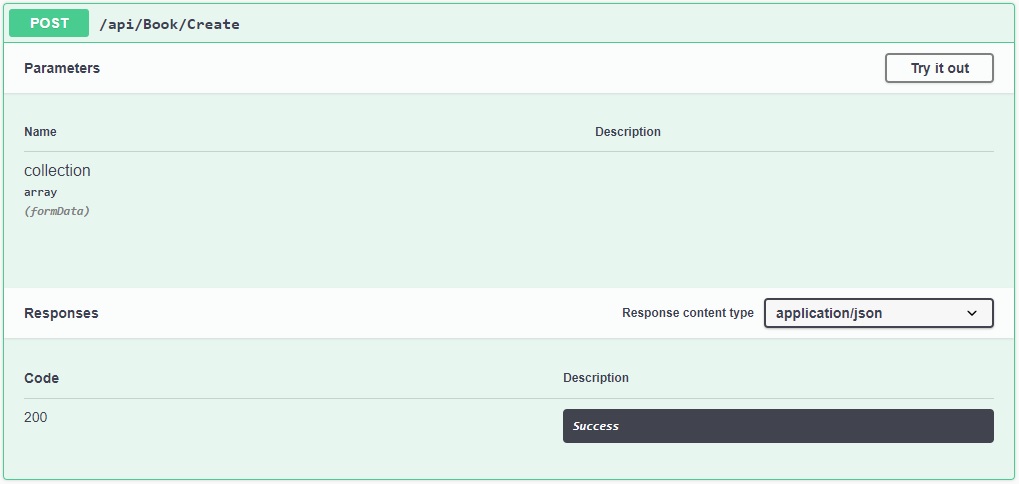
A typical HTTP POST method is shown:
You have seen how to create a Swagger UI for an ASP.NET Core Web API application. In the next section I will outline how to test a Web API application with the Swagger UI.
Testing Web API methods with the Swagger UI
Being able to test a Web API that has HTTP REST methods would normally require creating a separate web or console application that despatches an HTTP request to our Web API service.
However, with a Swagger UI interface, we can run the ASP.NET Core Web API service application and interactively debug our Web API methods using the built-in debugging tool within the Visual Studio IDE.
To do this, we undertake the following actions:
- Place a breakpoint (using F9) on one of the source lines within one of your API controllers or service method that are dependent on an API controller method.
- Run the Web API application under IIS Express.
- Select one of the API methods within the Swagger UI.
- Click on the Try It button.
- Enter any JSON payload data.
- Click on the Execute button.
- The breakpoint within the API controller or service method will be hit.
- From here, continue IDE debugging of the API method and dependencies using F10 or F11 as desired.
You have seen how to create and interactively test a Swagger UI for an ASP.NET Core Web API application. In future posts you will see how useful a Swagger UI can be for testing Web API HTTP REST methods without using an additional external testing tools outside of the Visual Studio development environment.
That’s all!
Hope you learned something useful and thanks for viewing this post.
Andrew Halil is a blogger, author and software developer with expertise of many areas in the information technology industry including full-stack web and native cloud based development, test driven development and Devops.