
Welcome to today’s post.
I will discuss how to create a GitHub repository from your.NET Core Web API and deploy it to Azure App Services using Git Bash on your local machine.
As part of this overview, I will be using existing code that has been written offline from the repository, then add the source folder to a new (initialized) Git repository. You could also create a local Git repository from scratch and add source files to that through the Visual Studio development environment.
I will go over both these scenarios in the walkthrough in the next section.
I will be covering the following four tasks:
- Create a new GitHub repository. (If no existing repository)
- Add a .NET Core project to GitHub using GitBash. (If no existing repository)
- Clone the GitHub project to your local machine using GitBash. (If existing repository)
- Creating an Azure web app using Azure Cloud CLI
- Deploy the GitHub project to Azure App Services.
Establishing a Local Git Repository
If you have an existing repository then skip this first task.
For the first task, create a new GitHub repository:
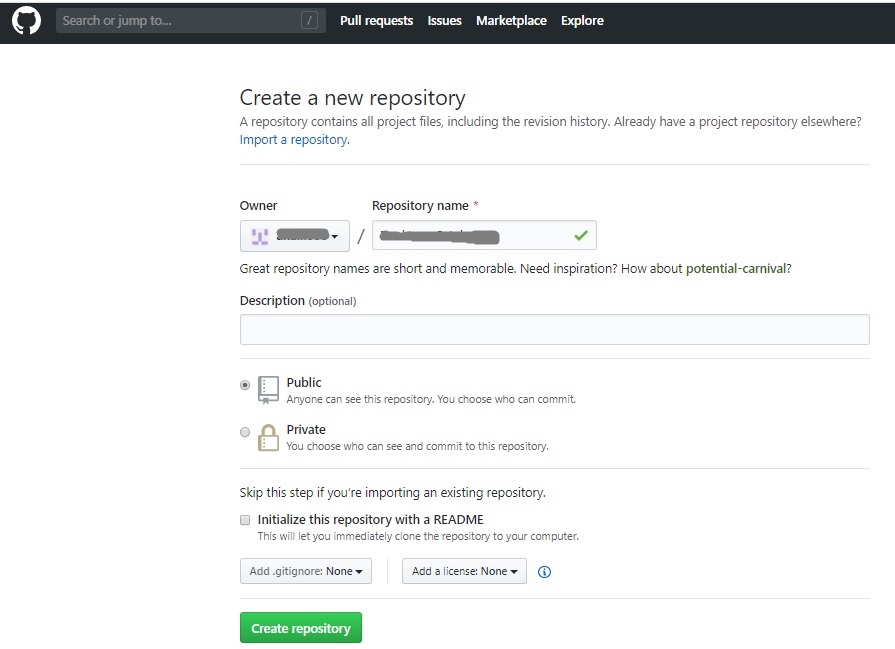
Open GitBash.
Run the following commands to initialize and add source files from the local folder into the local git repository then commit the files into the local git repository:
git init
git add .
git commit -m "init commit"
Cloning a GitHub .NET Core Project into a Local Git Repository
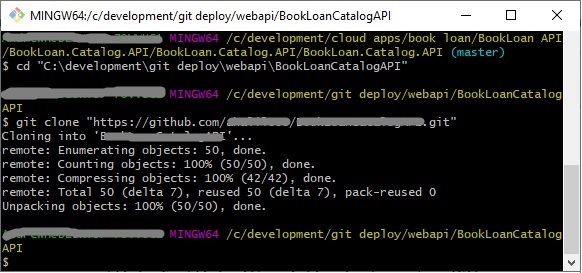
For the second task, change to the folder you wish to clone your .NET Core Web API project (with the csproj file).
Run the following commands to initialize and clone the local git repository from the remote repository source folder:
git init
git clone "https://github.com/[git-account-name]/[project-name].git"
Run the following commands to commit the source files to a local git repository:
Next, run the following commands to create a link from your local git to the remote git repository:
git remote add origin https://github.com/[git_account]/[project].git
Run the following command to push the changes to the remote repository:
git push -u origin master
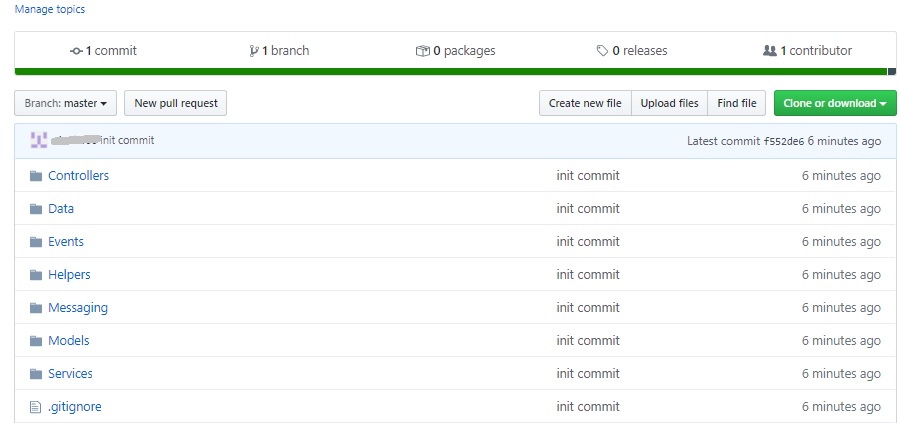
Once committed, open the GitHub repository and check the files have been pushed to the repository:
Create an App Service in Azure
Before we can push the GitHub repository into Azure, we will need to create an App Service to hold the web source files.
I will show how this is done.
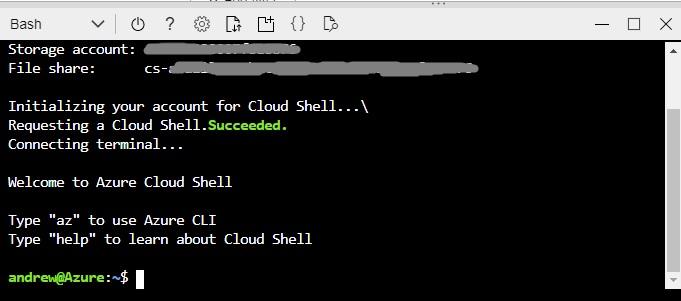
For the third task, login to the Azure portal and open the Azure Cloud CLI:

You will be prompted to create cloud shell storage.
After the shell prompt opens, select Bash as the scripting language.
Enter the following script to create a web API as an Application Service.
First create the resource group:
myResourceGroup=”[whatever my resource group is]”
mylocation="Australia Southeast"
az group create --name myResourceGroup --location mylocation
Create the app service plan in the FREE tier:
az appservice plan create --name myAppServicePlan --resource-group myResourceGroup --sku FREE
Setup App Service Deployment in Azure
When an App Service Deployment is setup in Azure, it will allow us to push changes from the remote Git repository into the cloned Git repository in the Azure App Service. This requires a deployment user and credentials to be setup.
I will now show how this is done.
Create a deployment user for the app service:
az webapp deployment user set --user-name [deployment user name] --password [deployment password]
When you create an app service deployment user, the app service git clone URL will be of the form:
https://[deployment user name]@[app name].scm.azurewebsites.net:443/[app name].gitIt is also advisable to verify if the credentials have been applied correctly to the app service. To do this access the deployment centre as shown:
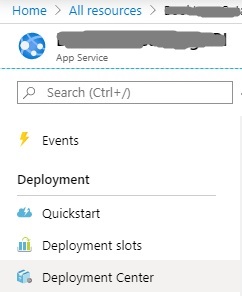
Then access the deployment credentials:
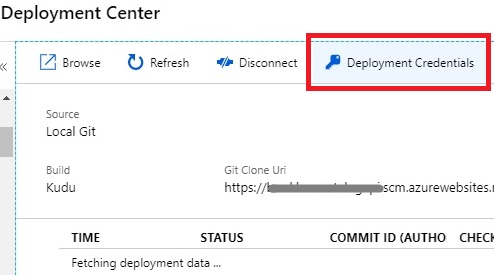
After the deployment credentials are configured, they can be configured to an application or user scope. In this case a user scope with user credentials:
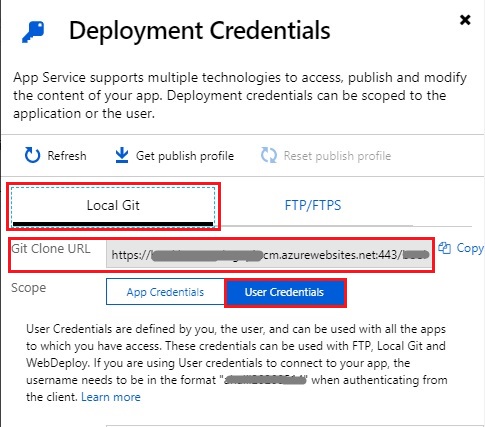
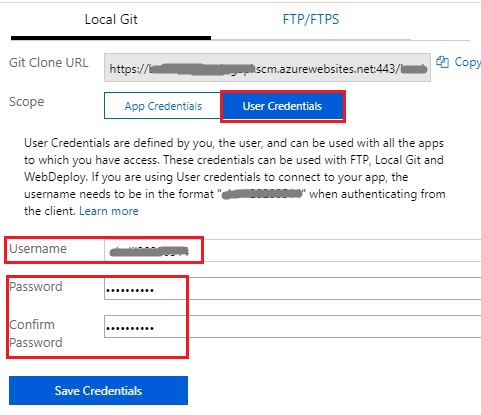
The user name normally will appear but if the password doesn’t save from the CLI, they can be entered and saved as shown:
Create the web application / web API:
myAppServicePlan=”F1”

myAppName=”[my application name]”

az webapp create --resource-group myResourceGroup --plan myAppServicePlan --name myAppName --deployment-local-git
The last command will return the URL of the SCM for the application. It is of the form:
https://[deployment-user]@[app-name].scm.azurewebsites.net/[app-name].gitNote: To determine a list of valid locations that can be used in the free tier use:
az appservice list-locations --sku FREE.
When the application service is created, the properties will be as shown:
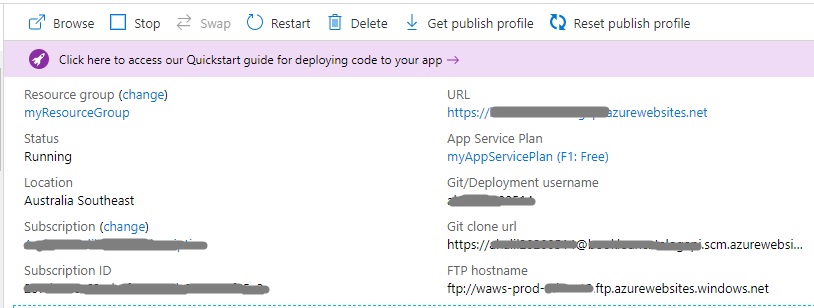
Note, the azure local git properties are as shown:
Git/Deployment username is the app service deployment name.
Git clone url = https://[Git/Deployment username]@[app name]bookloancatalogapi.scm.azurewebsites.net:443/[app name].git
Deploy the GitHub Repository to the Azure App Service
For the fourth and final task, we will push the remote git repository to the Azure application service.
We do this as follows. First, we get the SCM URI from the app service:
myResourceGroup=”[whatever my resource group is]”

az webapp deployment list-publishing-credentials --name [app-name] --resource-group myResourceGroup --query scmUri --output tsv
This will return a URL of the form:
https://[deployment-user]@[app-name].scm.azurewebsites.net:443/[app-name].gitThis is the same as the Git clone url and the Git/Deployment username from the app service above.
Next, use the above URL to setup, add, commit and push changes from our local git repository to Azure:
git remote add azure "https://[deployment-user]@[app-name].scm.azurewebsites.net:443/[app-name].git"
git add .
git commit -m "init commit"
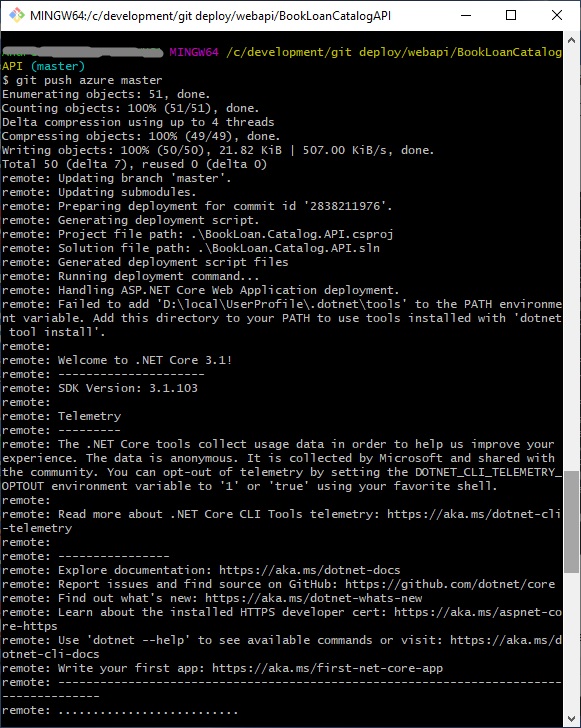
git push azure master
When the Credential Manager dialog opens the deployment user name will be pre-filled. Enter the deployment credential password and submit.
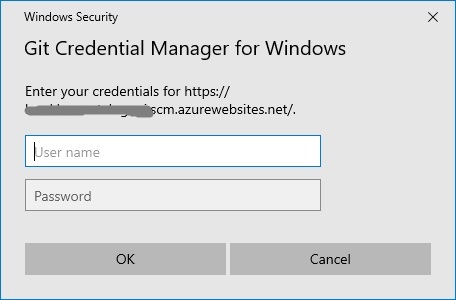
Once entered, the above credentials will be cached on your machine and won’t need re-entering until they expire.
The source will then start deploying to the Azure web app service as shown:
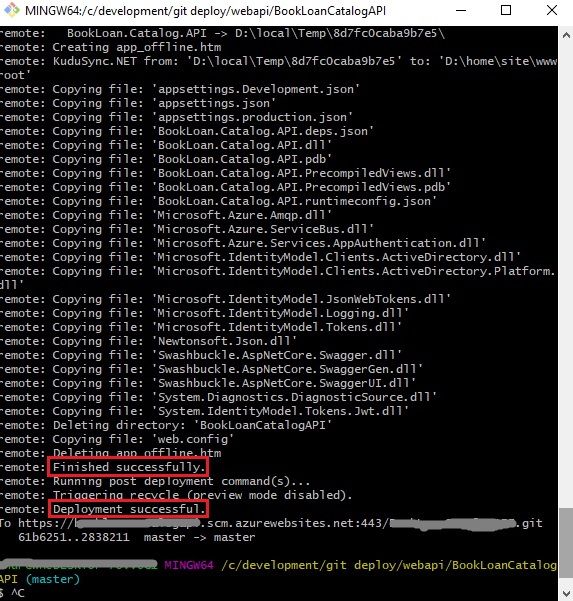
Successful completion will be indicated as shown:
If the push to Azure gives the following error:
fatal: Authentication failed for 'https://[deployment-user]@ [app-name].scm.azurewebsites.net:443/[app-name].git/' (see https://stackoverflow.com/questions/34837173/authentication-failed-for-azure-git) Check your deployment username and password are set correctly in the Azure app service deployment credentials.
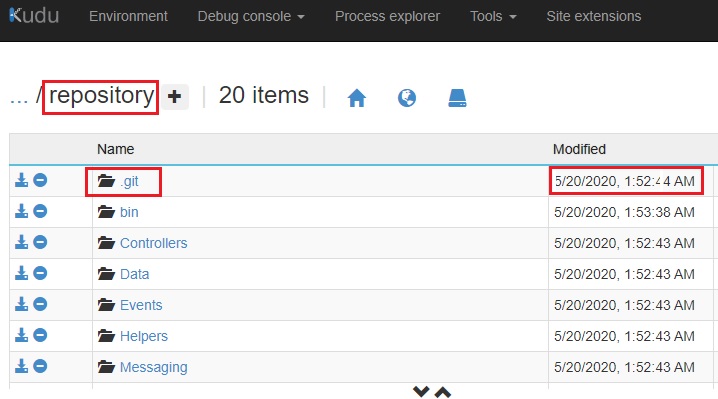
To verify files have been deployed to Azure, open Kudu services:
https://[app-name].scm.azurewebsites.net/then into the Debug Console:
https://[app-name].scm.azurewebsites.net/DebugConsoleThen verify the site\repository folder has been populated:
That’s all for today’s post.
For an overview see the Microsoft article: https://docs.microsoft.com/en-us/azure/app-service/deploy-local-git
I hope you found this post useful and informative.
Andrew Halil is a blogger, author and software developer with expertise of many areas in the information technology industry including full-stack web and native cloud based development, test driven development and Devops.

