
Welcome to today’s post.
I will be showing how to use a useful utility called Hangfire to queue and process jobs in the background.
In a previous post I showed how to create background tasks within a hosted service. The difference between a background worker task that runs as soon as the host application or service starts, and an application that uses HangFire schedules is the duration of the host application. Applications that run with schedules are intended to run for longer durations and will either run tasks with polling based on a timer or trigger based on a schedule.
I will start off my describing the application contexts where background tasks can be used. I will then show how to install and configure the HangFire library into a .NET Core application. I will finally show how to fire sample recurring jobs and read the state from the Hangfire dashboard.
Application Scenarios where Background Tasks are Run
Traditional background processing tools run using the following services:
- Windows Service
- Message Queued Service
- Database Server
Of the above services, a windows service and message queued services deliver their messages asynchronously to the client.
Messages stored within a database server ae retrieved using a client polling mechanism.
Background messages are enqueued by Hangfire to a database and retrieved using polling from a client.
Unlike a windows service or message queue, the method employed by Hangfire to enqueue and dequeue background messages does not employ a decoupled architecture to process messages, it uses a client server-based architecture to retrieve queued messages.
I will now explain how to use this utility.
Installing the Hangfire Utility into a .NET Core Application
Installing Hangfire is quite straightforward within a .NET Core Web application or Web API application.
Within a new of existing web application, install the following NuGet package:
Hangfire
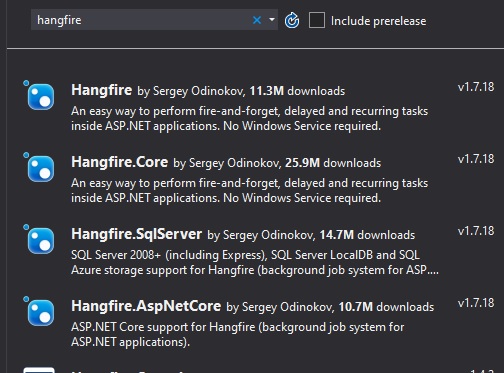
The following packages will be installed into the project:
- Hangfire
- Hangfire.Core
- Hangfire.SqlServer
- Hangfire.AspNetCore
In the next section, I will explain how to configure a database connection to persist state for Hangfire jobs.
Data Storage for Hangfire Background Jobs
To be able to store the queued background jobs, you will require the creation of a SQL server database:
Open SSMS (or if you are using SQL Express) and create a database:
CREATE DATABASE [HangFireDemo]
GO
Next, I will show how to configure HangFire. In the appSettings.json file add the following connection string:
{
  "ConnectionStrings": {
    "HangfireConnection": "Server=localhost;Database=HangfireDemo;User Id=????;Password=????;"
  },
  "Logging": {
    "LogLevel": {
      "Default": "Warning",
      "Hangfire": "Information"
    }
  }
}
Note: If you are using SQL express then the server in the connection string would be:
“Server=(localdb)\\mssqllocaldb; Database=HangfireDemo; Trusted_Connection=True; MultipleActiveResultSets=true",
Save changes.
In the next section, I will show how to configure the database storage within the application during startup.
Application Configuration of Hangfire
In Startup.cs add the following namespaces:
using Microsoft.Extensions.DependencyInjection;
using Hangfire;
using Hangfire.SqlServer;
Next, in ConfigureServices(), we will register the Hangfire service as shown:
public void ConfigureServices(IServiceCollection services)
{
    services.AddHangfire(configuration => configuration
        .SetDataCompatibilityLevel(CompatibilityLevel.Version_170)
   	.UseSimpleAssemblyNameTypeSerializer()
    	.UseRecommendedSerializerSettings()
    	.UseSqlServerStorage(
     	    Configuration.GetConnectionString("HangfireConnection"),
      	        new SqlServerStorageOptions
                {
                    CommandBatchMaxTimeout = TimeSpan.FromMinutes(5),
                    SlidingInvisibilityTimeout = TimeSpan.FromMinutes(5),
                    QueuePollInterval = TimeSpan.Zero,
                    UseRecommendedIsolationLevel = true,
                    DisableGlobalLocks = true
                }
       	)
    );

    services.AddHangfireServer();
}
In the next section, I will show how to configure the application during startup to display the built-in dashboard, which allows you to view the queued and processed jobs.
Configuring the Hangfire Dashboard
In the next step I will add a dashboard UI to display the queued and processed jobs.
In the Configure() method add the following code to configure the dashboard UI:
public void Configure(IApplicationBuilder app, IBackgroundJobClient backgroundJobs,
	IHostingEnvironment env)
{
    // ...
    app.UseStaticFiles();
    app.UseHangfireDashboard();
    backgroundJobs.Enqueue(() => Console.WriteLine("Hello world from Hangfire!"));

    app.UseMvc(routes =>
    {
       routes.MapRoute(
         	name: "default",
    	template: "{controller=Home}/{action=Index}/{id?}"
       );
    });
}
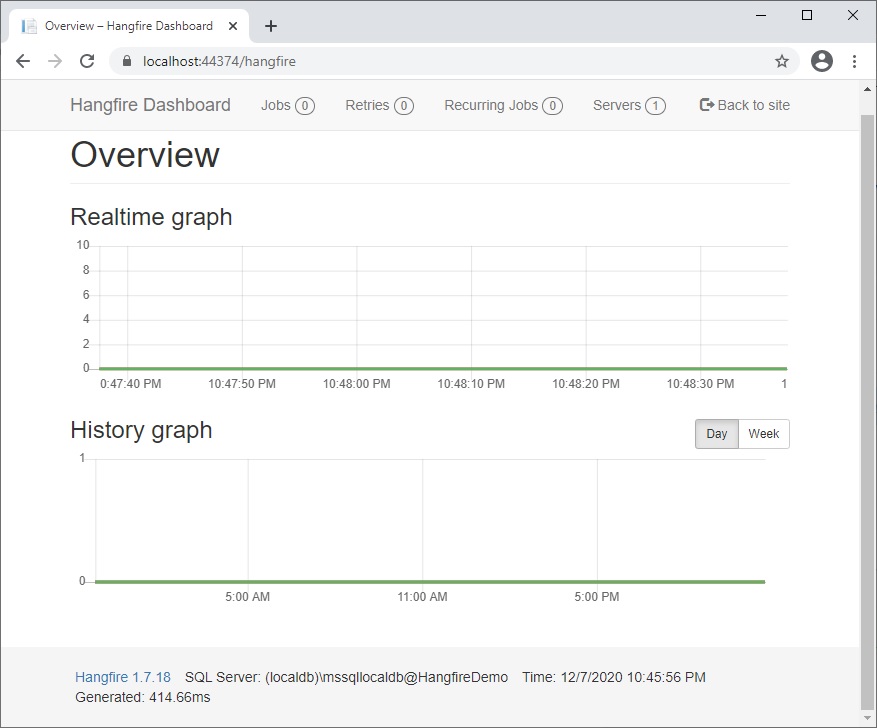
Now build and run the application.
When run ensure your URL routes to:
https://localhost:[port]/hangfire
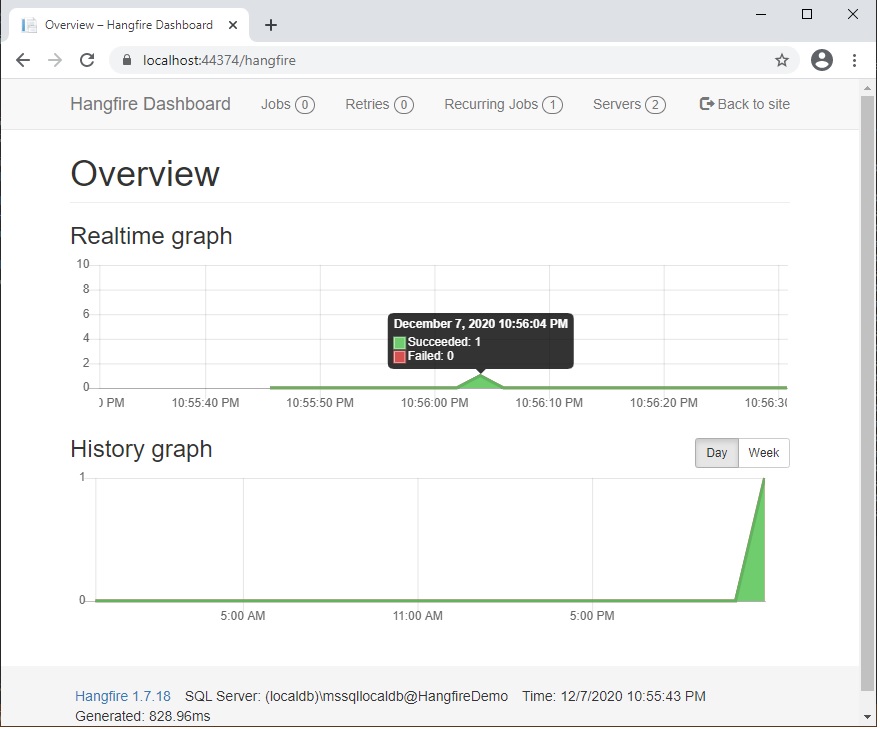
The dashboard will look as shown:
Below the History graph you will see when the first job was fired.
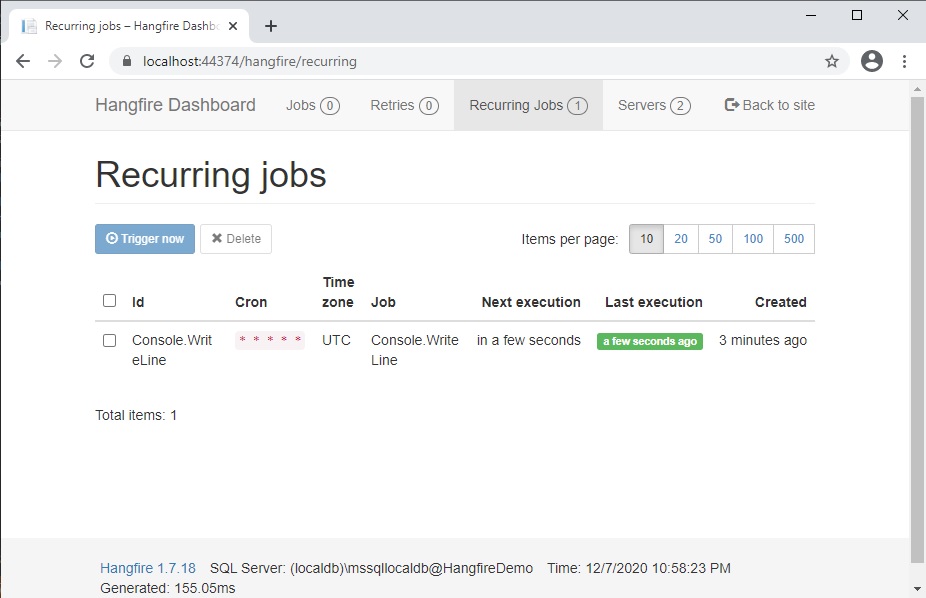
Now stop the application and add the following in the Configure() method:
RecurringJob.AddOrUpdate(
    () => Console.WriteLine("A recurring job!"),
    Cron.Minutely);
This is a recurring job that will run every minute.
When you select the recurring jobs menu, the recurring job we defined earlier to run every minute shows:
We have seen how to schedule tasks within an application using the HangFire utility, which is quite useful if we want to persist schedules in a database such as SQL Server and execute tasks within a log running application or service. The inclusion of a dashboard to provide the status of jobs is also quite a useful feature.
There are other scheduling tools that I will introduce in future posts.
That’s all for today post.
I hope you found this post useful, interesting, and informative.
Andrew Halil is a blogger, author and software developer with expertise of many areas in the information technology industry including full-stack web and native cloud based development, test driven development and Devops.
