
Welcome to today’s post.
In today’s post I will be discussing use of client certificates and how they can be used to secure different types of applications.
In previous posts I have showed how to implement basic authentication libraries using Open ID Connect with the Microsoft Identity libraries. I also showed how to generate and use JWT tokens to secure Web API methods. In all those posts I have used secrets encoded within application configuration settings. This was done for convenience to illustrate the main purpose of the posts rather than best practice. The recommended approach is to use more a secure client certificate which is used to authenticate the identity of a client to the server it is connecting to. The web API service making the call to the server acts as a client, so it is the party requiring identity validation.
Creating a Self-Signed Certificate
Open PowerShell and run New-SelfSignedCertificate with the following parameters to create a self-signed certificate in the user certificate store on your computer:
New-SelfSignedCertificate -Subject "CN=CustomWebAPICert" -CertStoreLocation "Cert:\CurrentUser\My" -KeyExportPolicy Exportable -KeySpec Signature
(Refer to the following for more details on the New-SelfSignedCertificate shell command)
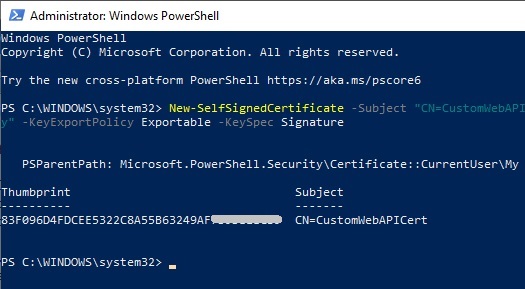
After the certificate has been created, we can verify it in our certificate store.
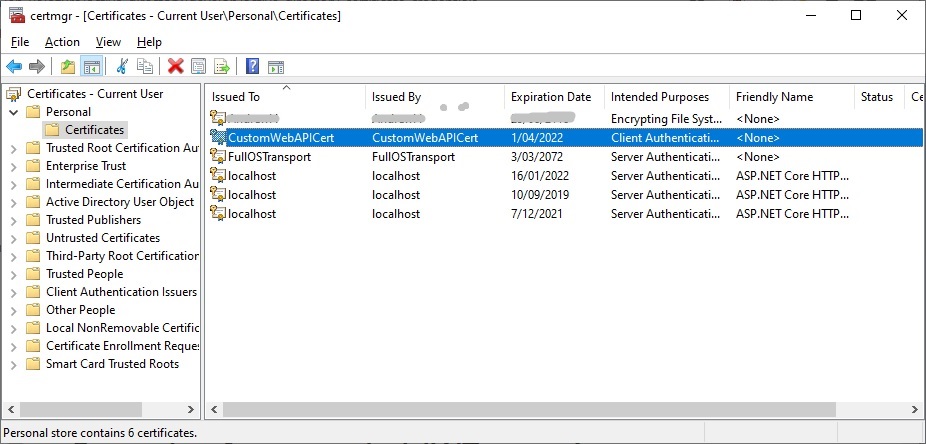
Open Manage user certificates (search “manage certificates” in search Windows bar).
Under Certificates – Current User, expand Personal | Certificates. You will see the certificate that has been created:
In the next section, I will show how to export the key from the certificate.
Exporting the Key from the Certificate
Next, to be able to distribute the certificate for identity verification, we will export the key from the certificate.
We have a choice to make here, do we export the file as a private or public certificate?
To verify the identity of a client to the recipient, the minimal key we need supply is a public key.
The private key is kept at the client location / site.
(For a useful discussion of the differences and when to use certificates see).
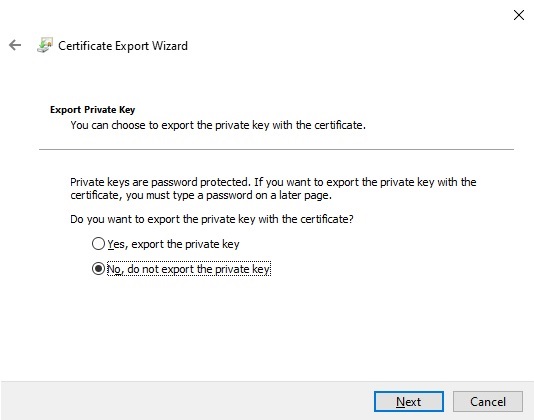
Select Tasks | Export …

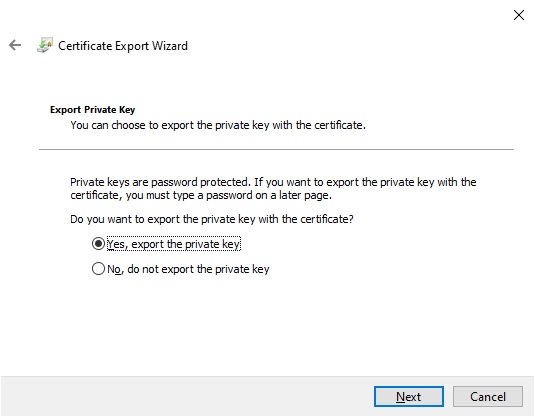
In the Export Wizard select the option to not export the private key:
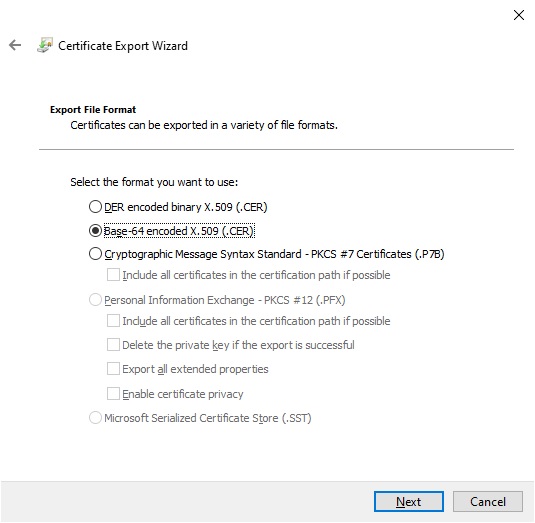
In the next screen select the Export File Format.
Select the Base-64 encoded X.509 format:
Select a folder and file name for the exported certificate:
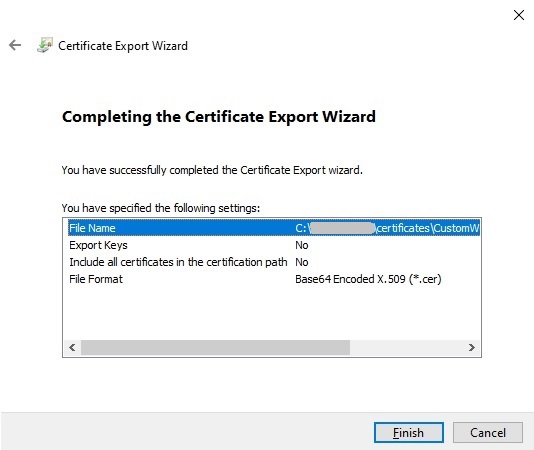
Viewing the contents of the certificate file in notepad looks as follows (with partial truncation of certificate):
-----BEGIN CERTIFICATE-----
MIIDEDCCAfigAwIBAgIQfe75v8sPtb1O88aALBfAOzANBgkqhkiG9w0BAQUFADAb
MRkwFwYDVQQDDBBDdXN0b21XZWJBUElDZXJ0MB4XDTIxMDQwMTExNDI1M1oXDTIy
MDQwMTEyMDI1M1owGzEZMBcGA1UEAwwQQ3VzdG9tV2ViQVBJQ2VydDCCASIwDQYJ
KoZIhvcNAQEBBQADggEPADCCAQoCggEBAJ6VAbgCjwSP//pgg8wsCc5BaM47yVOd
b9MWsdx8DkFpdNVNmQGIE7DvQp2G3AwrQXhdbyaClvjDB8iTLoLsOJTk3mGN8/d7
...
ggEBABHKmScFst/2RGXkGjAmn2FACxqIfwFpIGgzAaNiFP8dhslDvrNevuKaP7HK
0WrdlVsJvVHePeGcTuVdHoAc2asx6/80rfU3n7LlKRgZE7hmAKBppyfEmRNJlux0
xg3AR0qLIgNC6vf7w2HIcU6CXy6QuBGD32nkkHLo4cQ7lmw3BeNc6UM4e6ExFUAC
wKoOmq9PTR3pvqTJ+vXgLy23CJMtIkDJ48j+DaDthO0w69dud3MxURxyKUTikBMN
ogill3GzQDA0/RJ2R+8Ni7bLBFkDhbB+30vb7t5ZrzjKziNJn2QgsHaezmOZK+oI
46lpPaeevSERopGrNeKCfFeMZfU=
-----END CERTIFICATE-----
The resulting file icon for our exported public key certificate will look as shown:
In the next section, I will show how to export the certificate with a private key.
Exporting the Certificate with the Private Key
To export the certificate along with the private key we can alternatively select the private key export option:
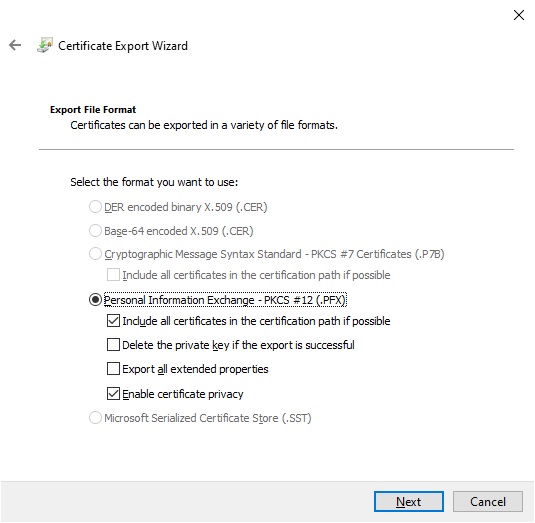
The next screen shows the Export File Format.
With private keys the only option is Personal Information Exchange or (.PFX) format.
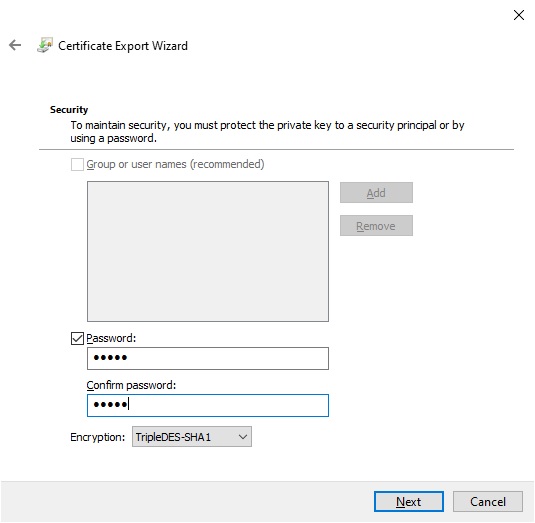
The next screen you will be asked to secure the certificate with a password.
Enter a password and store the password.
Enter the name of the private key certificate file:
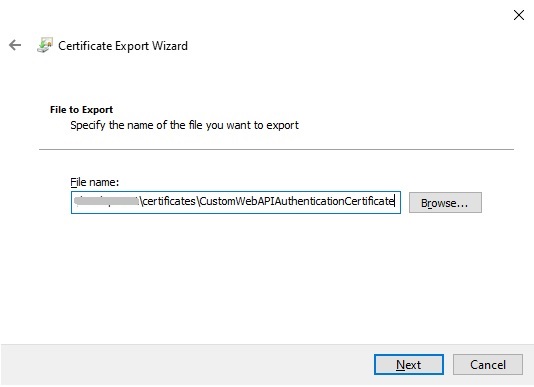
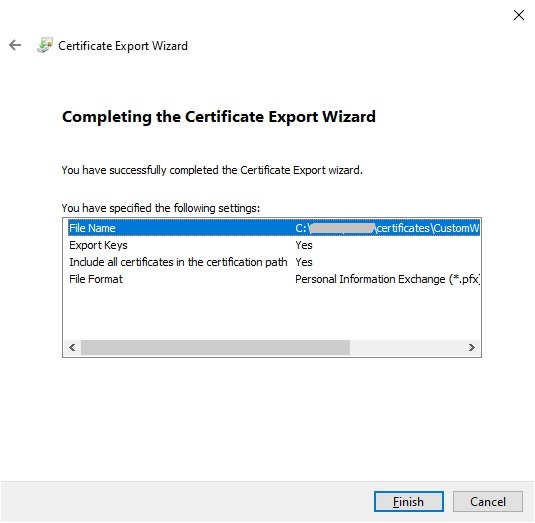
Complete the export.
The resulting exported private key certificate will look as shown:
As you have seen, we have managed to export both public and private key certificates.
In the final section, I will show how to use the public key in a .NET Core application.
Using the Public Certificate in a .NET Core Application
In what case can we use the public certificate?
When we have a web API that calls another web API, the upstream web API acts as a confidential client application and hence will need to share client certificates or secrets with the Microsoft Identity platform. In this case we include the certificate with the client application configuration so that the client application can identify itself to the identity platform without requiring additional authentication user steps.
In the client application, specifying the public certificate file and path can be done with configuration as shown:
{
    "ClientCertificates": [
      {
       "SourceType": "Path",
       "CertificateDiskPath": "c:\\[path] \\[certfilename].cer",
      }]
}
Accessing the public certificate using the Microsoft.Identity.Web library can be done as shown:
MicrosoftIdentityOptions options = new MicrosoftIdentityOptions();
options.ClientCertificates = new CertificateDescription[] {
  CertificateDescription.FromPath(@"c:\\[path]\\[certfilename].cer"
)};
In what case can we use the private certificate?
When we have an application that is essentially a service that does not require user intervention when signing in or if we are calling a service such as an AD hosted web API or Microsoft Graph using an identity, the calling client application will require registration of the application with either a client secret, password, or a public or private certificate.
For private certificates we can use configuration settings in a similar manner, except we require an additional password to be specified:
{
    "ClientCertificates": [
      {
       "SourceType": "Path",
       "CertificateDiskPath": "c:\\[path]\\[certfilename].pfx",
      "CertificatePassword": "[cert password]"
      }]
}
Accessing the private certificate using the Microsoft.Identity.Web library can be done as shown:
MicrosoftIdentityOptions options = new MicrosoftIdentityOptions();
options.ClientCertificates = new CertificateDescription[] {
 CertificateDescription.FromPath(@"c:\\[path]\\[certfilename].pfx", "password")
};
That is all for today’s post.
In a future post I will explain how we can make use of certificates with AD authentication from a Web API or client application.
I hope you found this post useful and informative.
Andrew Halil is a blogger, author and software developer with expertise of many areas in the information technology industry including full-stack web and native cloud based development, test driven development and Devops.

