Welcome to my post!
In two posts I will show you how you can, utilizing SSIS toolbox components to import data from a simple data file on your local machine (or server) into an Azure SQL database.
In the first post today I will show how to import a CSV data file Azure Storage as a blob.
In the second and final post I will show how to define a package to transfer the Azure Blob Storage container file into an Azure SQL database.
Before you continue with this post, refer to my previous post that explains how to enable Azure Blob Storage for SSIS packages.
Before I go through the data upload tasks, I will cover some approaches to importing local data into Azure in the next section.
Approaches to Importing Local Data into Azure
There are currently several ways you can import data from an on-premises data store into Azure, and each approach depends on what tools or features you utilize and what service plans you are using for your Azure SQL Database.
There are three known approaches:
- Use an SSIS package.
- Use the Azure Data Factory.
- Use an Azure SQL Job.
With the Azure Data Factory approach, you will need to install an additional Integration Runtime on your source machine, which is then registered with Azure Data Factory.
With the Azure SQL Job approach, you will require your database to be under a managed instance.
In this post I will discuss the SSIS package approach as it is the more basic setup and cost.
In all cases, the creation of an Azure Storage and Blob container is required.
Note: Azure SQL Databases only support reading from Azure Blob Storage as mentioned here.
For this reason, there are two steps required to migrate data into an Azure SQL database.
Task 1 – Create a package to upload import file to an Azure Blob Storage container file.
Task 2 – Create a package to transfer the Azure Blob Storage container file into an Azure SQL database.
In today’s post I will be demonstrating the first task.
Uploading a Data File into Azure Storage using an SSIS Package
First, we will import a data file into an Azure Blob Storage container file.
To achieve this, you will be required to create the following:
- An Azure storage container.
- A blob container.
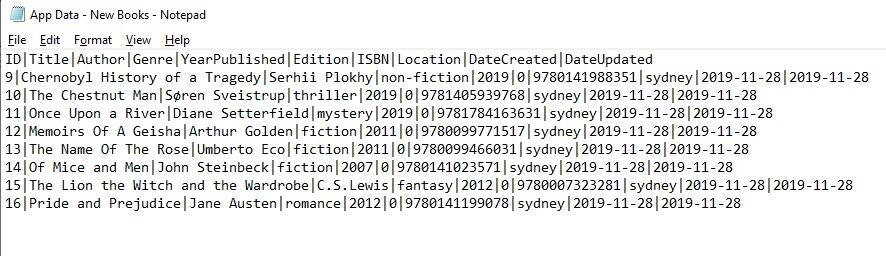
First, we create a data file with sample data, which is shown below:
In the sections that follow, I will create and implement an SSIS project to upload the data file to Azure Storage.
Creation of an Integration Services Project
Open Visual Studio 2017.
Create a new Integration Services Project under the Business Intelligence folder.

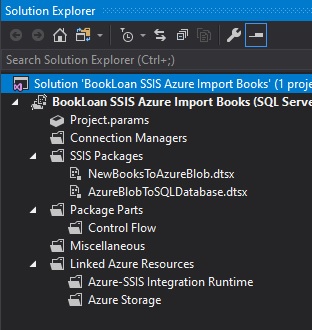
After the skeleton project has created, add two packages under the SSIS sub-folder:
Click onto the package you wish to use for the Azure Blob upload.
Configuration of the Flat File Connection
Next, create two connection managers that will be used to define the data source and destination.
Right-click under Connection Managers and New File Connection..

Define the Flat File Connection Manager as shown:

Check the Columns and Preview show the data correctly. Click Ok.
Next, create a new Connection to the Azure Blob Storage as shown.
Then select the AzureStorage connection manager type.
Click on Add…

In the next section, I will show how to configure the Azure Storage connection manager.
Configuration of the Azure Connection Manager
The Azure Storage Connection Manager displays as shown:

In the Azure Connection Manager, enter in the account name and account key, which are obtainable from your Azure Blob Storage account within your Azure subscription:

Obtaining credentials for your Azure Blob Storage and Azure account is as follows:
Select an existing storage account.
Select Access Keys.

The Storage account name and key which are shown below, can be copied as pasted into the Azure Connection Manager login dialog.

Test the connection within the Azure Storage Connection Manager Editor.
Click ok.
Your connection managers will show within the upload task as shown:

You have now completed setup of the connection to Azure Blob Storage.
Next, we will define the upload task.
Configuration of the Azure Blob Upload Task
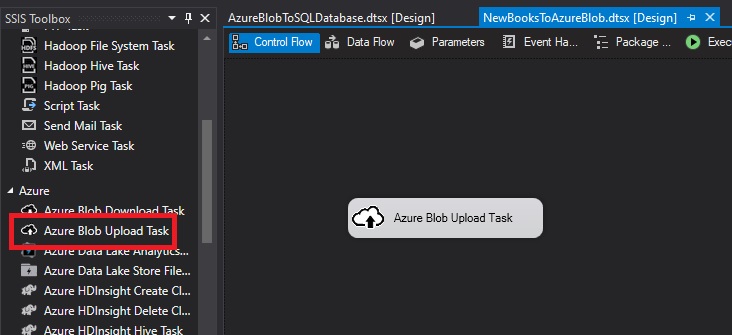
We return to our SSIS toolbox within SSDT.
Drag an Azure Blob Upload Task from the SSIS toolbox into the designer.
Next, define the upload task as follows:

Click ok.
Next, test the upload by running the upload task with right-click the Execute Task..
Open the Azure storage account.
Open containers.
The blob file will show in the sub folder /data as shown.

When we select the uploaded blob and Edit tab, the following contents of the uploaded CSV blob will show:
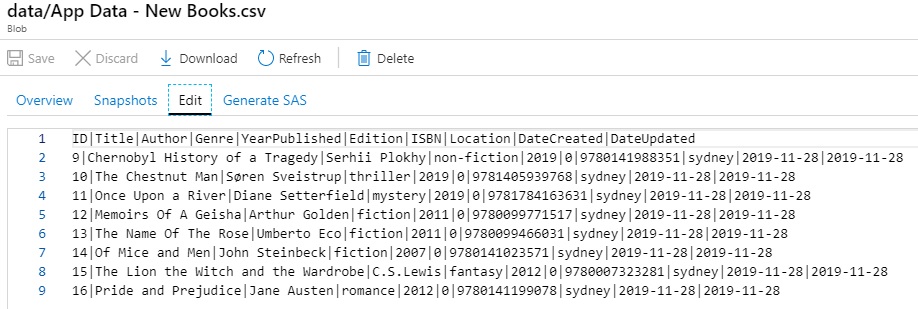
The data file has been successfully imported into Azure Storage as a blob.
In this post, I showed how to upload a file into an Azure Blob Storage.
In my next post I will show how to define the upload task to transfer the Azure Blob Storage into an Azure database.
That is all for today’s post.
I hope you have found this post useful and informative.
Andrew Halil is a blogger, author and software developer with expertise of many areas in the information technology industry including full-stack web and native cloud based development, test driven development and Devops.