Welcome to today’s post.
In today’s post I will show how to establish the basics of an Azure DevOps Services environment.
Projects within an Azure DevOps Services environment are hosted within Azure, whereas the non-Azure hosted environment for Azure DevOps is known as Azure DevOps Server. The on-premises version of Azure DevOps was previously known as Team Foundation Server (or TFS). Before TFS, we had Visual Source Safe (VSS), which was the source control versioning product within the Visual Studio development IDE. VSS and earlier TFS versions both used a file locking, centralized approach to source code versioning. Later versions of TFS and Azure DevOps allow use of both TFVC (Team Foundation Version Control) and the open-source Git based version control. The Git version control approach uses a distributed approach to controlling source control, where the source can be cloned from a repository to multiple developers, and the changes committed and merged back into the repository.
The Azure DevOps environment supports the full application lifecycle for software development and can be configured to support the following tasks:
- Source code management
- Automated builds (continuous integration)
- Automated testing (unit testing and end-to-end testing)
- Automated releases (continuous deployment)
I will now get to the purpose of this post, which is to show how to set up an initial Azure DevOps Services environment with an initial project.
The tasks I will demonstrate are:
- Setup of an Azure DevOps Organization.
- Setup of an Azure DevOps Project.
- Installation of the Azure CLI.
- Installing of the Azure DevOps CLI.
I will then conclude with a few basic Azure DevOps CLI commands.
The above are the basic setup and tools installed before we can make use of some important and useful features in Azure DevOps Services. In future posts I will show how to make use of these features including useful tasks from a DevOps engineer and developer viewpoint involving source code repository and code management.
Setup of an Azure DevOps Organization
The first step in using Azure DevOps Services is to create an organization to contain our project artifacts.
To create an organization, we navigate to the link for Azure DevOps. On the landing page we can either select the Start free option or the Start free with GitHub option.
I will choose the Start Free option.
You can login through a Microsoft account, which will need to have an Azure subscription linked to it. If you login as your own account, the project name will default to your account name. This doesn’t matter as we can add alternatively named projects later.
Once you have logged in, you will be taken to the DevOps Organization page.
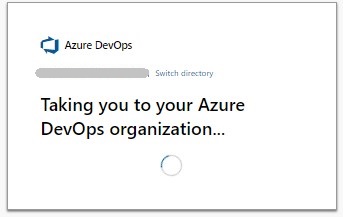
On the Azure DevOps organization landing page, you will have the option of creating a new project under the root account or create a new organization.
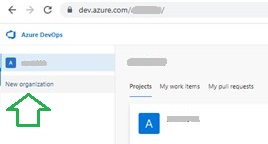
Create a new organization.
In the next dialog screen, you will choose a new Azure DevOps organization and a region to host the projects in.
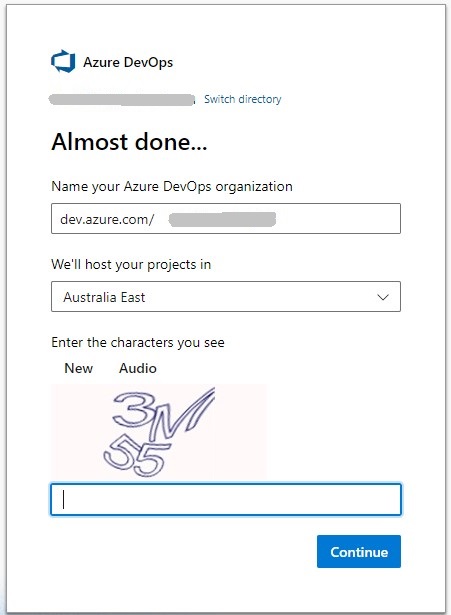
Your DevOps organization will be of the form:
dev.azure.com/[your-organization-name]
In the next section I will show how to setup an AzureDevOps project.
Setup of an Azure DevOps Project
In the organization landing page, you will see in the project pane a tile widget which invites you to create a project.
Enter a project name and click the Create project action.
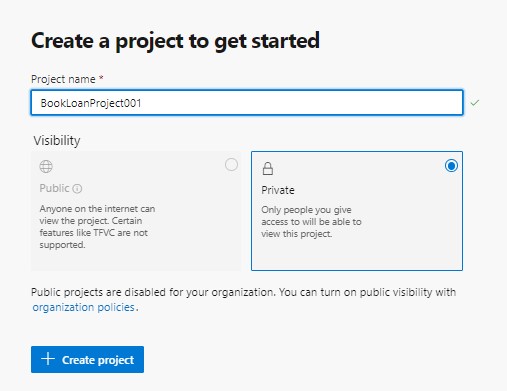
Following project creation, you will be taken to the project landing page.
To the left is the menu pane. On the top right, you will see the project visibility Public or Private with an action to invite a new project member.
To the bottom right of the screen are the Members of the project. By default, the creator/owner of the organization will be the initial project member.

In addition, you will be able to create source code repositories to a project.
Source code repositories contain the source code of our project and allow developers to make changes to the project source. When a code repository is created, it can be a private Git or public GitHub repository. More details on repositories will be discussed in a future post.
The next step for us is to install the Azure CLI.
Installation of the Azure CLI
The Azure CLI installer MSI for Windows can be downloaded from the Azure CLI for Windows installation page.
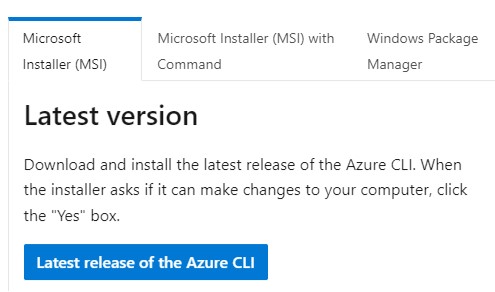
After downloading the MSI, install it.
To run the Azure CLI, open the Start Menu. You will find the Microsoft Azure sub-menu. Then select the Microsoft Azure Command Prompt.
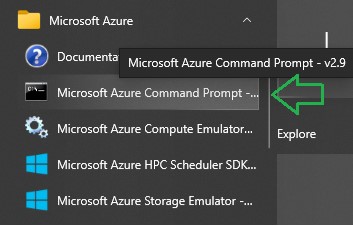
The command prompt will open.
Enter the command within the Azure CLI to login to your Azure account:
az login
The browser will open to prompt you for your Azure account credentials.
After login is successful, close the browser.
The next step is to install the Azure DevOps CLI.
Installation of the Azure DevOps CLI
To use Azure DevOps CLI, you will need to install the Azure DevOps extension.
Installing the extension requires running the following command:
az extension add --name azure-devops
After the extension is installed, confirm it exists by running the command:
az extension list
The output shows the extension path and version:
[
  {
    "experimental": false,
    "extensionType": "whl",
    "name": "azure-devops",
    "path": "C:\\Users\\xxxxxx\\.azure\\cliextensions\\azure-devops",
    "preview": false,
    "version": "0.25.0"
  }
]
Sample Commands of the Azure DevOps CLI
The Azure DevOps CLI has a rich set of commands that allows DevOps engineers to carry out the following useful tasks:
- Manage Teams, Groups and Users
- Manage Projects
- Manage Repositories
- Manage Azure Boards
- Manage Pull Requests
- Manage Pipelines
A starting point with the Azure DevOps CLI is to run the help command to get an idea of the various CLI commands:
az devops -h
To configure your DevOps CLI to an existing organization and project, use the following command:
az devops configure --defaults organization=https://dev.azure.com/[your-organization-name]
To list the projects in the organization, use the command:
az devops project list
The output format defaults to JSON.
Sample output is shown below:
{
  "continuationToken": null,
  "value": [
    {
      "abbreviation": null,
      "defaultTeamImageUrl": null,
      "description": null,
      "id": "…",
      "lastUpdateTime": "2022-09-18T09:55:09.027000+00:00",
      "name": "BookLoanProject001",
      "revision": 11,
      "state": "wellFormed",
      "url": "https://dev.azure.com/.../_apis/projects/...",
      "visibility": "private"
    }
  ]
}
To format a CLI command as table with columns, append -o table to the command as shown:
az devops project list -o table
The above is an introduction to setting up an Azure DevOps services project and organization with the basic Azure DevOps CLI tools.
In future posts I will discuss how to establish repositories and how to import them into an Azure DevOps project.
That is all for today’s post.
I hope you have found this post useful and informative.
Andrew Halil is a blogger, author and software developer with expertise of many areas in the information technology industry including full-stack web and native cloud based development, test driven development and Devops.