
Welcome to today’s post.
In today’s post, I will show how to integrate an existing Azure Git repository into a continuous integration build within an Azure Pipeline.
In Azure DevOps we can integrate changes pushed by developers from a repository into a continuous build, which when successful can either be merged into the main branch via a pull request, or additional pipelines can be built to handle code quality and/or unit testing and/or end-end testing of the modified code within the branch.
To create an Azure DevOps continuous integration, build pipeline with a self-hosted agent, we will require the following to be setup:
- An existing Azure DevOps organization.
- An existing Git repository (Azure or GitHub).
- A self-hosted agent.
- An Agent pool.
Before the above can be setup, we will need an existing Azure DevOps Service environment, which we showed how to setup in a previous post. In another post, I showed how to setup and import an existing .NET Core application into an Azure DevOps repository. More recently, I showed how to setup a self-hosted build Agent to process jobs from an Agent Pool.
In the first section, I will be showing how to setup an Agent Pool.
Setting up an Agent Pool
I will first show how to setup the Agent pool.
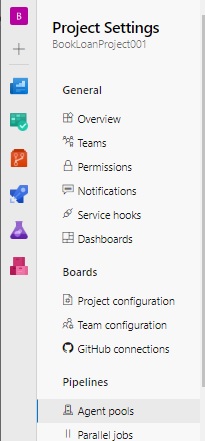
Under Project Settings in Azure DevOps, select Agent pools under Pipelines:
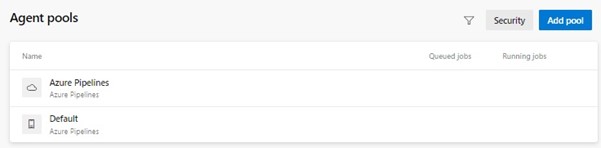
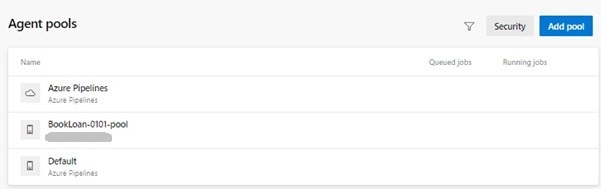
In the Agent pools pane, click on Add pool:
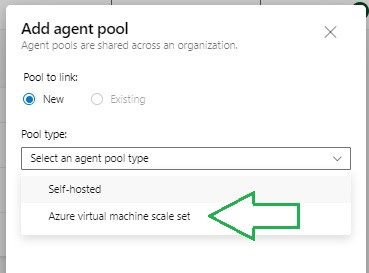
Select the Pool type as Self-hosted.
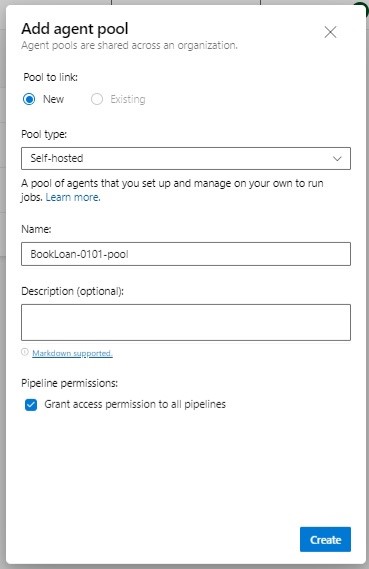
Give the pool a name, then check Grant access permission to all pipelines.
Click on Create to create the pool.
Under Agent pools, the new pool will show.
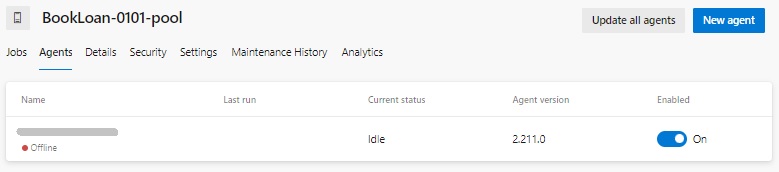
Select the Agents tab. The self-hosted Agent will show with its status. If the Agent has not started as a service or is not running interactively, it will show as Offline, else it will be Online.
In the next section, I will show how to implement and configure a continuous integration pipeline.
Creating and Configuring a Continuous Integration Pipeline
In your project in Azure DevOps, click on New pipeline.
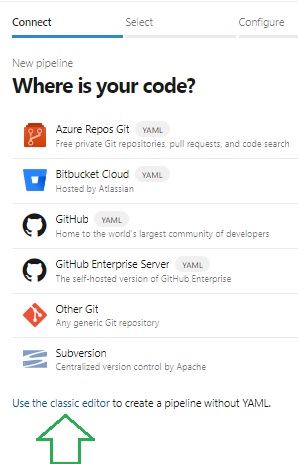
The wizard will prompt for the location of the source code.
Select the classic editor.
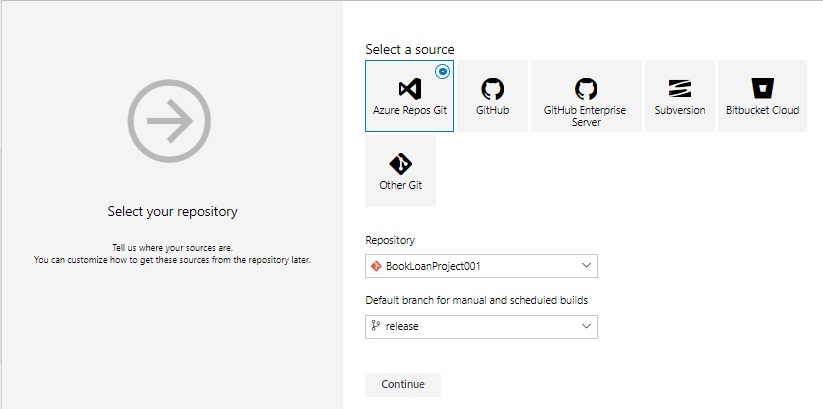
The project source is in an Azure Repo, so select Azure Repos Git.
Select the Repository and branch.
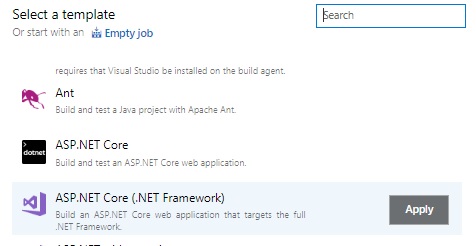
Next, choose a template for the YAML pipeline script. This should be compatible with the type of application in your Git repository.
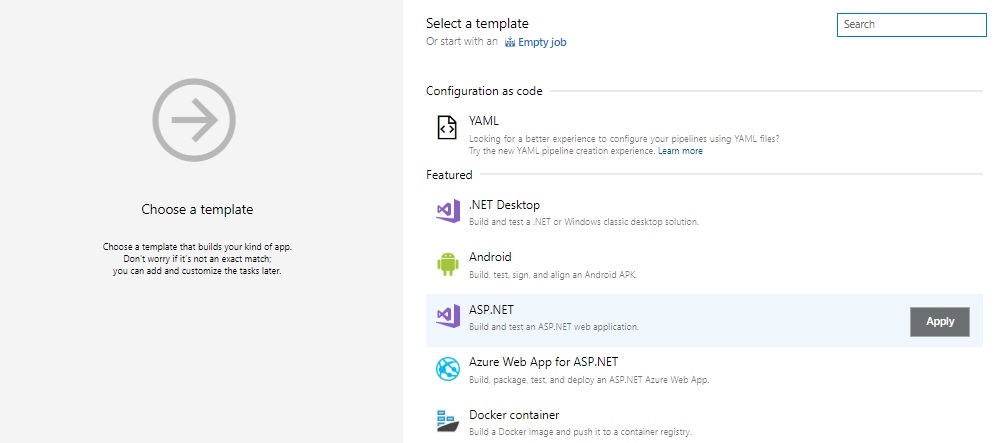
The application I have is an ASP.NET Core application, so I choose the template ASP.NET Core (.NET Framework).
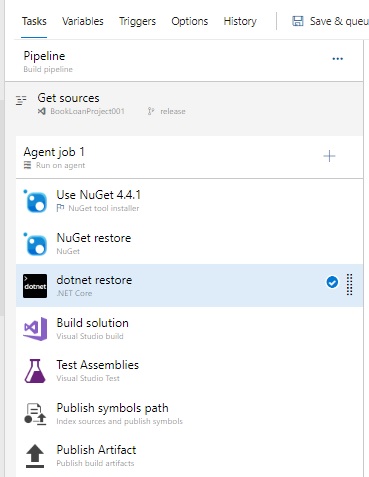
In the Task pane, you will see the pipeline task lists in the left side of the pane, and the pipeline properties to the right pane.
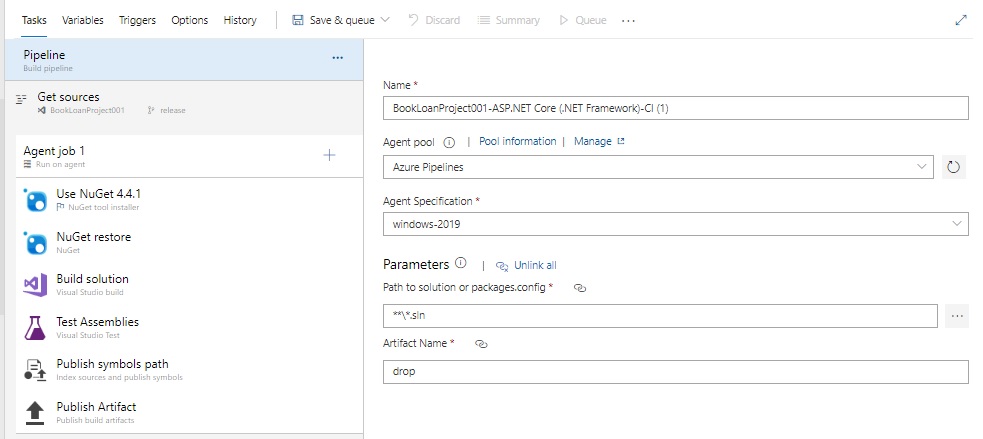
Fill in the details of the pipeline details.
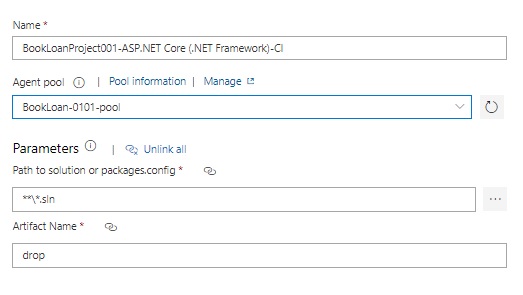
Enter a name, then an Agent pool. The Agent pool can be either a Microsoft-hosted pool or a self-hosted pool. Earlier I setup a pool with a self-hosted Agent. I select that pool.
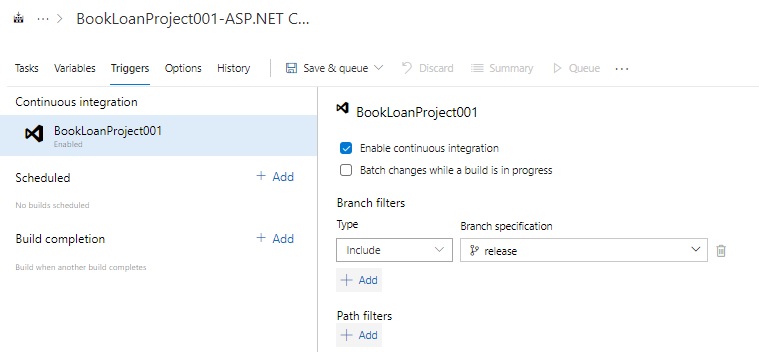
Select the Triggers tab. Check the Enable continuous integration option.
In the Branch filters, select the repository branch you wish to action the CI trigger on.
Click on Save & queue. Enter a comment.
Running and Troubleshooting an Azure Pipeline
Click Save and run.
Check the running pools under the Pipelines pane.
If the job does not run successfully, there are several causes.
I will go through two common issues I have encountered and resolutions.
If you see an error like the one below, which is what I have experienced before with a missing .sln file.
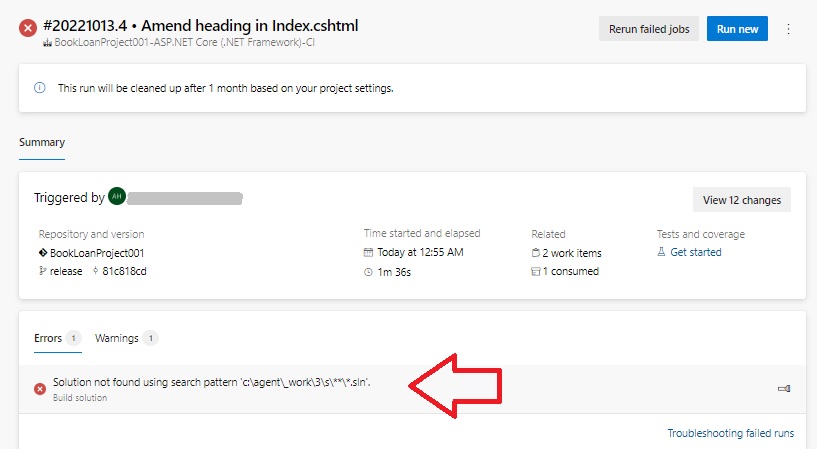
It is possible you may have created your .NET project using Visual Code, which creates a .csproj project file, but no .sln solution file by default.
Open the Visual Studio IDE (I happen to have Visual Studio 2019, so I open that).
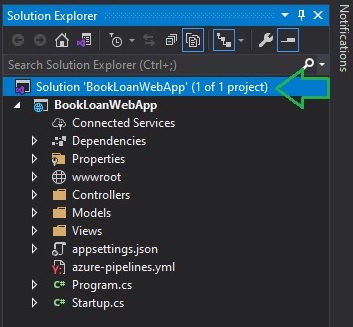
Open the projects .csproj file.
After the Solution Explorer opens, select the Solution as shown as hit Ctrl-S.
Save the new .sln file under the current project folder.
Check the project re-builds successfully.
Close the Visual Studio IDE.
Return the Visual Code, open the folder of the project containing the .csproj and .sln files.
Run the following git commands (or similar) to stage, commit and push the .sln to the Azure DevOps Git repository:
git add .
git commit -m "Add .sln file"
git push -u origin release
The pipeline will now run.
The next type of error that you could experience, which I have also experienced is a project assets file error like the one below.
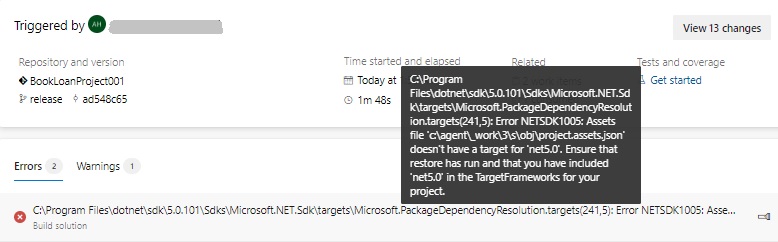
The error is like the one below (will vary slightly based on your version of .NET SDK):
##[error]C:\Program Files\dotnet\sdk\5.0.101\Sdks\Microsoft.NET.Sdk\targets\Microsoft.PackageDependencyResolution.targets(241,5): Error NETSDK1005: Assets file 'c:\agent\_work\3\s\obj\project.assets.json' doesn't have a target for 'net5.0'. Ensure that restore has run and that you have included 'net5.0' in the TargetFrameworks for your project.
The suggested resolution to this issue is to restore the libraries before the build task in the pipeline. I will show how this is done.
Return and edit the pipeline.
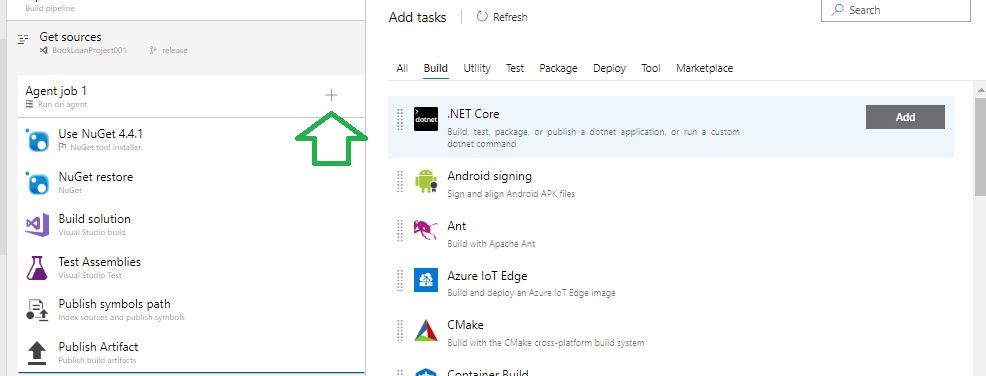
In the Tasks pane, to the right of Agent job, click the plus sign to create a new task.
Click on the Build tab on the
Add tasks pane on the right.
Select the .NET Core task and click Add.
The new task will by default appear as the last task on the left and the task properties on the right.
Select restore from the Command drop-down list. The display name will auto-rename to dotnet restore as shown.
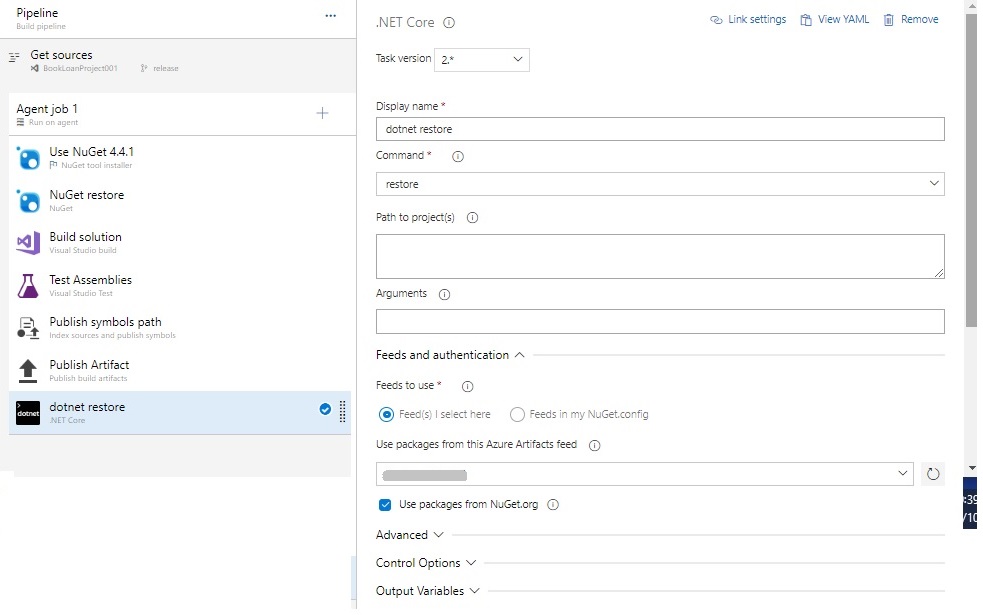
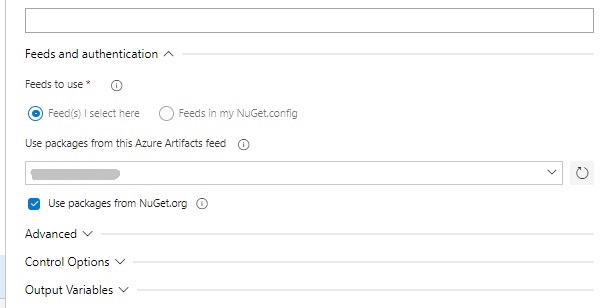
Under the section Feeds and authentication, select the location of the NuGet feeds. If not sure how to configure this locally, select the Feeds I select here option. If you select from your Azure DevOps organization in the Use packages from this Azure Artifacts feed drop-down, then you will need to have Azure Artifacts licensed. You can leave this drop down blank and leave the Use packages from NuGet.org checked. (If you select the Feeds in my Nuget.config option, then you will need to supply a path to NuGet.config, which contains paths to your NuGet feed.)
On the pipeline tasks list to the left, drag the new task up between the NuGet restore and Build solution tasks.
Save the queue for the pipeline.
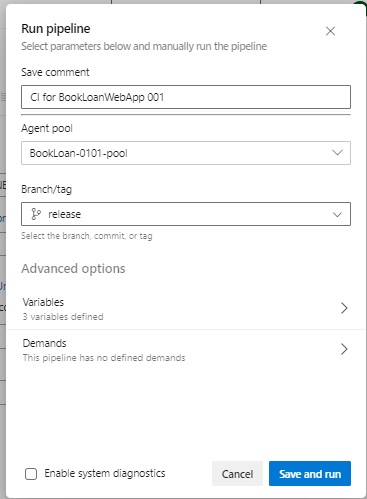
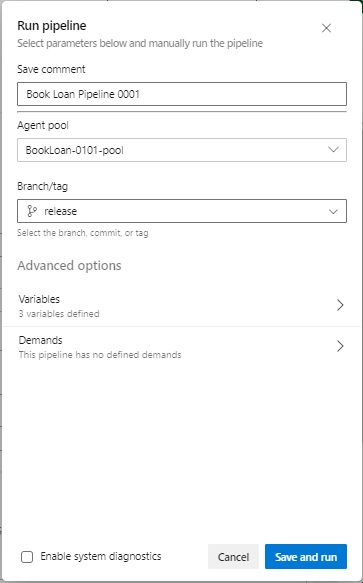
In the Run pipeline dialog enter a comment. The pool and branch are selected by default from your earlier selections, which can be overridden.
Click Save and run.
Open the Pipelines pane.
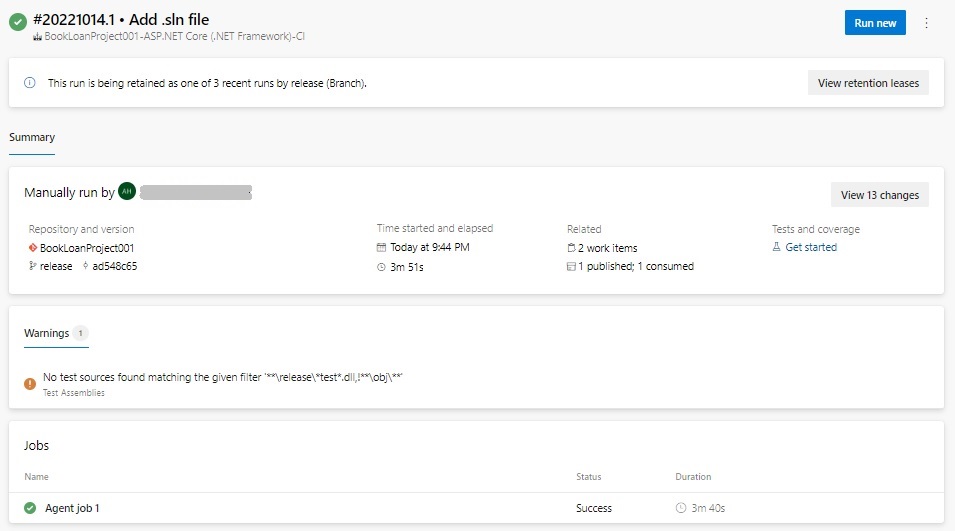
You will notice under the Jobs pane the status. If it is successful, then the restore of the packages has fixed the build issue.
Clicking on the Agent job, you will see the tasks in the pipeline that have been run and their completion status:
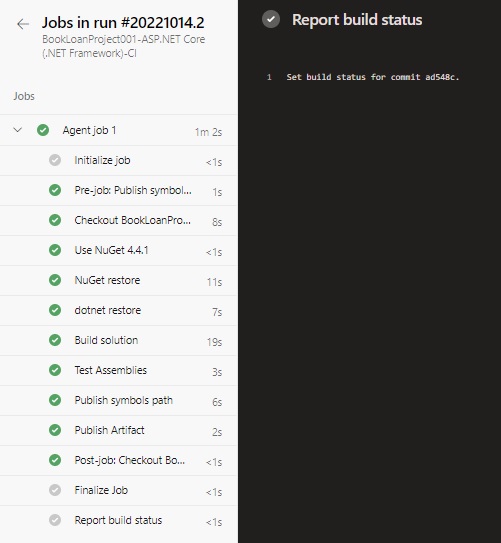
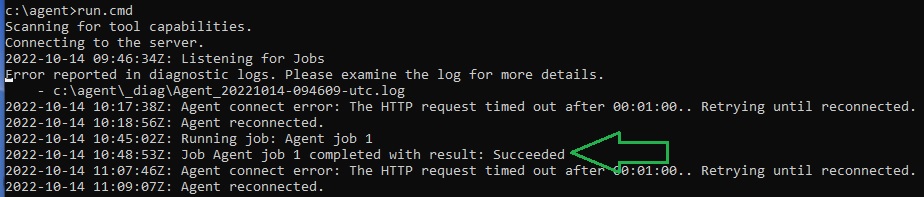
Return to the Agent host listener and check the running log. It will show the job completion status as shown:
At this point, we have successfully built and integrated a CI pipeline in Azure DevOps that integrates with an Agent pool that uses our self-hosted Agent.
Testing the CI Pipeline Trigger with a Code Commit into our Repository
Next, we will modify some UI code in our IDE and see if we can get our pipeline triggered.
Modify the following:
<div class="text-center">
    <h1 class="display-4">Welcome</h1>
    <p>Learn about <a href="https://docs.microsoft.com/aspnet/core">building Web apps with ASP.NET Core</a>.</p>
</div>
to
<div class="text-center">
    <h1 class="display-4">Welcome!</h1>
    <p>Learn about <a href="https://docs.microsoft.com/aspnet/core">building Web apps with ASP.NET Core</a>.</p>
</div>
Save, commit, and push changes to the release branch.
git add .
git commit -m "Amend heading in Index.cshtml"
git push -u origin release
Return to the Pipelines pane and view the job details.
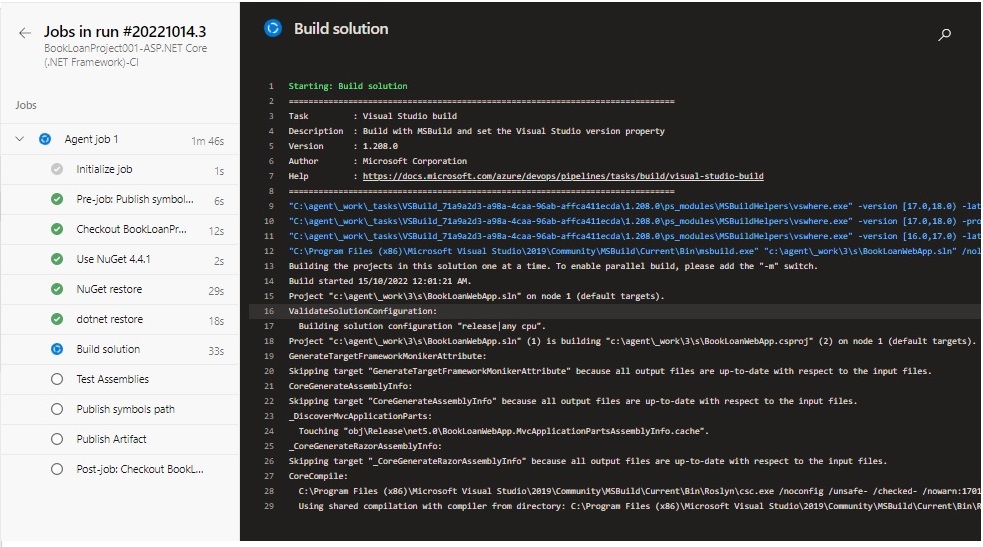
If the pipeline is still running, we can view the status of running tasks. Click on the Agent job to view these. Here we can see the Build solution task running with the details to the right pane. The blue icon to the left of the task indicates the task is still running.
Return to the pipeline details.
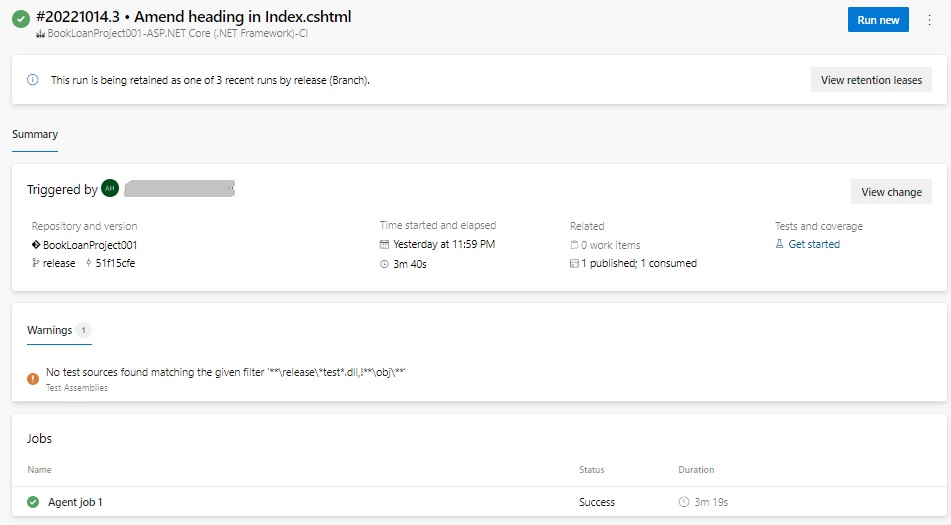
If the pipeline run has completed, then we can complete a pull request to push the changes into the master branch.
We have successfully built, configured, and run an Azure DevOps Continuous Integration build pipeline on a commit trigger.
In future posts I will expand on this with other useful pipelines and discuss YAML pipelines in more detail.
That is all for today’s post.
I hope you have found this post both useful and informative.
Andrew Halil is a blogger, author and software developer with expertise of many areas in the information technology industry including full-stack web and native cloud based development, test driven development and Devops.

