Welcome to today’s post.
In this post, I will be showing how to install and configure components into a server that will act as a self-hosting deployment agent for a continuous deployment job within an Azure DevOps release pipeline.
As with any pipeline, there are two agent hosting options we have available to consider when we construct and configure build and deployment pipelines in either classic pipelines or with YAML in Azure DevOps. We can use the Microsoft-hosted option, where the server Agent is managed for us, and the option to scale for higher computing power and concurrency is provided with an additional subscription in Azure DevOps Services. The other option is the self-hosted option, which allows us to experiment with deployment pipelines until we are ready to scale up our development environment to managed computing resources in Azure DevOps.
I will show how to setup and configure a self-hosted Agent to deploy pipelines. In a previous post, I showed how to setup and configure a self-hosted Azure DevOps build Agent. The following steps will be different, but similar.
In the first section, I will show how to create and setup deployment groups.
Setup of Deployment Groups
First, we will setup a Deployment Group within Azure DevOps. A deployment group is a logical group of servers within a project or projects that are used for the deployment of artifacts from the build of each of the project components, such as the user interface, services, backend data etc. Each deployment group will represent each of the application or system environments, such as Development, Test, UAT, Production.
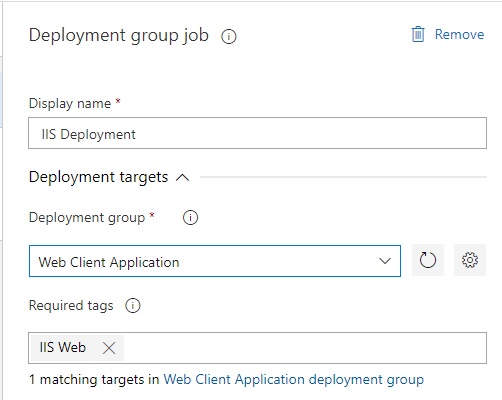
As I will show in a future post, when we create a new release pipeline, then configure the job, one of the required properties, along with the name is a deployment group. For reference, I will show a screenshot of the incomplete definition below:

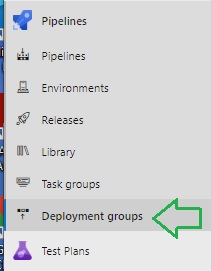
In Azure DevOps, under the Pipelines side menu, select the option Deployment groups:
Under the Deployment groups pane, under the Groups tab, click on the Add a deployment group.

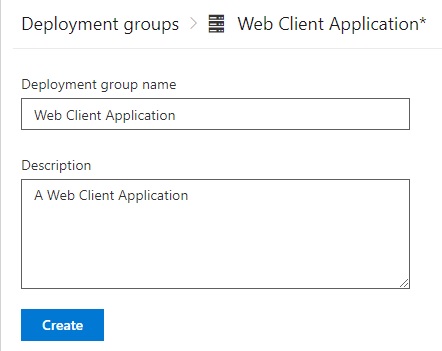
In the next dialog, enter a name for the deployment group and a description. Hit the Create button.
In the next section, I will show how to setup the deployment agent.
Setup of the Deployment Agent
In the next screen, you will need to specify the type of deployment agent that will be the target (destination) for deployment releases. This can be Windows, Linux and so on. There will also be a pre-prepared PowerShell registration script that is copied and applied within a PowerShell console on the target server.
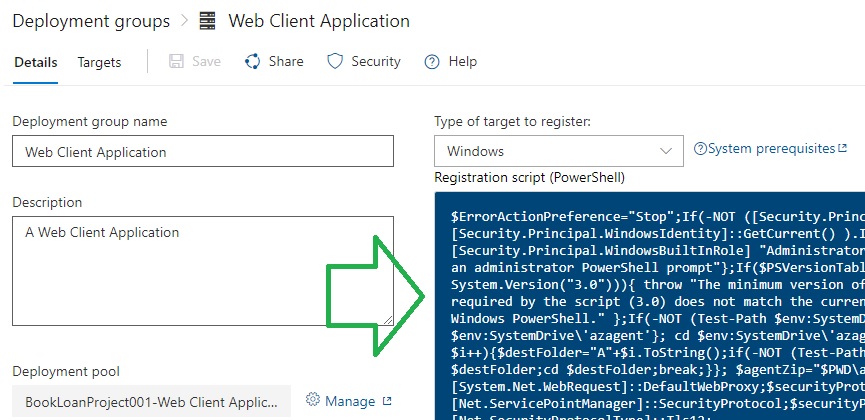
What the PowerShell script does on the target Agent server is the following:
- Creates a local folder C:\azagent.
- Remotely downloads the release listener and deployment agent binaries from Azure DevOps into the local folder.
- Tests the agent.
- Registers the deployment agent as a service (in windows as a Windows Service) with the option to start the service or keep it disabled.
Configuring Authentication of the Deployment Agent
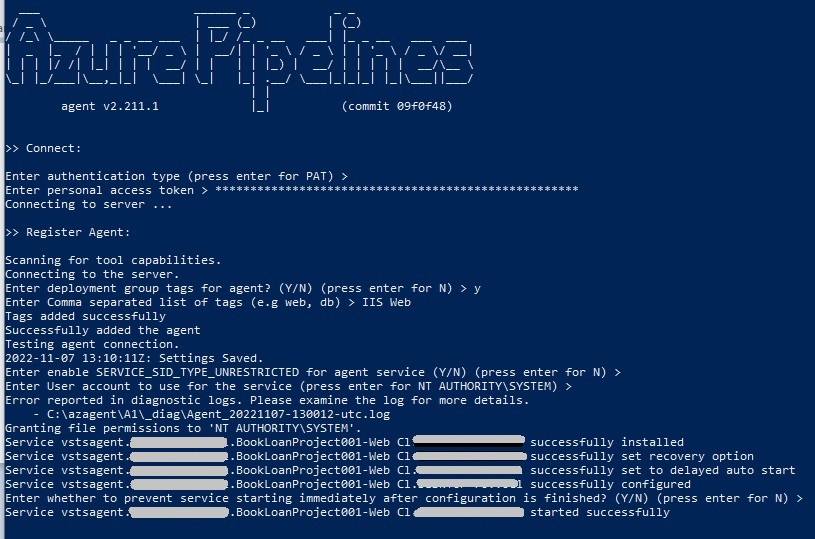
Below is an excerpt where we configure authentication for our deployment Agent.
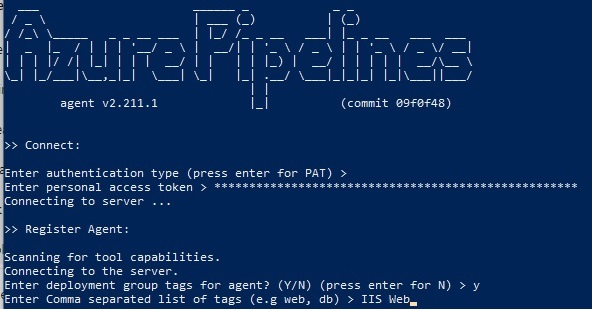
If the authentication fails, we can create a new Personal Access Token (PAT) in Azure DevOps or regenerate a PAT from an existing PAT for our deployment Agent then copy and paste that into the Agent configuration.
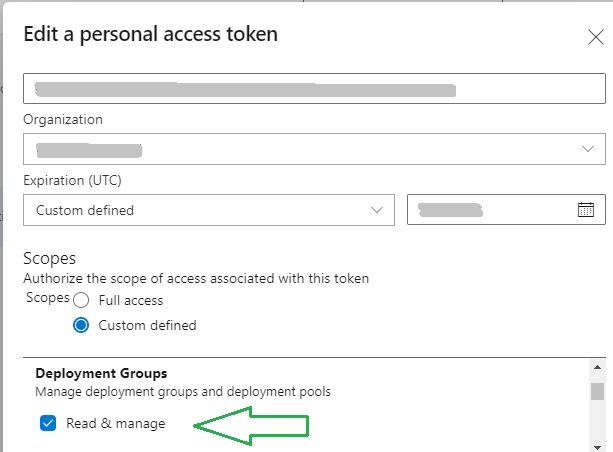
Below is an existing token, which we have regenerated. For our token to authenticate and our agent to be authorized to access our Azure DevOps project, we will need to specify the access scope of the token and deployment group permissions. In this case, I have allowed the project to read and manage permissions in our DevOps project.
To complete the registration process, specify deployment group tag and nominate an account to use for the Agent service.
In the next section, I will show how the deployment Agent Pipeline Service runs on the Agent server.
Configuring Authentication of the Deployment Agent
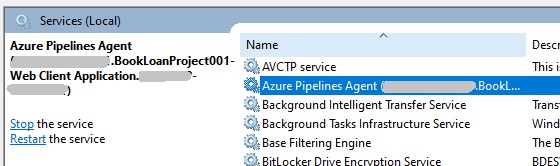
Once the registration completes, the Agent pipeline service will start and will appear in Service with the name beginning with Azure Pipelines Agent … and named as follows:
vstsAgent.[Organization Name].[Project Name]-Web CI. [Machine Name]
Below is a screenshot of a running Azure DevOps deployment Agent Windows service:
If you nominated to initially keep the service disabled, it can be enabled.
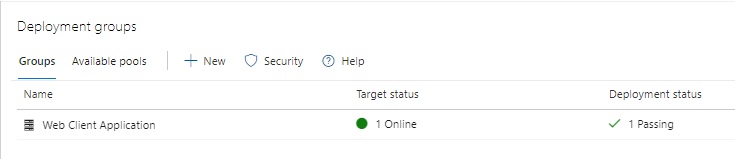
Once the agent deployment service is enabled, it’s status will be visible in the Deployment Group pane in Azure DevOps:
For diagnostic purposes, like the build Agent, the logs are under the _diag sub-folder in the C:\azagent home directory and can be viewed in the event an error occurs during the running of a deployment pipeline job run.
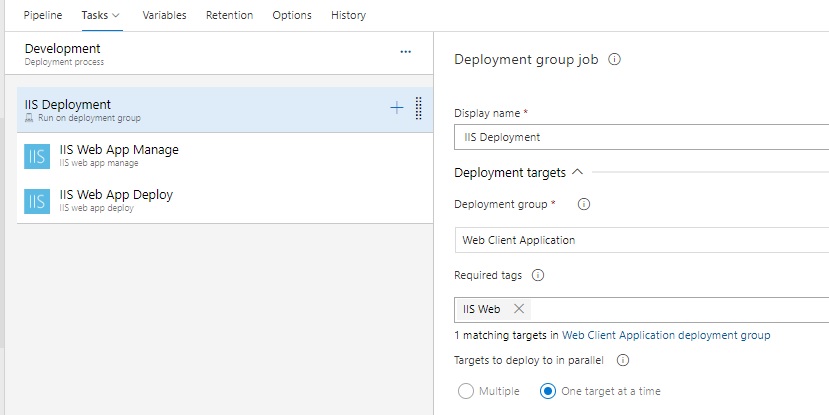
In a Deployment group within the Deployment target of a deployment pipeline job definition, the deployment group we have just created is visible and selectable in a drop-down list.
In our deployment group job definition, we can also choose to deploy our artifacts to our targets either in parallel or once at a time (sequentially). For the Microsoft-hosted deployment Agents, the parallel option would require purchase of parallel jobs in the Azure DevOps Services subscription.
As you can see, I have shown how to setup a deployment group and a corresponding self-hosted deployment Agent.
With the self-hosted deployment Agent option, we have the advantage of having more control over the maintenance, support and upgrade of the hardware and server infrastructure that is used for the release of projects within our continuous deployment pipelines within Azure DevOps. The disadvantages of a self-hosted deployment Agent are the ongoing time and labor resources we expend on maintenance, upgrades, and security of the environment.
With the Microsoft-hosted deployment Agent, we have the advantage of delegating the maintenance, support, security, and upgrade of the server to another organization in return for paying a regular subscription.
With both options, the choice will depend on your availability of resources, including hardware, software, licensing, and engineers. Determine what you have at your disposal and decide.
By going through the exercise and process of building and using a self-hosted deployment agent for release pipelines, you provide yourself with a measure of the effort required to build, configure, and maintain the agent and either persist with it or move to a delegated Microsoft-hosted (cloud hosted) option.
In a future post, I will show how to create, configure, and execute a basic Continuous Deployment release and deployment pipeline within Azure DevOps using the classic pipeline designer, that will leverage an existing Continuous Integration source build pipeline that I constructed earlier.
That is all for today’s post.
I hope you have found this post useful and informative.
Andrew Halil is a blogger, author and software developer with expertise of many areas in the information technology industry including full-stack web and native cloud based development, test driven development and Devops.