
Welcome to today’s post.
In today’s post I will be showing you how to implement an indexed document search using the Azure AI search service.
Before I show how to implement an indexed document search, I will explain when to use Azure AI Search, then provide an overview of the architecture that shows which resources we require to implement the indexed search, and how they are connected from the source data through to the final indexes and search queries.
Why should we use Azure AI Search?
Azure AI Search can be used in the following scenarios:
- Full text search.
- Divert indexing and queries into a search service.
- Search unstructured text and images within Azure Blob Storage or Azure Cosmos Databases with Azure AI Cognitive Services and tag images and text within the images.
- Extract text and phrases from the document, which can include locations, organizations, sentiment, language.
In the next section, I will provide an overview of the document indexation process with the Azure AI search service.
Overview of How Documents are Indexed with Azure AI Search
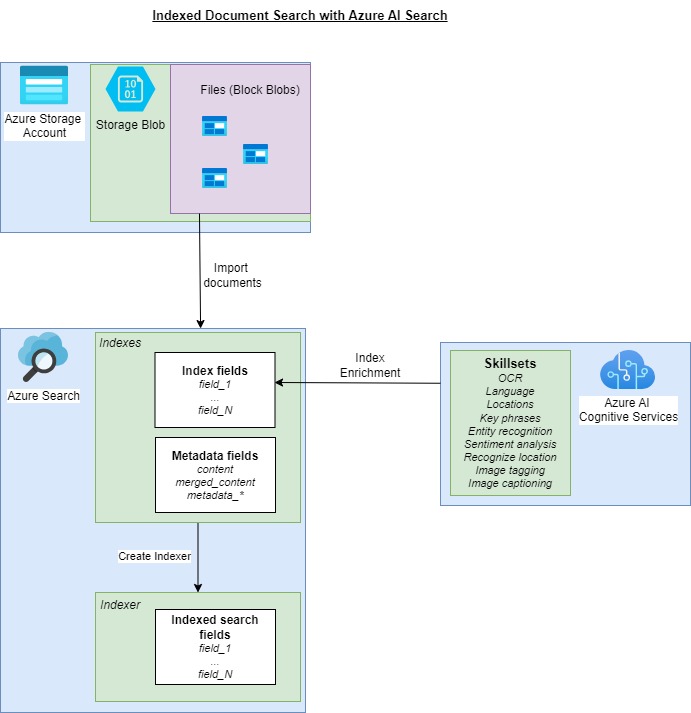
With the Azure AI search service, we can search data that is in both databases and in unstructured documents. Before we can start to run search queries for documents, we will require the creation of a search index. The search index will need to be derived from the source documents and any properties within the document. With a text-only document, the properties will include text that is extracted from the document.
With a document that contains unstructured media such as images and hyperlinks, the images captions can be extracted and tagged. The output from the tagged image labels can also be used as properties within the search index.
Following creation of the document index of the mapped fields, including metadata and phrases extracted using Azure AI skillsets, an indexer is generated, which contains the output indexes populated from source document index fields and skillsets as JSON structures.
An overview diagram is shown below:
In the next section, I will show how we create the resources for the indexed document search solution.
Provision of Resources Required for Indexed Document Search
The first resource that we require is the Azure AI Search resource, which we create from the Azure Portal.
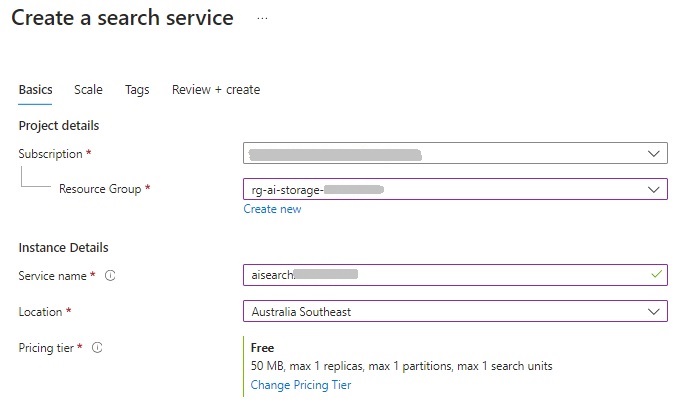
There are different pricing tiers available. For training, evaluation, or proof of concept scenarios, start with the Free tier, which provides a quota of 3 searches, 3 indexes, a vector quota of 25MB, and a total storage of 50MB. One other thing to be aware of is that only one Azure Search Service resource can be created on the Free tier per subscription, so if you have already created one as part of any previous Azure AI services, such as when we created a QA language services resource in a previous post, then you will need to connect the existing search service to the indexed document search resource.
The search service resource requires a subscription, resource group, search service name, search service location, and pricing tier.
When the Azure Search Service resource is created, the endpoint URI is of the form:
https://[search-service-name].search.windows.net
The next resource we require is to create an Azure AI multi-resource service.

We require a subscription, resource group, AI Service name, AI service location, and pricing tier. The minimum pricing tier available for this resource is S0 (standard).
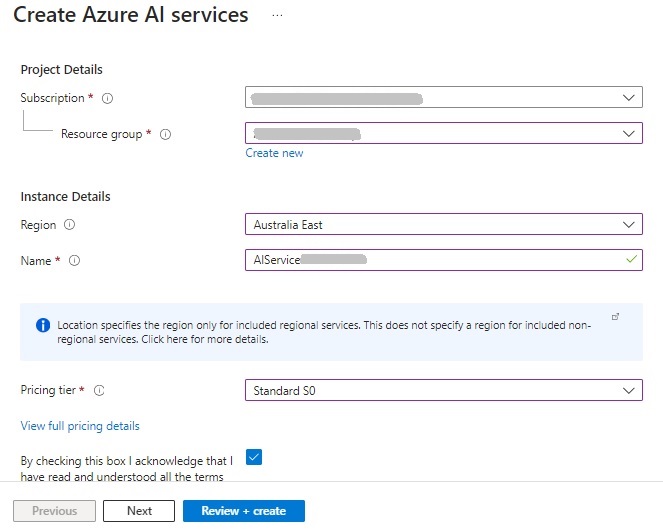
Another important note is that the same resource group needs to be used with the Azure AI Search and Azure AI Services resources.
When the Azure AI Service multi-service account resource is created, the endpoint URI is of the form:
https://[ai-service-name].cognitiveservices.azure.com
To be able to store the documents that we will use for uploading into the search service, we require the provision of an Azure Storage Account.
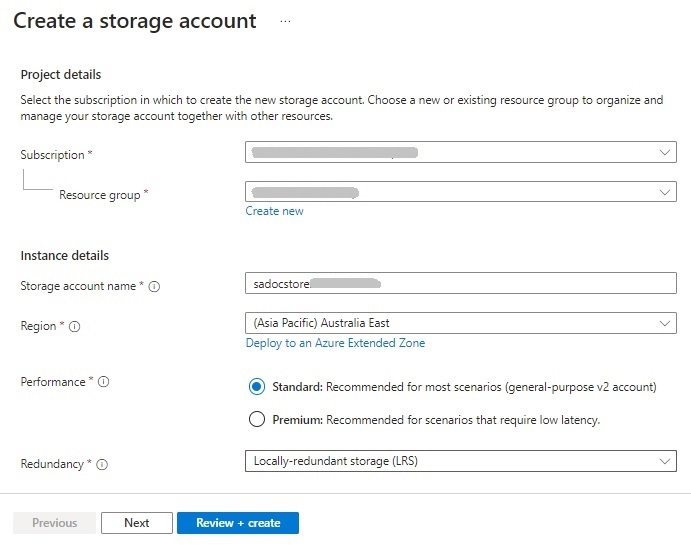
We require a subscription, resource group, Storage account name, Storage account region, performance (Standard or Premium), and redundancy (LRS or GRS).
For the storage containers that will contain our document sources, you will need to set anonymous access on individual containers so that the search service can be associated with the document files.

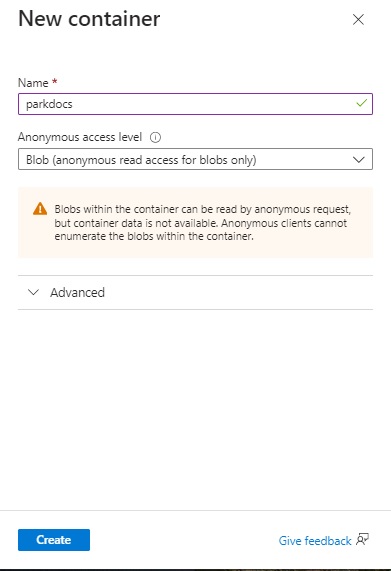
The next step is to add a container to our storage account. In the storage account overview, action the Container button as shown below:
When the new container is created, select the option under the Anonymous access level drop down list to Blob as shown:
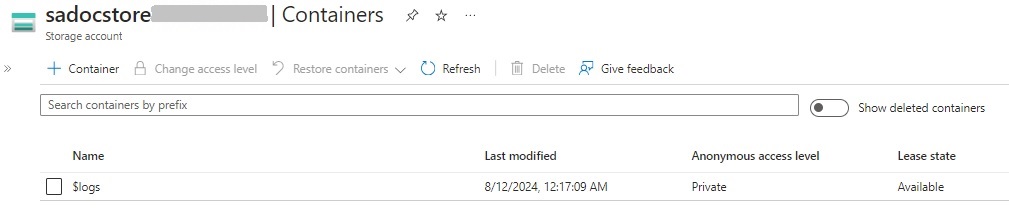
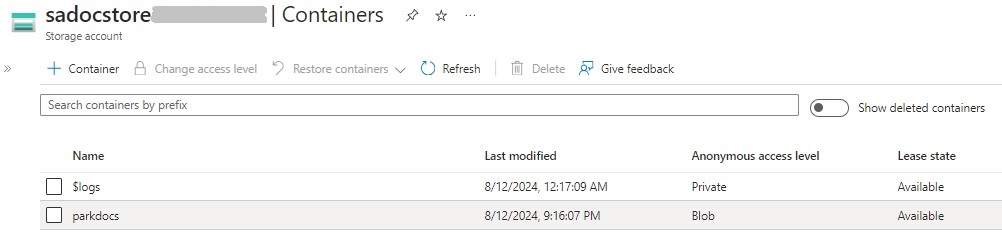
After the container is created, you will see it shown in the list of containers for the storage account as shown:
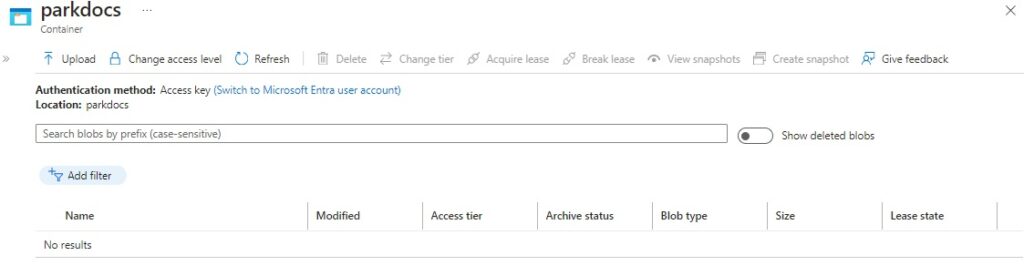
Click on the container and you will be taken to the container definition and an empty grid that will contain any new blobs.
At this point, you will need to provide some existing documents that will be uploaded to the search service. These can be office document or even documents in the PDF format.
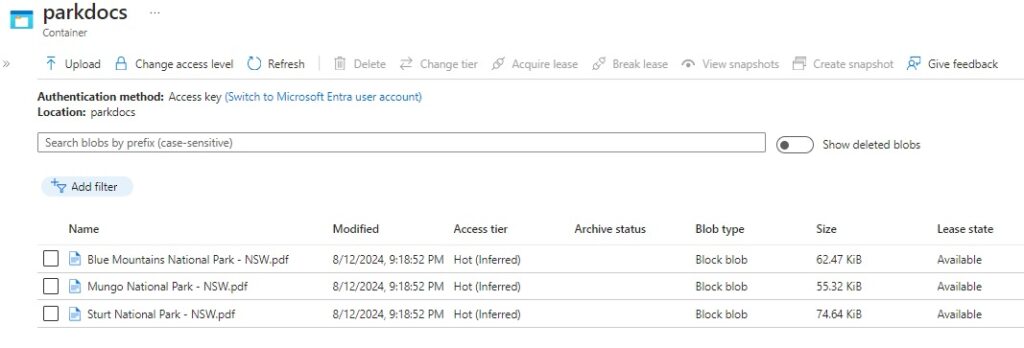
After uploading some sample PDF documents into the container, they will be listed as shown as Block Blobs and their respective sizes:
Now that our sample documents are in our storage container within the storage account, the next step is to import these documents into the search service resource, which is what I will show in the next section.
Connecting the Document Data Source to our Document Search Resource
In this section I will show how to connect the Blob container data source that contains our documents to our Azure Search Service.
To do this, we first select the Azure Search Service that we created earlier. In the resource overview, we then select the Import data menu item.

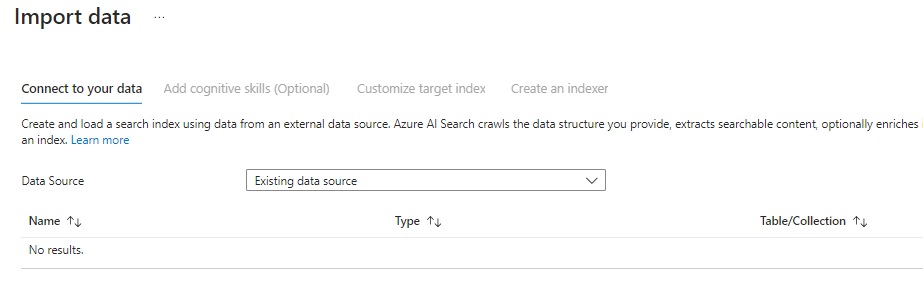
You will then see the import data screen, where a Data Source is a required input:
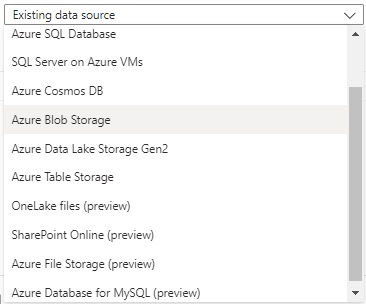
When importing data, there are different data input source options, which as I mentioned earlier can include SQL data, Cosmos DB data, blob storage, table storage and so on. Because our documents are stored within a Blob container, the data source input will be Azure Blob Storage:
The parameters required for the data import include the Data Source, Data source name, Data to extract, Parsing mode, Subscription, Connection string, (Storage) Container name, and Blob folder (if applicable). Below are the values supplied in our scenario:
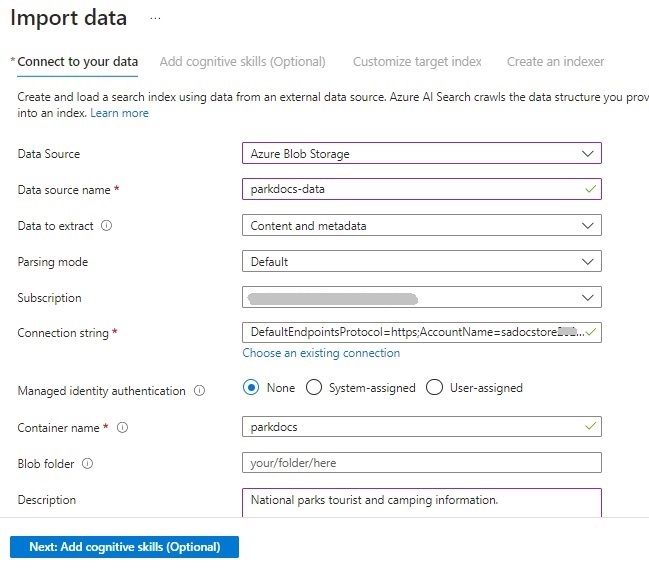
The container name can be found within the storage account that we created and populated earlier with the documents.
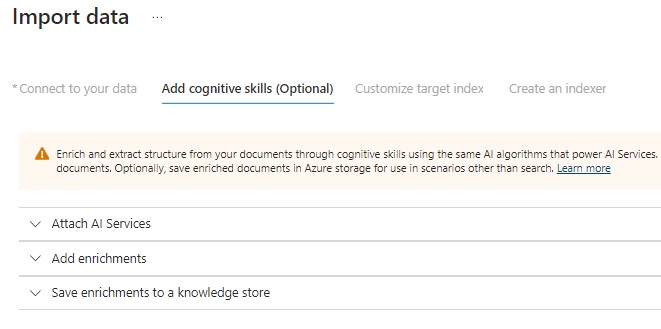
After defining the data source connection, we advance to the addition of cognitive skills wizard.
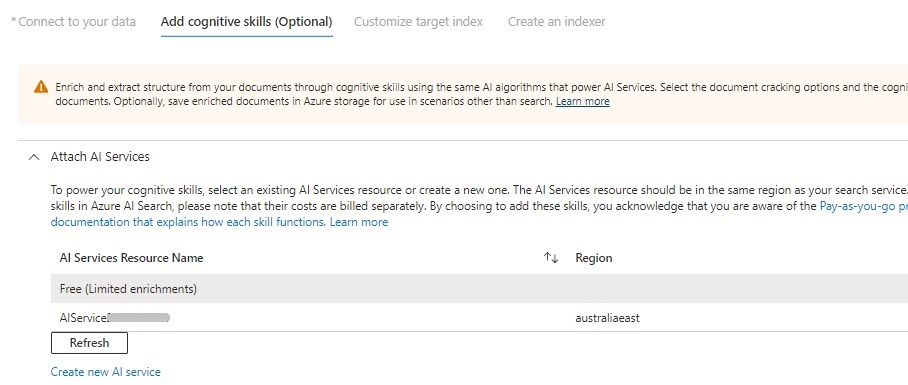
Then attach the AI Service resource we created earlier:
After attaching to the AI Service resource, you will see the Add enrichments tab expand, where we will be required to enter the Skillset name, Enable OCR option, source data field, and Enrichment granularity level.
Check the option Enable OCR … and with the Source data field, select the option merged_content. Keep the remaining fields at their defaults.

Next, select the fields as shown for our cognitive skills:

In the next part of the wizard, the target index customization, we select the content field as shown below:
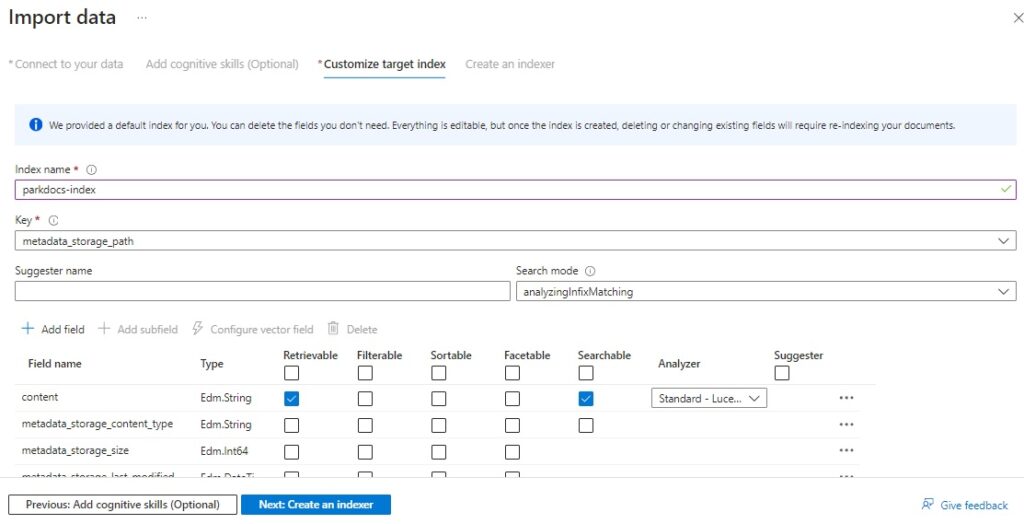
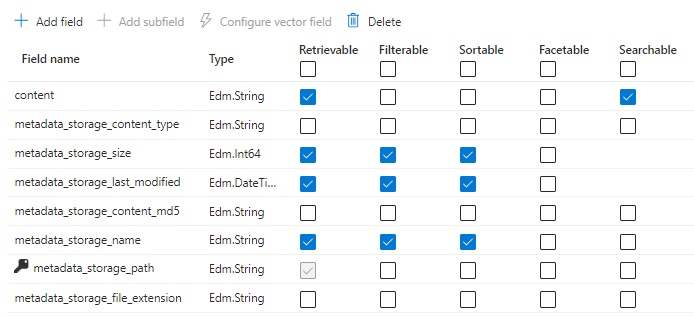
The list of fields including metadata fields available for indexing is shown below:
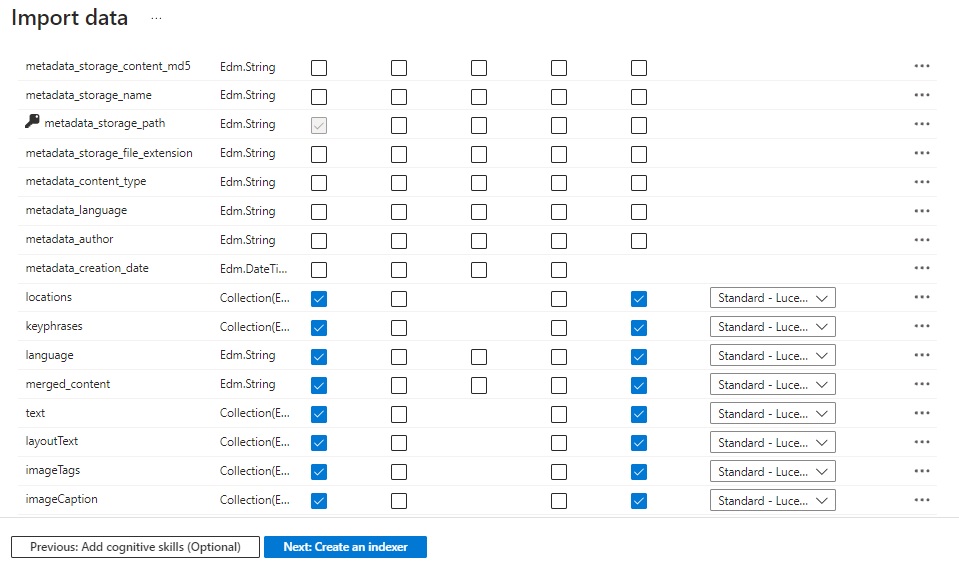
Check the Retrievable, Filterable, Sortable and Searchable options for the metadata_* and content fields as shown:
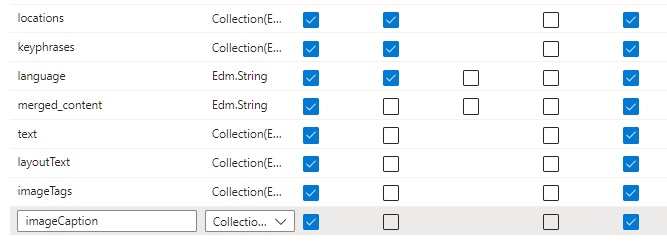
Do likewise for the locations, keyphrases, language, merged_content, text, layoutText, imageTags, and imageCaption fields as shown:
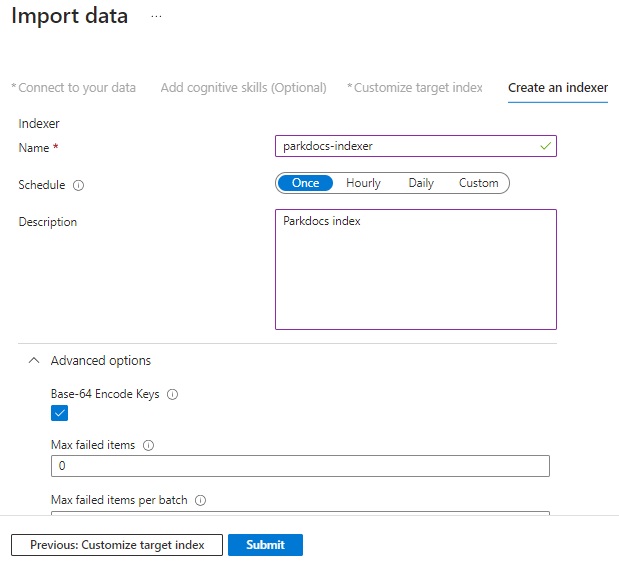
In the Create an indexer wizard, we specify the Indexer Name, Schedule, and Description. In the advanced options check the option Base-64 Encode Keys. Keep other options defaulted.
After submitting the indexer, wait a short time and the search index containing the selected index fields will be created. We can now run sample searches on our search index.
I will show how this is done in the next section.
Running Sample Indexed Document Searches from the Search Service
In this section I will show how to run sample query searches on our indexed search from the Search Service resource.
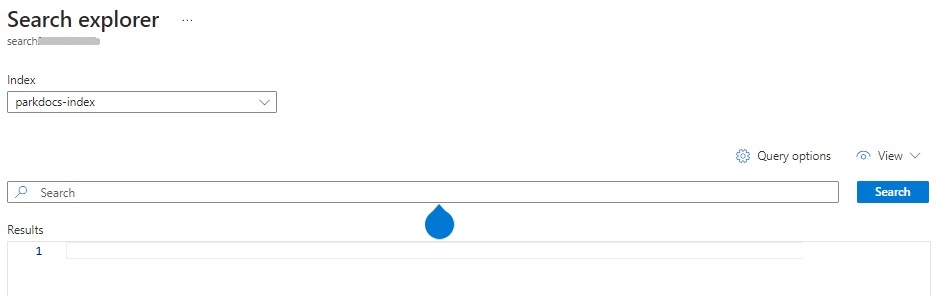
In the Search Service resource, open the Search explorer as shown:

You will then see a screen with a drop-down list containing any indexes that you have created. Select the one created in the previous section. You will also see a search field, Search button, and Results section as shown:
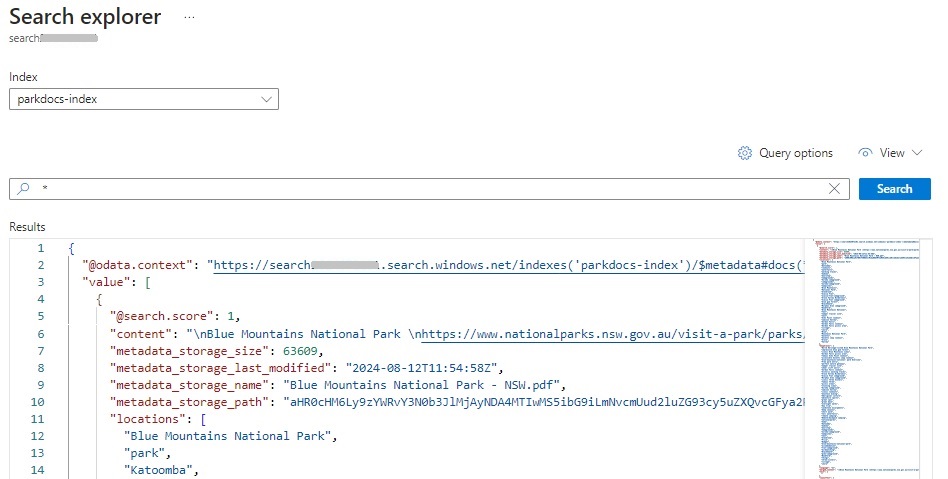
Enter the query request:
*
and hit the Search button.
You should then see the query results populated in JSON format as shown:
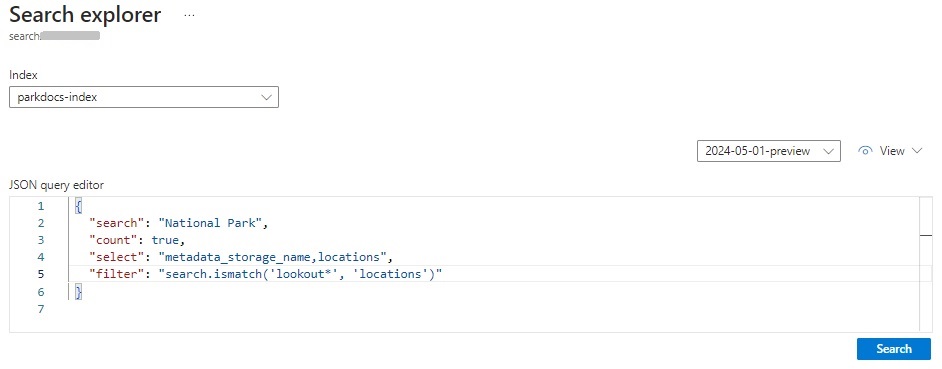
You can also submit queries in JSON format as shown to filter out words in particular fields as shown:
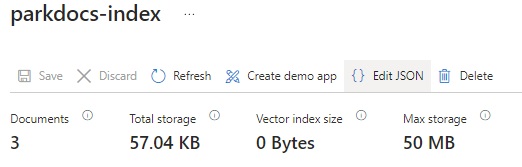
To keep track of your quotas for Indexes, Indexers, Data sources, Aliases, Skillsets and Storage in the Search Service resource, you can select the Properties tab in the Overview and view them there:

To be able to use the definitions of the Indexes, Indexers, and Skillsets we can view their corresponding JSON definition from their definitions by clicking on the hyperlinks in the properties shown above. For example, for indexes, we can view or edit the JSON for the created index as shown below:
I will cover more details on how to modify these definitions for these resources both within and outside of the portal in one of the future posts.
That is all for today’s post.
I hope that you have found this post useful and informative.
Andrew Halil is a blogger, author and software developer with expertise of many areas in the information technology industry including full-stack web and native cloud based development, test driven development and Devops.

