
Welcome to today’s post!
In today’s post I will be showing how we can use the different types of triggers in an Azure DevOps release pipeline.
In a previous post I showed how to create a release pipeline for a project in Azure DevOps Pipeline. I showed how a triggered (manually or via source control) continuous integration build pipeline can trigger a continuous delivery release pipeline deployment.
The entire development life cycle from the time source is committed to the repository, to the validation of the application through unit tests and end-to-end tests, to the deployment of the application behind the source to a target server in the environment, is automated. This is quite a complex workflow that makes the life of development teams less painstaking then going through a manual procedure at each level in the development, test, release cycle.
In addition to automating the development lifecycle with triggers, there is also the possibility that there will be times when a particular stage in the pipeline is manually controlled. That is, an authorized approver in the project team manually authorizes a build, test, or deployment based on other critical issues that may have occurred in one of the previous stages in the pipeline. These issues can include outstanding defects in a project board, code quality issues, code security issues, server health issues and so on.
We saw in another previous post where pull requests were used to allow other developers in the team to approve or reject a commit to the repository. Similarly, manual triggers can be set within a release pipeline to prevent a deployment from commencing due to some of the issues mentioned above.
To create a pipeline release instance in Azure DevOps releases, click on the Create release button as shown:

From here I will go through the types of release triggers.
Manually Triggered Release Pipelines
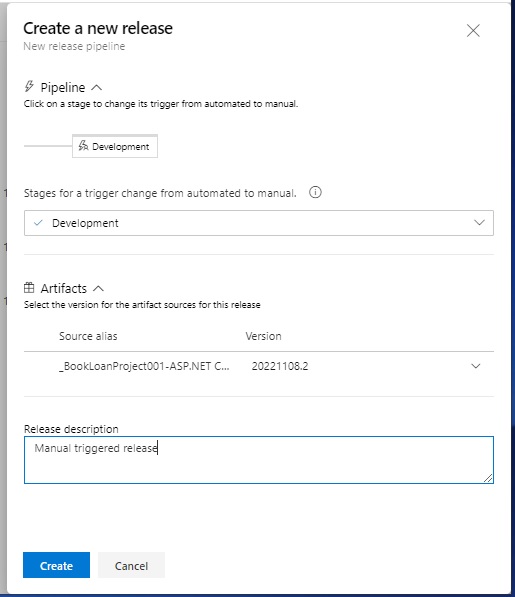
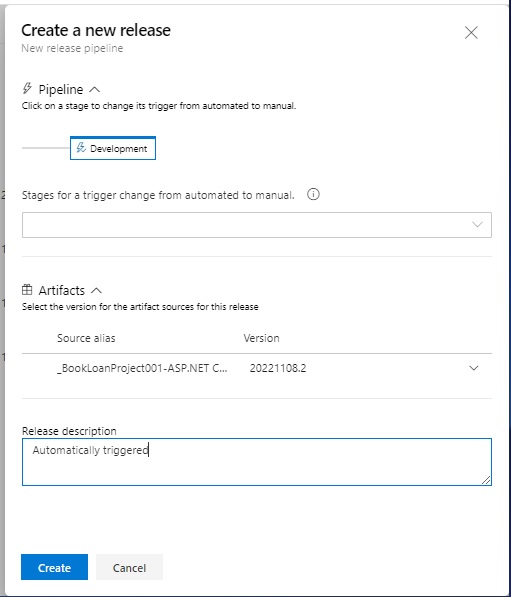
With manually triggered pipeline releases, the deployment pipeline remains in a suspended state, awaiting a manual action to commence deployment of the release artifacts. In the
Create a new release dialog, selecting a stage in the pipeline will make the release pipeline instance a manual deployment.
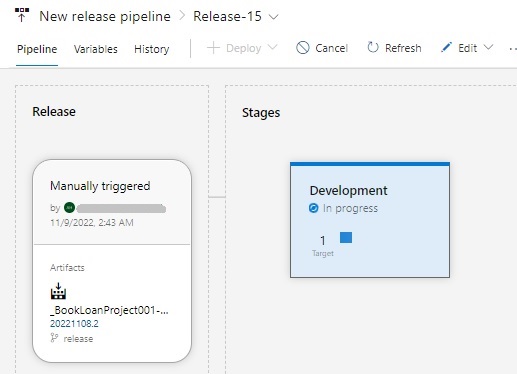
In the pipeline release instance diagram, you will see the Release artifact stage triggered. This will package the build into an artifact and make it available for a deployment stage. The deployment stage will remain suspended awaiting manual triggering.

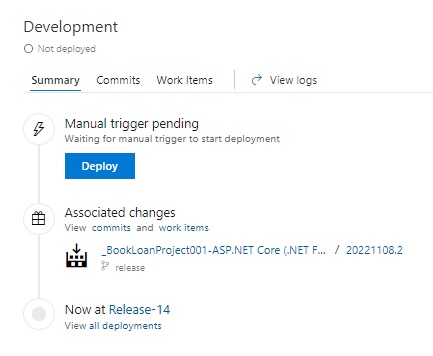
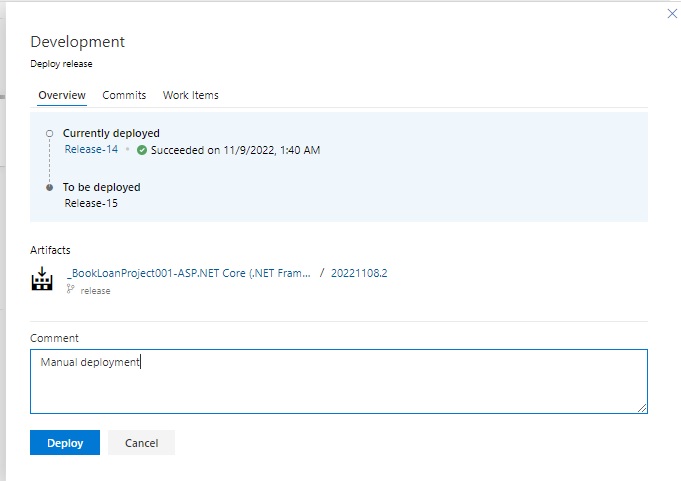
Clicking on the Development stage will display a summary of the deployment state. With a manual pipeline release, we will see an event, Manual trigger pending, with a Deploy button, which when depressed will kick off the deployment of the build artifacts into the Development environments target server.
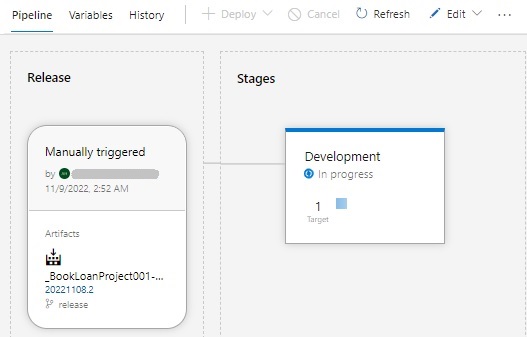
Returning to the pipeline release diagram, an in-progress deployment status will show with a blue rotation icon.
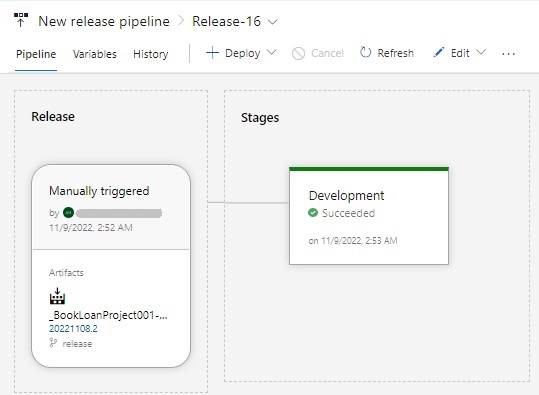
When the deployment completes, a successful deployment, with the date, time and green status tick will show in the summary.
We have gone through the process of manually deploying a release pipeline. In the next section I will show how this is done automatically with a trigger.
Automatically Triggered Release Pipelines
With automatically triggered pipeline releases, the deployment pipeline will kick off by reading the inputs from the release artifact, then run the deployment tasks against the target agent server.
In the Create a new release dialog, leaving the stage blank in the pipeline section will make the release pipeline instance an automatic deployment.
In the pipeline release instance diagram, you will see the Release artifact stage is a manual trigger awaiting a source code build. The deployment stage will remain suspended awaiting triggering from the continuous integration pipeline code build, which is shown below:
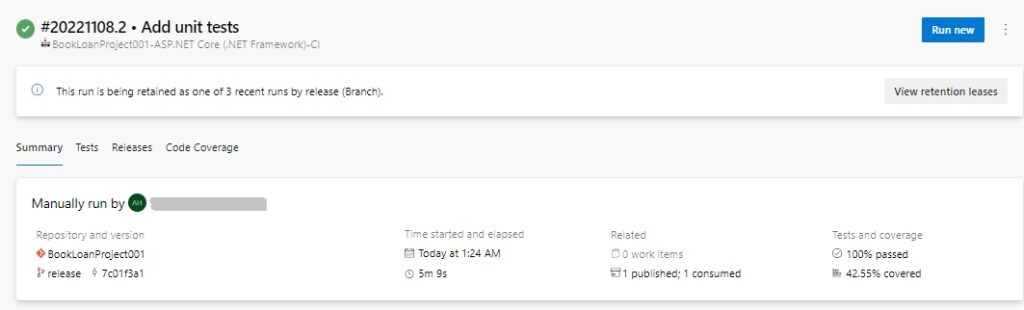
Once the continuous integration build is run, it will trigger the deployment stage of the release pipeline.
When the automated deployment completes, a successful deployment, with the date, time and green status tick will show in the Development stage.
In the next section, I will show how to manually deploy the stages from the pipeline.
Manually Deploying Stages
Other than being able to trigger the continuous deployment pipeline by manually running a continuous integration build pipeline or waiting for a developer to trigger it for you, or even setting a schedule (as I will show later), you can select the stage in the pipeline instance and hit the Redeploy action. This will execute the deployment for you within the selected stage. This will override any pre-deployment triggers that are defined within the stage definition.
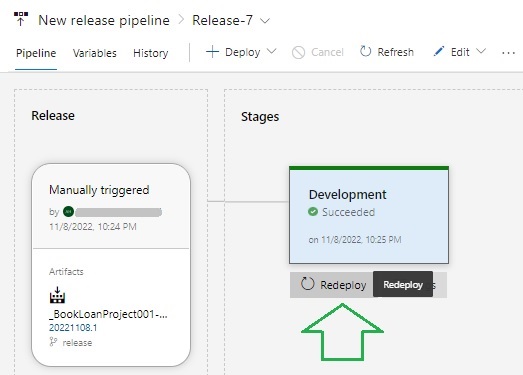
The manual override option is quite common in many organizations, where the higher-level stakeholders make a go or no-go decision that is not driven by correctness or test results or validations conducted in the previous pre-production environments.
Scheduled Timer Triggers in a Release Pipeline
In addition to the manual and automated deployment triggers based on continuous integration triggers, there is a scheduled trigger that we can take advantage of. This allows us to kick off a scheduled deployment of a continuous deployment release pipeline instance. The purpose of using a scheduled trigger is to limit deployments to selective off-peak times during the day or week to allow for the possibility that any build or deployment Agents could be offline at other times of the day or week.
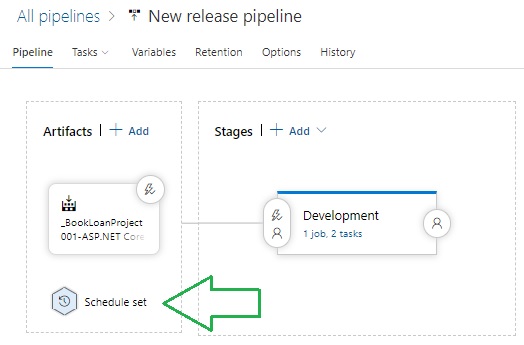
To set a timer schedule for the release pipeline, open the release pipeline designer.
Towards the bottom of the Artifacts box, you will see the Schedule set icon.
Selecting the schedule opens the Scheduled release trigger dialog.
To enable a schedule, flick the radio switch to the right, and the options to optionally select one or more of the days of the week, a time of day, and a time zone.
An additional condition is available to allow the schedule if the source or pipeline changes.

When the scheduled time is reached, the release pipeline instance runs at the scheduled time.
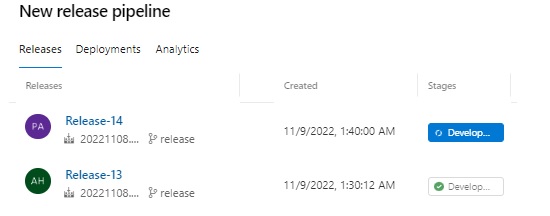
When completed, the deployment will complete sometime after the scheduled time.

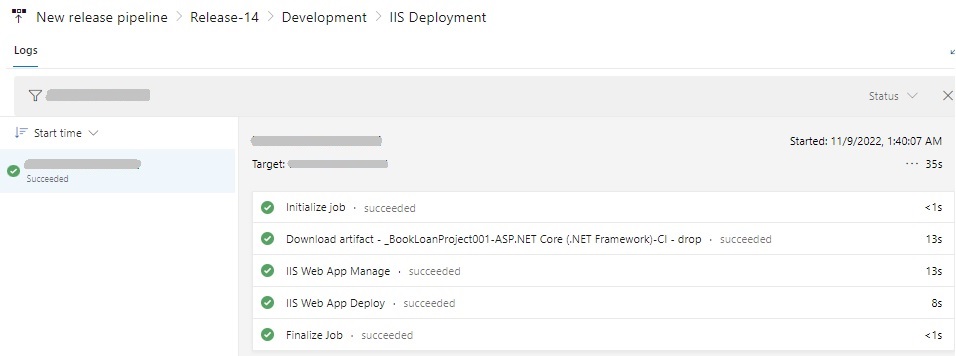
The timings can be confirmed by checking the jobs that have been run within the deployment Agent.
As we can see, there are different ways in which we can run a continuous deployment pipeline in Azure DevOps. These include:
- Continuous integration manual trigger
- Continuous integration build commit trigger
- Continuous integration pull-request trigger
- Continuous deployment manual trigger
- Continuous deployment scheduled trigger
With these triggers it is possible to construct an end-to-end pipeline from the source code repository, run unit tests, then deployment of the artifacts of a complete system into server(s) in a target environment.
In a later post I will show how to integrate quality gates and release gates into a continuous deployment release pipeline.
That is all for today’s post.
I hope you have found this post useful and informative.
Andrew Halil is a blogger, author and software developer with expertise of many areas in the information technology industry including full-stack web and native cloud based development, test driven development and Devops.

